Discover how to neatly finish the back of an embroidery hoop and give your project a professional touch with simple and effective techniques.

Key takeaways:
- Cut a felt or fabric circle slightly larger than the hoop.
- Secure fabric in the hoop and trim excess material.
- Pull the fabric uniformly and cinch with thread for a neat finish.
- Consider pros and cons of gluing, sewing, backing, or gathering.
- Choose based on desired appearance and project’s purpose.
What You’ll Need
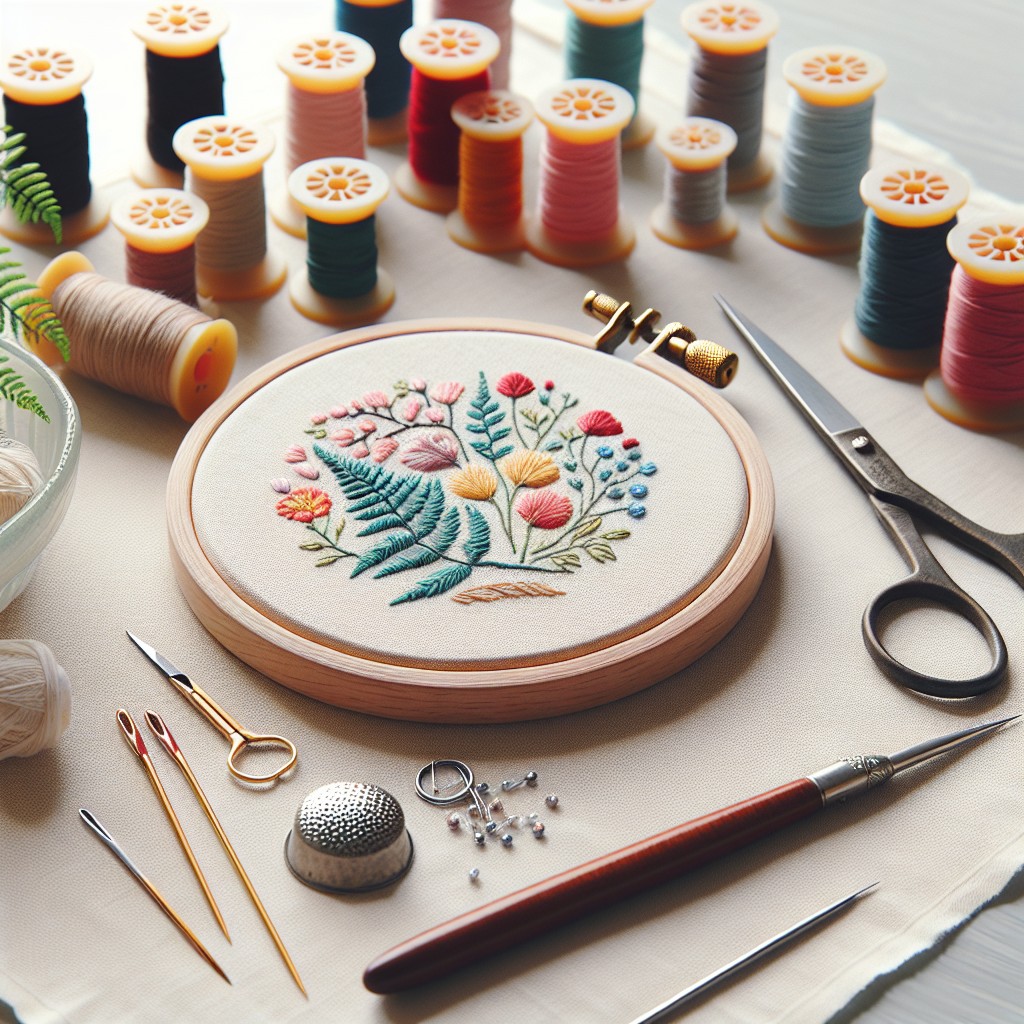
Gather the following items to complete the finishing process for your embroidery hoop:
- Scissors: A sharp pair for precision cutting of excess fabric.
- Needle and Thread: An appropriate color and thickness for securing the fabric at the back.
- Felt or Fabric Circle: Cut to the size of your hoop for a neat backing.
- Glue (optional): Fabric or craft glue to attach the backing firmly.
- Ribbon or Bias Tape (optional): For a decorative edge or to create a hanging loop.
Ensure your fabric circle or felt is cut slightly larger than the hoop diameter for full coverage. Choose a thread that either blends in with your design or the backing fabric. If using glue, select a non-toxic variant that works well with textiles.
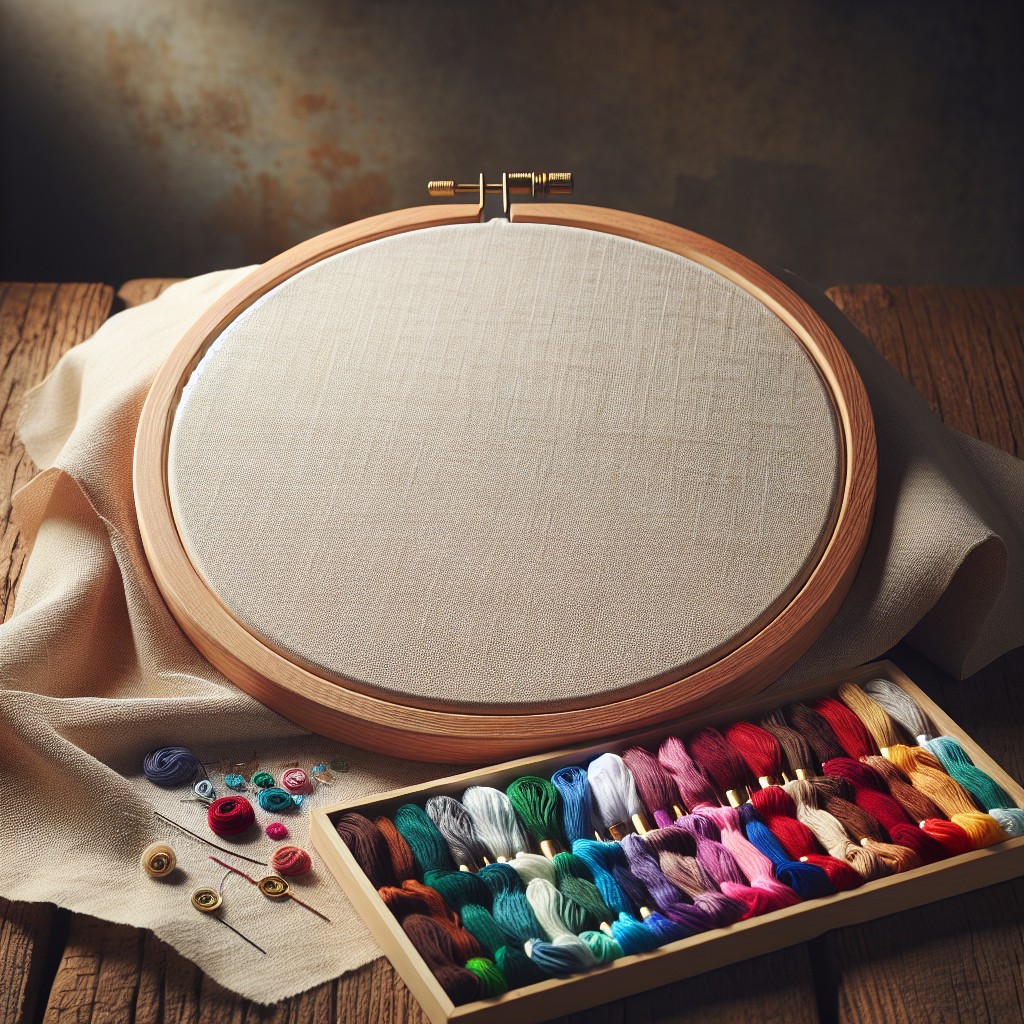
Prepare the Backing
Ensuring that you have the right material for your backing is crucial to a professional-looking finish. Felt is a popular choice for its clean edges and the ease of cutting it to size. Select a felt color that closely matches your embroidery for a seamless appearance.
Measure the diameter of your embroidery hoop and add an extra inch to this measurement to ensure complete coverage. Cut a circle of felt using the adjusted measurement as your guide. This will serve as your backing piece.
If a more secure and lasting hold is desired, fusible interfacing can be used. This will add stability to the fabric and prevent fraying. For those who plan to add a personal touch to the back, such as a label or additional decorative elements, now is the time to attach them to your backing fabric before securing it to the hoop.
Hoop and Trim the Embroidery
After your embroidery work is complete, it’s crucial to secure the fabric in the hoop correctly before proceeding to the finishing stage. Gently press the fabric if necessary, ensuring it is clean and wrinkle-free. Then, place your embroidered fabric onto the smaller hoop and carefully lay the larger hoop on top, catching the fabric between them. Tighten the screw of the hoop, pulling the fabric taut as you go, to ensure there are no puckers and that the design is centered.
Once the fabric is securely in place, take a pair of sharp scissors and trim away the excess material, leaving about 1 to 1.5 inches of fabric around the hoop. This allowance is essential for finishing the back without too little fabric, which can make the process difficult, or too much, which can result in unnecessary bulk. Being careful not to cut too close to the hoop, this margin of fabric will be used in subsequent steps to create a neat back finish.
Pull and Cinch the Fabric
After trimming the excess fabric to about an inch from the hoop’s edge, gently pull the fabric uniformly around the hoop to tighten it. This ensures your embroidery is displayed without any wrinkles. To cinch the fabric, cut a long piece of strong thread and sew a running stitch around the fabric’s edge. When you pull this thread tight, the fabric will gather at the back, creating a neat, finished appearance. Knot the thread securely once you’ve pulled it taut to keep everything in place. This method is particularly useful as it allows for adjustments if ever you need to re-tension the fabric in the future.
Pros and Cons of Different Finishing Methods
Selecting the appropriate technique to finish the back of an embroidery hoop directly impacts the project’s aesthetics and longevity. Here are the considerations for some common methods:
- **Gluing Fabric to the Hoop: **
- Pros: Quick and easy; provides a neat appearance with minimal effort.
- Cons: Permanent solution; can damage the hoop if you need to remove the fabric; not suitable for heirloom-quality work.
- **Sewing a Felt or Fabric Circle: **
- Pros: Reversible and non-damaging to the embroidery; lends a professional touch.
- Cons: More time-consuming than gluing; requires precision to fit the circle neatly.
- **Using an Embroidery Backing or Interfacing: **
- Pros: Stabilizes the work; hides thread ends and knots effectively.
- Cons: Adds an extra step and cost; can make the hoop feel stiffer.
- **Creating a Gathered Back: **
- Pros: Adjustable and can be easily undone if needed; no additional materials required.
- Cons: Can result in a bulky appearance; potential for uneven gathering.
Each option presents a balance between practicality, presentation, and permanence. Choose based on the purpose of the embroidered piece and the desired final look.
Related Posts
 How to Embroider Large Areas: Step-by-Step Techniques for Stunning Results
 How Many Threads for Embroidery: Choosing the Right Amount for Your Project
 Best Embroidery Stitches for Outlining: Techniques and Tips
 How to Display Embroidery Hoops: Creative Ideas for Your Home Decor
 What Does 3 Strands Doubled Mean in Embroidery: Understanding Thread Thickness