Learn how to creatively display your embroidery hoops to showcase your hand-stitched artwork effectively.
Key takeaways:
- Select the right embroidery hoop for display: consider material, size, closure mechanism, and color.
- Prepare the hoop for hanging: ensure fabric is taut, trim excess fabric, and add a hanging mechanism if needed.
- Experiment with different wall arrangements: vary hoop sizes, create linear or asymmetrical layouts, and incorporate shelves or picture ledges.
- Protect your embroidery work: use acid-free backing, avoid direct sunlight, gently dust the surface, and consider using a clear acrylic box frame.
- Maintain even spacing and alignment on walls: use painter’s tape as a guide, measure and space evenly, utilize level tool, and consider the rule of odds in design.
Selecting the Right Embroidery Hoop for Display
When choosing a hoop for display, consider the material; bamboo or wooden hoops impart a natural warmth, while plastic or metal options may match modern aesthetics. The size should complement the embroidery piece without overshadowing the intricate work. For a cohesive look, select hoops with similar finishes or opt for varying sizes to create an engaging gallery wall.
Ensure that the hoop’s closure mechanism functions well, as it should securely grip the fabric without puckering, which can detract from the overall appearance. If the back of the hoop will be visible, consider finishing options to make the reverse as attractive as the front—this could involve backing the piece with felt or another fabric to cover the stitching.
Additionally, the color of the hoop can impact the visual impact of the embroidered piece. A contrasting hoop color can act as a frame, highlighting the embroidery, while a complementary tone can blend seamlessly for a subtle display.
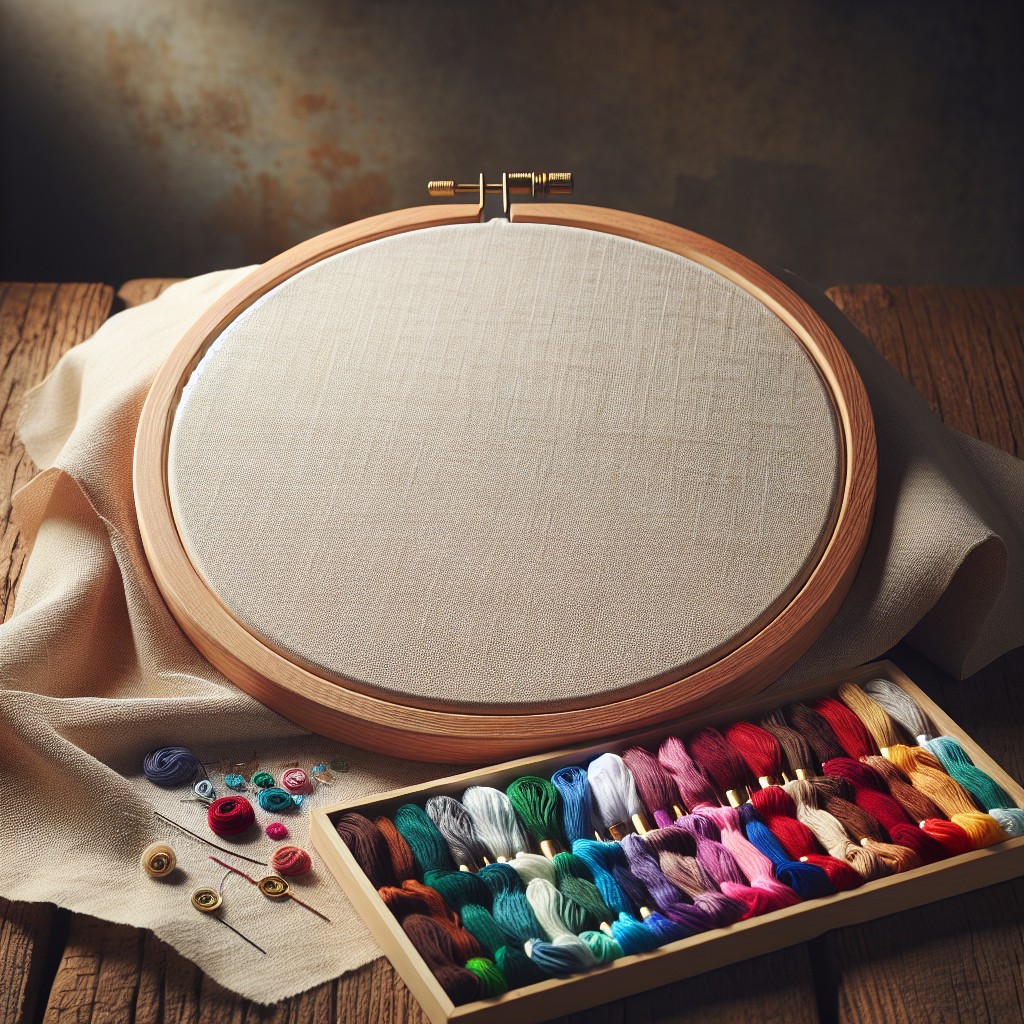
Preparing the Embroidery Hoop for Hanging
Before hanging your embroidery hoop, ensure the fabric is taut and securely fastened within the hoop. Trim any excess fabric around the edges, leaving enough to tuck behind for a neat finish. If the hoop doesn’t have a hanging mechanism, you can create one by attaching a ribbon or a piece of leather to the top. Simply glue the ends to the back of the hoop or use a strong thread to stitch it in place. Alternatively, you can add a small hook or D-ring to the top of the hoop’s external ring.
Once your hanger is attached, consider backing the embroidery with felt or another fabric. This not only covers the back for a more polished look but also adds a layer of protection for the stitching. Cut a circle that is slightly smaller than the hoop’s diameter and secure it with glue or a running stitch.
If visibility from both sides is desired, skip the backing. Instead, ensure the back stitches are neat and loose threads are trimmed. It’s now ready to bring personality and color to your space.
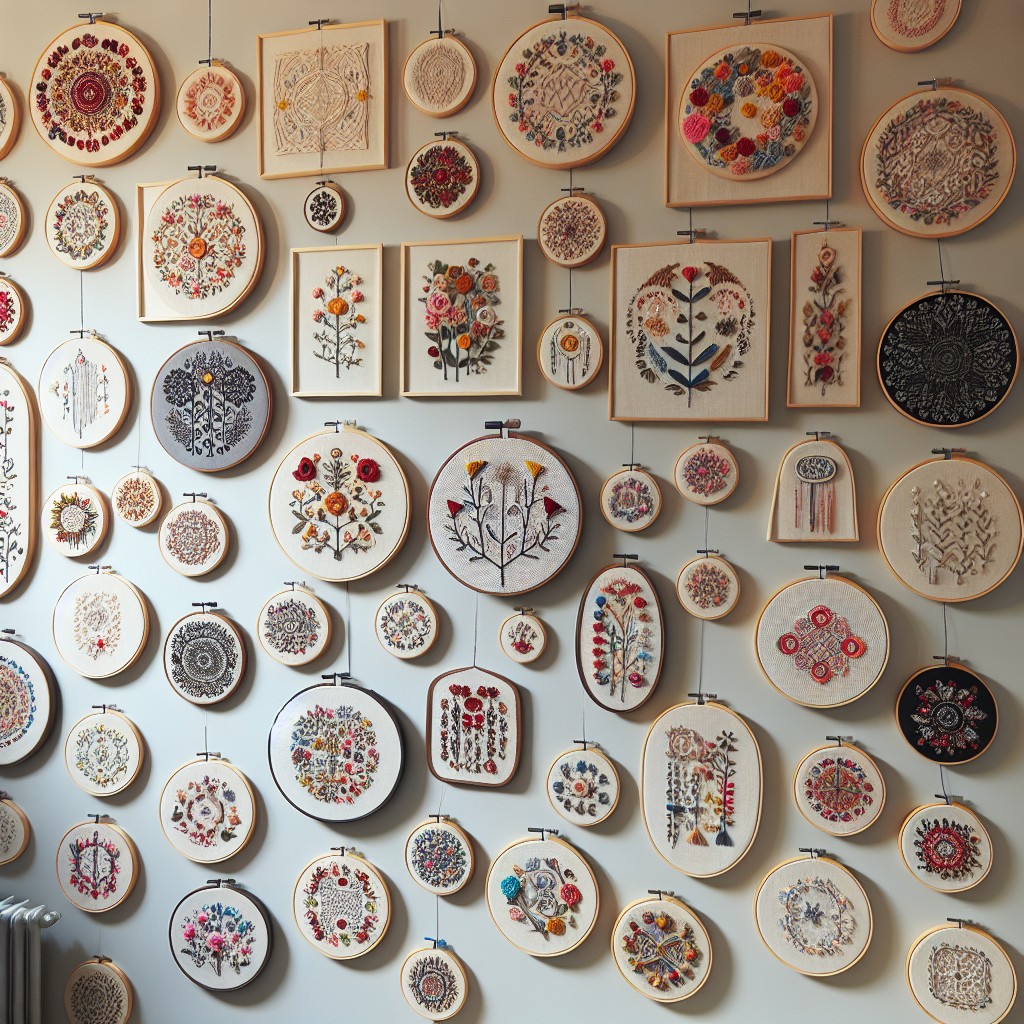
Wall Arrangement Ideas for Embroidery Hoops
Create a visual impact by varying hoop sizes to draw the eye across your display. Position larger hoops at the center and circle them with smaller hoops to create a symmetrical layout.
For a modern touch, organize the hoops in a straight line—either horizontally or vertically. This linear arrangement works well in narrow spaces like hallways or above furniture.
Consider color coordination when placing hoops on your wall. Group embroideries with similar colors or themes together to make a cohesive statement.
Incorporate shelves or picture ledges to mix three-dimensional elements with your hoop display. Resting some hoops against framed photos or potted plants adds depth and interest.
Try an asymmetrical arrangement for a dynamic, playful look. Stagger hoops at different heights and allow the pattern to extend organically, adding hoops over time as your collection grows.
Use a gallery wall template or paper cut-outs to experiment with positioning before committing to nail holes. This ensures a satisfying arrangement without unnecessary damage to your walls.
Protecting Embroidery Work in Display Settings
When displayed, embroidery is exposed to environmental factors that may cause wear or damage. To ensure your work remains pristine over time, consider a few key protective measures.
First, use acid-free paper as a backing for the embroidery inside the hoop. This prevents chemicals in materials from yellowing or weakening the fabric over time.
Next, avoid direct sunlight when choosing a spot for display. UV rays can fade colors and fibers, so select a location away from windows or consider UV-filtering glass if framing your work.
To protect against dust, periodically use a soft, lint-free cloth to gently wipe the surface of the embroidery. Avoid vacuuming or using cleaning agents as they can be too harsh.
Consider placing your work in a clear acrylic box frame designed for three-dimensional objects. This provides a barrier against dust and humidity while still allowing a clear view of the embroidery.
Lastly, for pieces not under glass, it’s advisable to rotate them out of display every few months to reduce the risk of environmental stress, keeping your treasured works in top condition for years to come.
Tips for Even Spacing and Alignment On Walls
Create a visual guide with painter’s tape on the wall to map out the spacing before hanging the hoops. This tape can serve as a placeholder, making it easier to envision the arrangement and ensure that each hoop will be evenly spaced.
Use a ruler or measuring tape to maintain an equal distance between each hoop. A common spacing rule is to leave at least 2 inches between each piece to avoid a cluttered appearance.
Consider borrowing techniques from gallery walls, such as the “center line method,” where you hang the center of each hoop at the same height, or the “top line method,” which aligns the top edges of the hoops.
Utilize a level tool as you hang each hoop to ensure they are perfectly horizontal or vertical, according to your design. Hanging them unevenly can distract from the beauty of the embroidery.
Keep in mind the rule of odds in design – arrangements of odd numbers are generally more visually appealing. Groupings of three, five, or seven hoops often create a balanced, yet dynamic, display.
Related Posts
 How to Embroider Large Areas: Step-by-Step Techniques for Stunning Results
 How Many Threads for Embroidery: Choosing the Right Amount for Your Project
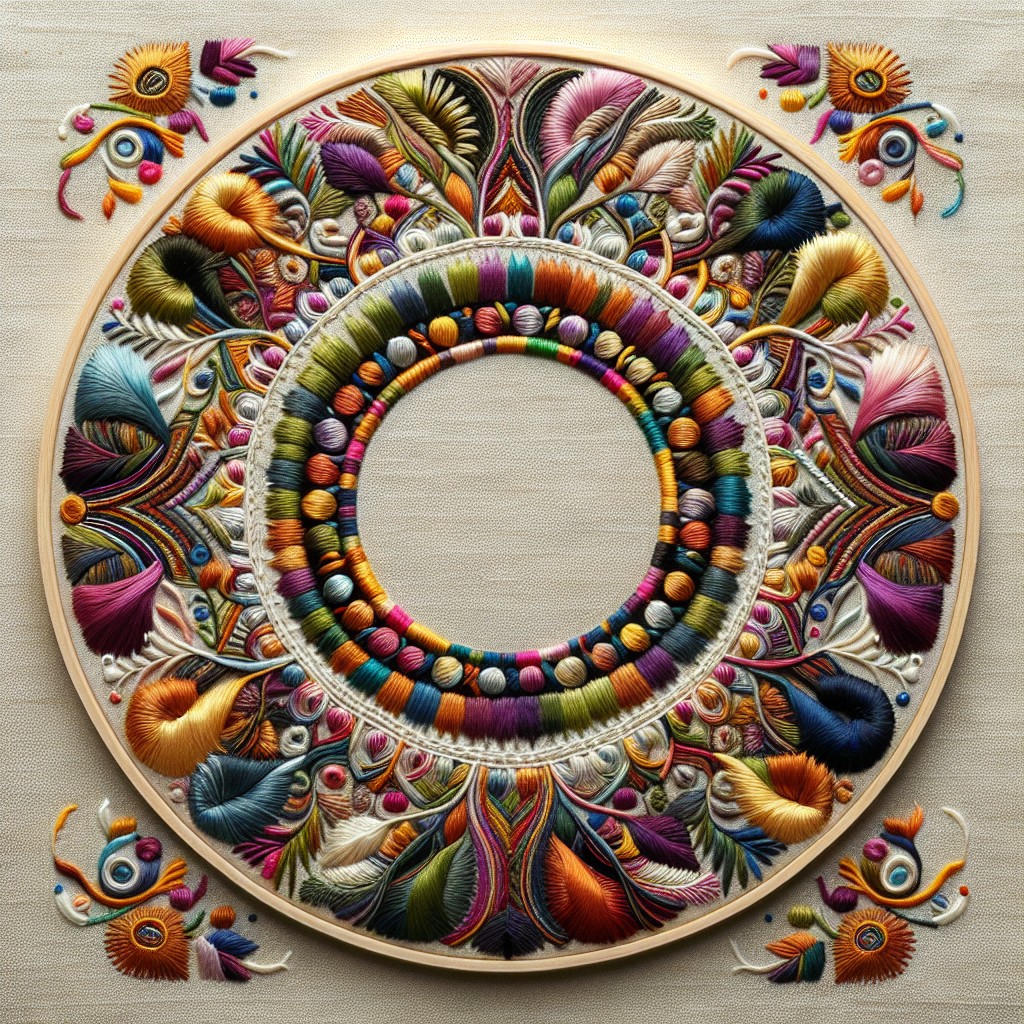 Best Embroidery Stitches for Outlining: Techniques and Tips
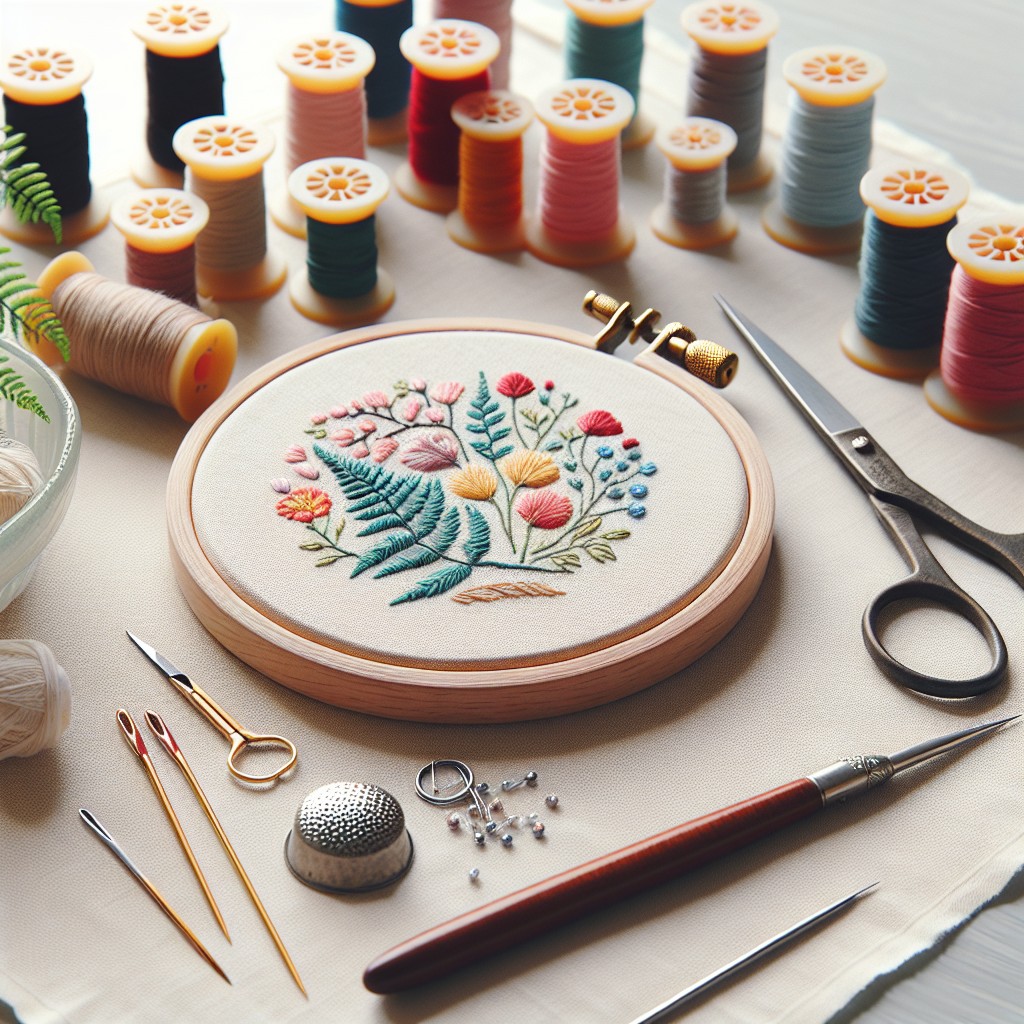 How to Finish the Back of an Embroidery Hoop: Step-by-Step Instructions
 What Does 3 Strands Doubled Mean in Embroidery: Understanding Thread Thickness