Creating a bunny tail out of yarn becomes essential for adding a delightful touch to your Easter crafts because it’s a straightforward process that will swiftly transform ordinary yarn into something charming and whimsical.
Creating a bunny tail out of yarn is a delightful project that’s both fun and simple. This article will guide you through the process, step by step, starting from selecting the right type of yarn, to creating a fluffy pom-pom that perfectly resembles a bunny tail.
Whether you plan to use it for a costume, as a cute keychain, or for a craft project, this guide will ensure you achieve a perfect result. With the detailed instructions provided, you’ll be able to create a fluffy bunny tail out of yarn like a pro.
So, let’s dive into the world of yarn crafts and start making a charming bunny tail.
Key takeaways:
- Use fluffy or plush yarn for a realistic bunny tail.
- Select cotton, wool, or acrylic yarn depending on desired texture.
- Prepare the yarn by winding it into balls and choosing the color.
- Start the project by creating a workstation and sketching the desired shape.
- Follow the steps for wrapping, tying, cutting, and shaping the bunny tail.
Materials Needed to Make a Bunny Tail Out of Yarn
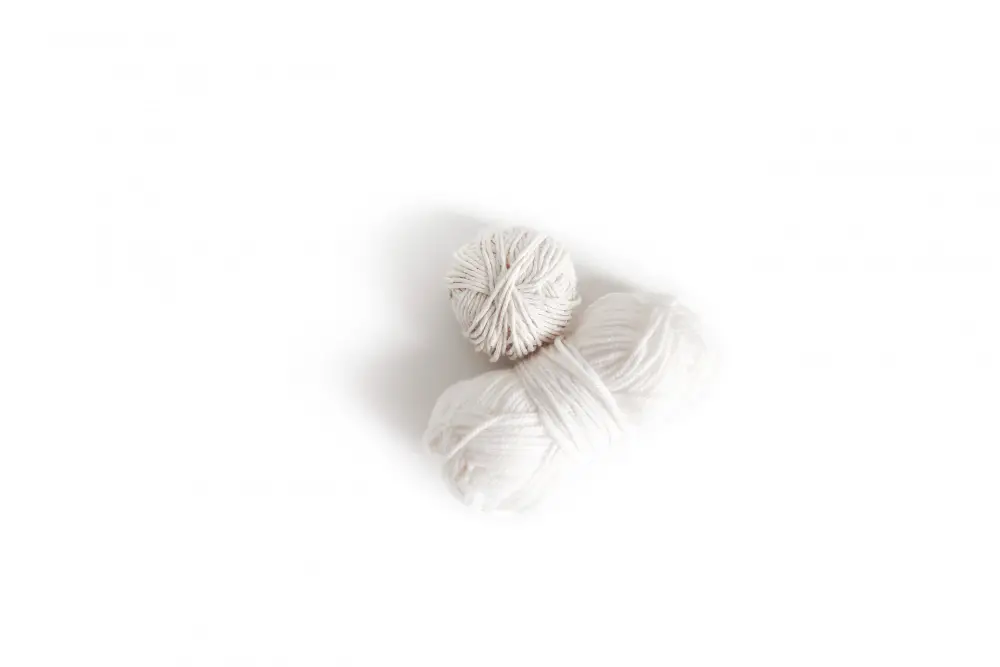
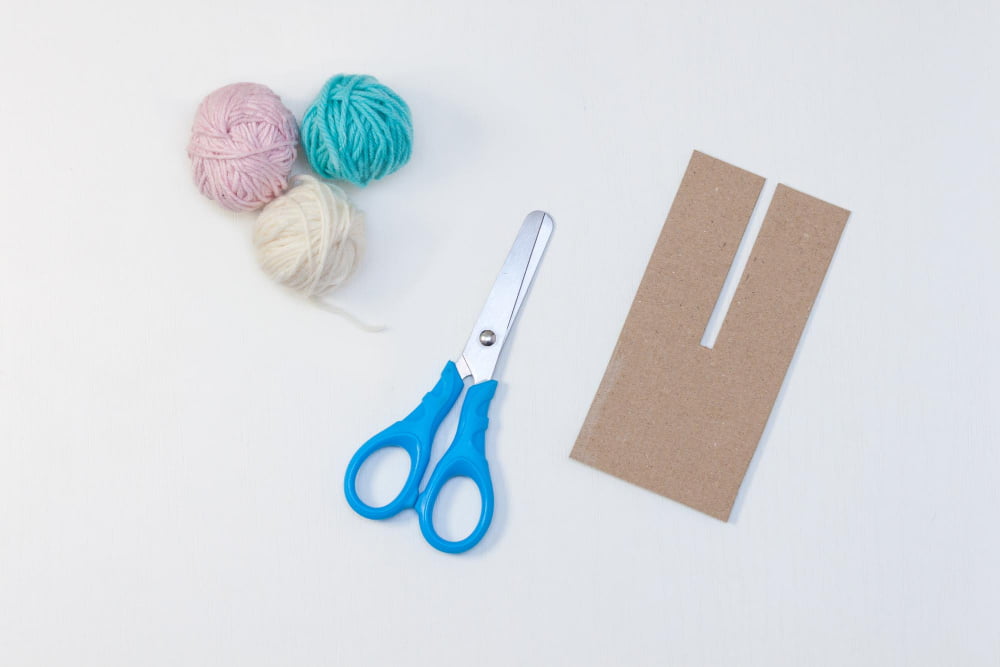
To begin the project, ensure that you’ve gathered all necessary items. A skein of fluffy or plush yarn would be best to mimic the softness of a bunny tail. White or cream color generally gives an authentic appearance but feel free to select any color to match your creativity.
You’ll also need a pair of scissors that can smoothly cut through yarn. Opt for sharp ones specifically designed for craft activities. Additionally, a yarn needle is crucial for attaching the tail to a bunny stuffed toy or any other object.
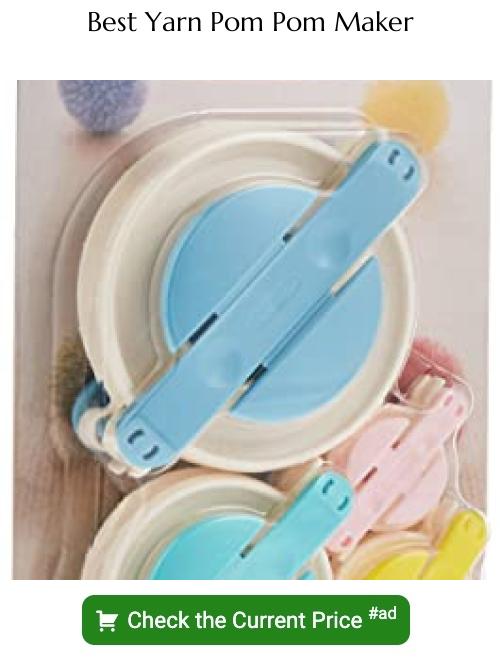
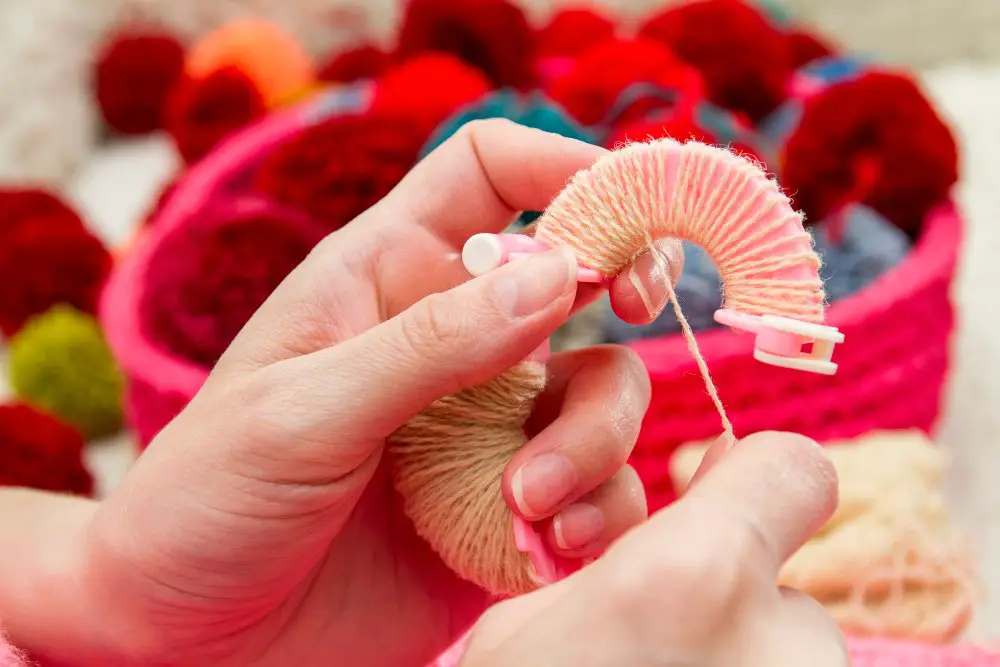
Look for a piece of cardboard or a pom-pom maker. It assists in maintaining a uniform size for multiple tails. The size should be appropriate to the size of the bunny toy. Typically, a 2.5-inch square would be ideal for a small to medium-sized stuffed toy.
Now, with the materials ready, we’re set for crafting a delightful bunny tail. Let’s delve into the next phase.
Choosing the Right Type of Yarn for a Bunny Tail
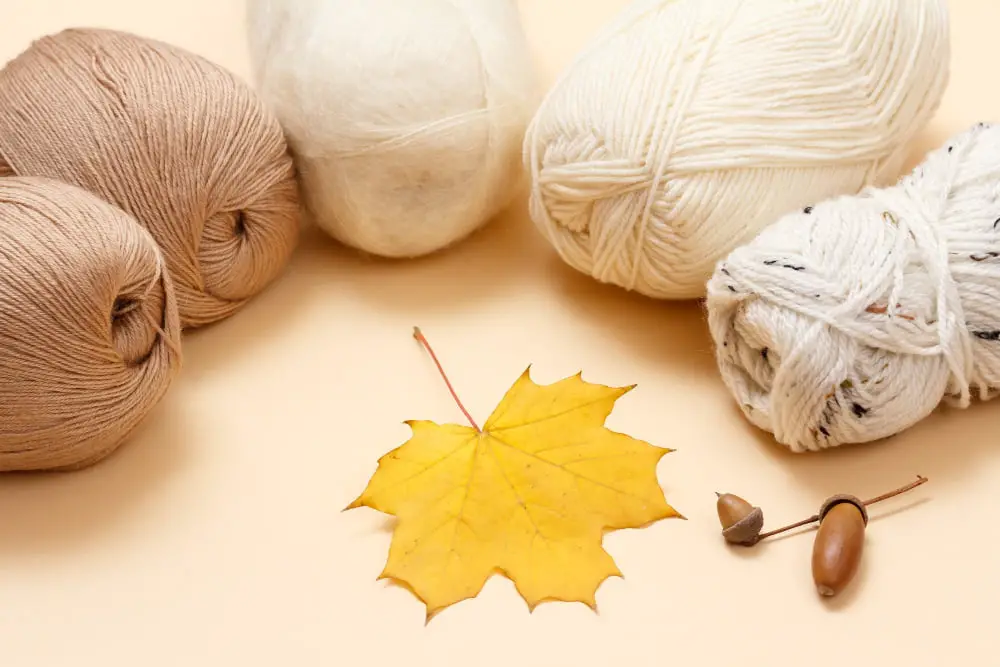
Selecting an appropriate yarn is crucial to create a fluffy and realistic bunny tail. Cotton, wool, and acrylic yarns are some of the best options. For a soft and cuddly tail, opt for yarns with high ply counts to add volume and fluffiness.
1. Cotton Yarn: Durable, but less fluffy. It holds the structure well and is ideal for beginners as it is easy to work with.
2. Wool Yarn: Provides a high level of fluffiness and warmth. This all-natural fiber is perfect for creating a realistic looking bunny tail.
3. Acrylic Yarn: Lightweight yet fluffy, it’s available in a wide variety of colors.
Remember to consider the color of the yarn as well. Natural fur-toned colors like white, brown, or grey are generally best for a realistic bunny tail, but feel free to get creative with your color choices. Finally, think about the texture. A thicker, bulkier yarn will yield a plusher tail, while finer yarns may require more layers for the same result.
Preparing the Yarn for the Bunny Tail
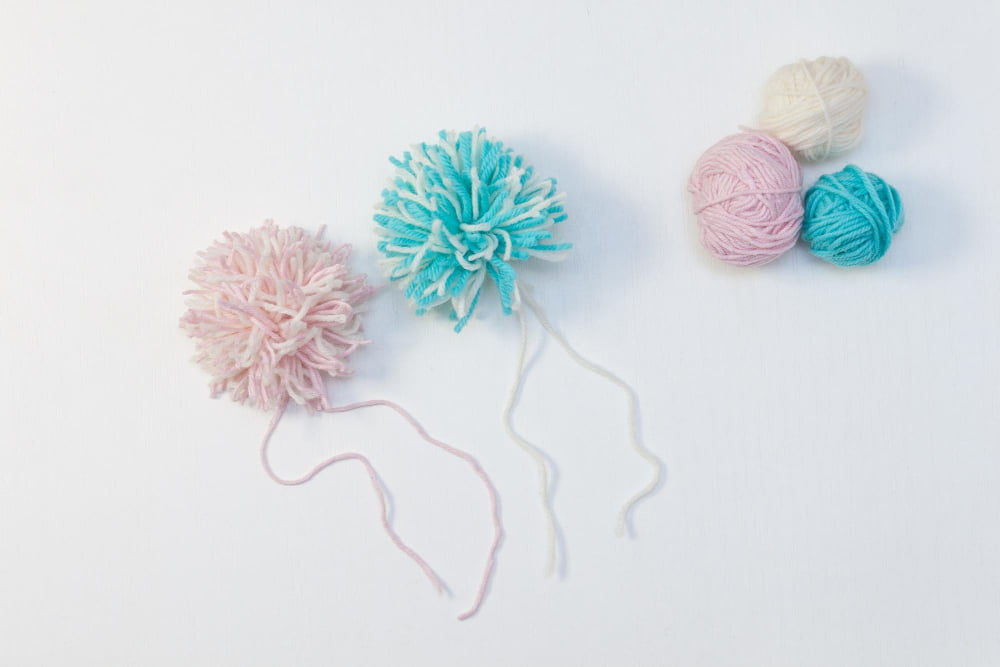
To start preparing the yarn for your project, gather the chosen yarn into balls for easier handling. This step is important in order to keep your workspace organized and to prevent any tangles or knots that may hinder your progress.
Next, consider the color of your bunny tail. This could be a traditional white, a more creative multi-colored tail, or any other color that suits your preference. Your choice will depend on the overall look you are going for. Remember, you have complete creative control over your bunny tail.
For a traditional and fuzzy bunny tail, opt for a fluffy or fuzzy yarn. If you’re looking for something a little different, a smooth texture might be right up your alley. The type of yarn you choose will drastically influence the overall vibe of your project.
Lastly, measure out the length of yarn required, keeping in mind that you’ll need enough to create the fluffy effect of the tail. Keep your scissors handy for quick adjustments. It’s always better to go for more length than less because you always have the option to trim down later. This preparation ensures a smooth and successful crafting process. Remember, preparation is key to executing any successful project.
Steps On How to Start the Bunny Tail Project
Kicking off this fun project involves a few fundamental steps.
1. Prepare a Workstation: Get a clean, comfortable space with enough room for your yarn, scissors, and crochet hook. A clutter-free environment makes the process more enjoyable and efficient.
2. Yarn Selection: Opt for a yarn type that is fluffy and soft, imitating the texture of a bunny tail as closely as possible. Consider the color, too – do you want a traditional white tail, or something more colorful?
3. Size Determination: The size of the bunny tail depends on your preference. Is it for a stuffed toy, a keychain, or another application? Decide on the dimensions to help guide your work.
4. Sketch It Out: Although not necessary, sketching out the desired bunny tail shape can provide a useful visual guide to follow.
5. Gather Skills: Brush up on your crocheting basics, especially making a pom-pom, as this forms the basis of your bunny tail. You’ll be using the wrap method for this, creating loops of yarn to give your tail volume.
Remember these initial steps are crucial in ensuring the success of your project. The goal is to ultimately create a product that resembles a bunny tail as closely as possible, while also having a fun crafting experience.
Procedure of Making a Bunny Tail From Yarn
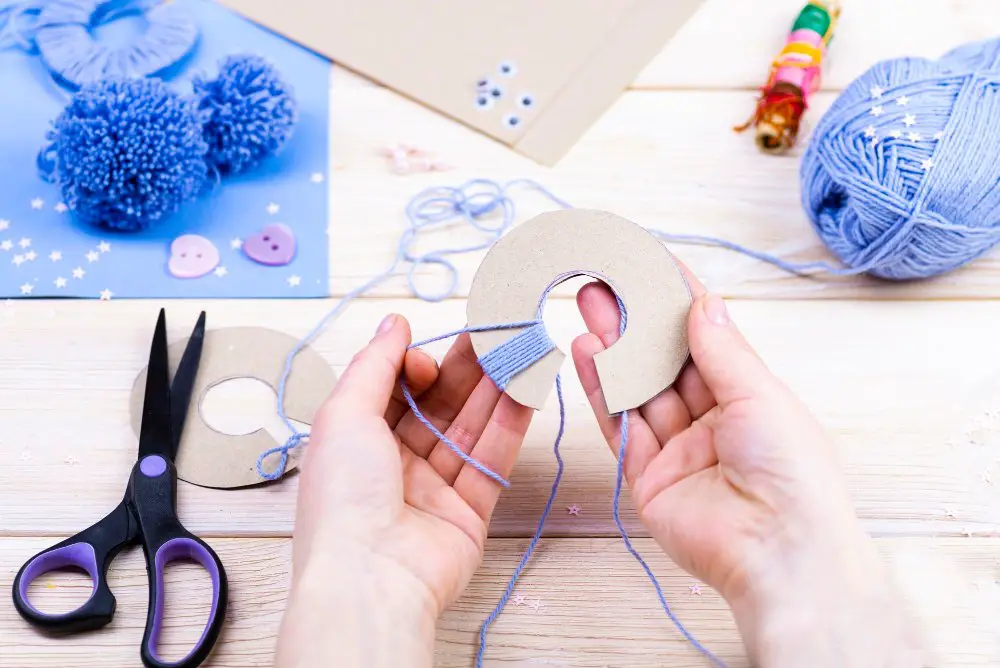
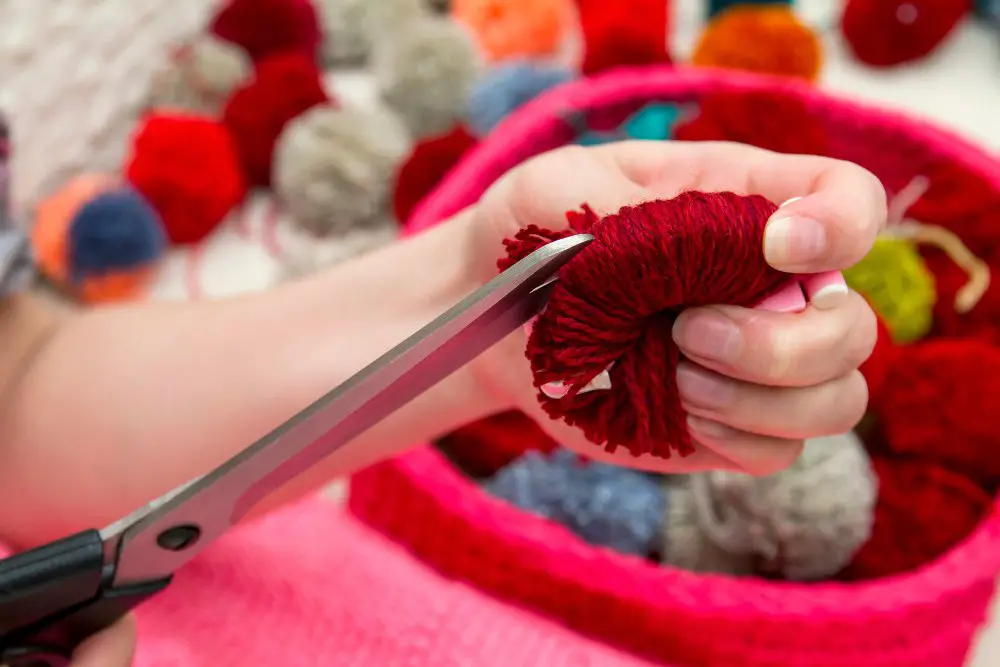
Begin by cutting a piece of cardboard into an approximate size of 3×5 inches. This will serve as your wrapping base. Proceed to wrap the yarn around the cardboard about 150 times, giving you a nice, full bunny tail. Take caution not to wrap the yarn too tight or too loose.
Next, cut a separate piece of yarn about 10 inches long. Insert this piece between the yarn and the cardboard at one end, tie it tightly around the entire bundle of yarn. This structure will hold everything together.
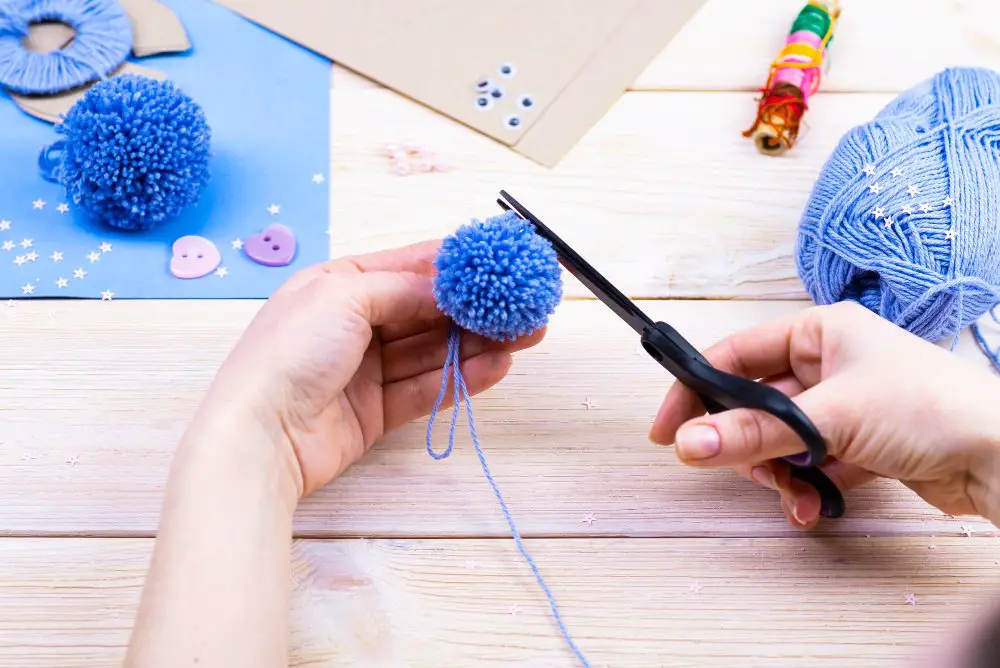
Now, gently remove the yarn bundle from the cardboard. You’ll notice it’s still attached at one end; with sharp scissors, proceed to cut those loops on the opposite side of your tied piece. This action creates the fluffy appearance of the bunny tail.
To add more character to your bunny tail, fluff out the yarn using a pet brush or hairbrush. Brush through the yarn bundle until all strands are separated and fluffy. Avoid over brushing that may cause it to become too frizzy.
Finally, trim the yarn into a round shape, which is representative of a bunny tail. This task necessitates patience and precision to achieve the ideal bunny tail shape. Remember, it’s best to trim a little at a time, you can always cut more if needed but you cannot add it back.
By diligently following these steps, you have the makings for a soft, rounded, and appealing bunny tail. However, it is crucial to mention that practice makes perfect. Your first bunny tail may not be perfect, but with patience, you will craft the best fluffy bunny tail from yarn.
Finishing Touches to Your Yarn Bunny Tail
After your bunny tail has been crafted, it’s time for the all-important finishing touches.
1. Trim the Yarn: With a pair of scissors, adjust the length of the yarn pieces. Make sure to cut each piece carefully to attain a uniform and fluffy look.
2. Fluff the Tail: For a bushier tail, carefully separate the individual strands of yarn within your tail. This brings out a more realistic and softer feel.
3. Secure the End: If your tail will be attached to a costume or toy, ensure to add an extra thick piece of yarn or a small loop to the base. This can be stitched or pinned into place.
4. Taming Flyaways: Flyaway strands can make your bunny tail look messy. Tame them with a touch of fabric glue, but use sparingly to prevent stiffness.
The finishing touches surely test your patience and attention to detail! Your goal is not merely to optically improve your craft but to make the tail sturdy and lasting. Proper grooming gives the yarn tail a realistic, round, and adorable bunny tail look. A well-executed finish enhances both the aesthetic value and the durability of the fluffy bunny tail made from yarn.
Tips to Maintain Your Yarn Bunny Tail
Keeping your yarn bunny tail in the best condition requires some simple care steps. Avoid machine washing as it can cause the yarn to unravel and lose shape. Instead, opt for hand washing using cold water. Use soft fabric soap and avoid rubbing or stretching the yarn excessively. Rinse gently and lay it out flat to dry.
To detangle and refresh the tail, use a wide-toothed comb, gently working from the tip to the base. This helps in maintaining its fluffy texture. Avoid storing it in a damp or sunny location as it can cause discoloration or promote mildew growth. Lastly, moderate usage can make your yarn bunny tail last a lot longer, try not to pull or tug on it to avoid damaging its structure.
Remember, good maintenance not only makes your tail last longer but also helps it keep its appealing look. Just as with any craft, the more you care for it, the longer it will be a source of pride.
Expectations for the Final Result of the Yarn Bunny Tail Project
The outcome of your handmade yarn bunny tail will largely depend on the chosen yarn type and crafting technique. With patience and attention to detail, you should expect a fluffy and durable piece.
The lush texture characteristic of bunny tails is achievable by carefully trimming the yarn into a round form. The finalized product is versatile, suitable as an intriguing keychain charm, an adornment on a nursery wall, or a playful accessory for children’s stuffed animals.
Remember, precision in cross-cutting and ensuring uniformity in size contributes immensely to achieving a realistic and appealing look.
Strategies to Enhance Your Yarn Bunny Tail Crafting Skills
Practice with different types of yarn, each has unique texture and thickness that can alter the fluffiness and size of the tail. Experiment with various knotting techniques such as the slip knot, square knot, and lark’s head knot to discover the effect each has on the final project.
Using a pom-pom maker can drastically cut down your crafting time while ensuring a symmetrical shape. If desired, utilize a crochet hook to pull strands through tight spaces, making your crafting process smoother.
Lastly, continuously expand your skills by exploring more advanced yarn crafts to further your understanding and application of this versatile material.
Common Challenges in Making a Bunny Tail Out of Yarn and Overcoming Solutions
Crafting a bunny tail from yarn isn’t always a smooth ride – it’s naturally tricky and could often lead to a tangled mess rather than a perfect fluffy tail. One potential hitch is yarn selection; bulky yarns can be difficult to work with, but using finer yarns may not provide the needed fluffiness. The simple solution is to try out different types of yarns to see which one suits your comfort and offers the right effect.
Another stumbling block lies in the creation of the pom-pom that forms the bunny tail. Forming a perfect sphere using yarn can be quite elusive. One handy trick is to use a pom-pom maker tool, which will help guide you towards that desired shape.
At times, the problem lies with the cut ends of the yarn unraveling after a while, causing your bunny tail to lose its fluff. Overcoming this issue requires good finishing techniques, such as ensuring tight knots and potentially using a dab of fabric glue to secure ends.
Possibly the most common challenge is achieving the right fluffiness. If it’s too loose, your bunny tail may look more like a poorly formed cloud. Too tight, and it will be more a cotton ball than a bunny tail! Practicing different tightness levels while wrapping the yarn can solve this.
And finally, don’t stress the challenges. With patience and practice, you’ll soon have a wonderfully fluffy yarn bunny tail.
Innovative Ways to Utilize Your Yarn Bunny Tail
Crafted with tender care and admiration, your yarn bunny tail brightens up various creative explorations.
1. Seasonal Decor: These fluffy highlights prove ideal for Easter decorations. Attach them onto wreaths, homemade Easter baskets, or as a playful touch on your dining table arrangement.
2. Kids Play: Whether added to a stuffed animal collection or used as a part of a costume, these tactile additions encourage imaginative play.
3. Fashion Accessory: Amplify your style by attaching it to key chains, bags, or hats for a unique, playful touch.
4. Gift Embellishment: Instead of using traditional bows or ribbons, place it atop your gift package for a charming surprise.
5. Home Accents: Perk up dull corners of your home by incorporating them into flower vases, hanging mobiles, or even as curtain tie backs for an unexpected element of whimsy.
Remember, the bunny tail’s versatility extends as far as your imagination!
FAQ
What can you use for bunny tails?
For bunny tails, marshmallows can be dipped in melted white chocolate and sprinkled with coconut.
How do you put elastic on a bunny tail?
To put elastic on a bunny tail, simply wrap the elastic band around your waist, ensuring that the cottontail is correctly positioned at the back.
What type of yarn is best for crocheting a fluffy bunny tail?
The best type of yarn for crocheting a fluffy bunny tail is typically fuzzy or eyelash yarn due to its texture that closely mimics fur.
How can you incorporate color variations when knitting a bunny tail?
To incorporate color variations when knitting a bunny tail, consider using variegated yarn or transitioning between different shades of the same color using the intarsia technique.
What are the recommended knitting or crochet patterns for creating a lifelike bunny tail?
For creating a lifelike bunny tail, recommended knitting or crochet patterns include making a fluffy pom-pom using loop stitch or faux fur yarn techniques.


