In this article, you will learn a simple and innovative method to craft a gnome beard using yarn.
Creating a gnome beard out of yarn is a fun and creative project that can add personality to your gnome. This endeavor involves selecting the right yarn, cutting it into the appropriate length, and attaching it to your gnome in a way that mimics the natural flow of a beard.
The process is simple and requires only basic crocheting or knitting skills. In this article, you will find a step-by-step guide on how to make a gnome beard out of yarn, including tips on choosing the best yarn for the task, determining the right length for the beard, and techniques for attaching it securely to your gnome.
Key takeaways:
- Select lightweight or chunky yarn based on gnome size
- Consider fiber and texture for desired beard aesthetic
- Choose beard color and texture to complement gnome’s design
- Cut yarn to desired length, creating soft, textured appearance
- Assemble and attach yarn beard, trim to desired shape
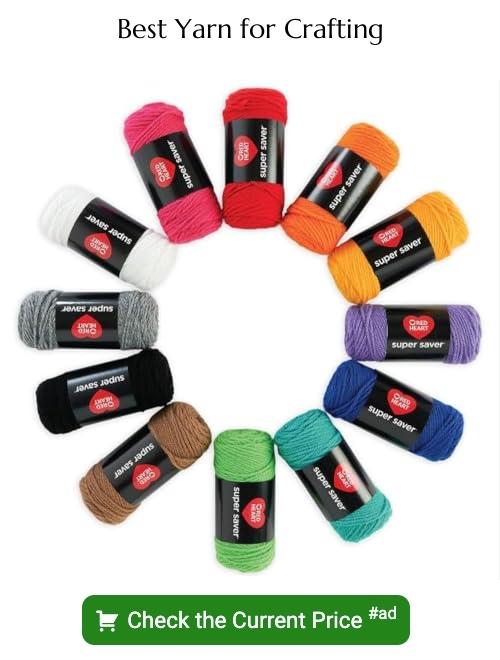
Selecting the Right Yarn for Your Gnome Beard
When it comes to choosing yarn, consider its weight, fiber, and texture:
- Lightweight yarns, such as sport or sock weight, are suitable for small or miniature gnomes.
- Chunkier yarns, like bulky or super bulky, add depth and fullness to larger gnomes.
- The yarn’s fiber can drastically affect the aesthetic of your gnome’s beard. Acrylic yarn tends to have a smooth, plastic-like look, while wool or cotton yarns provide a more rustic, natural appearance.
- Textured yarns can also add interest to your gnome’s beard. Consider yarns with a bit of fuzz, like mohair or cashmere blends, to provide a fluffy effect.
Before finalizing your selection, consider how the yarn matches with the rest of your gnome. The colors of the beard and hat should complement each other for a cohesive finish.
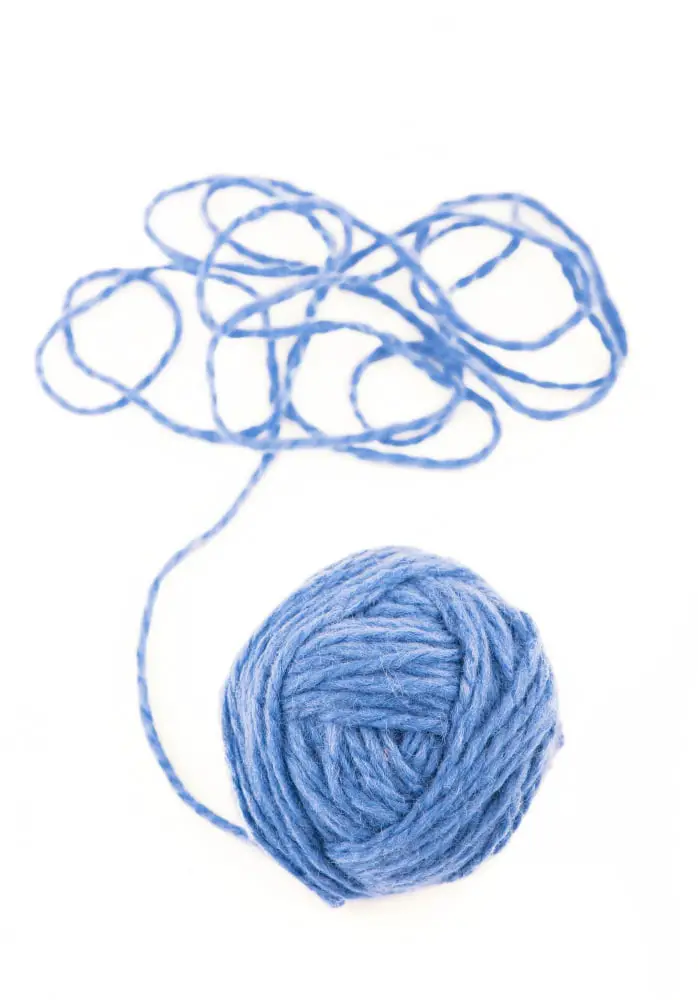
Choosing Beard Color and Texture for Your Gnome

Opting for natural shades such as white, grey, or brown can provide a traditional look for the gnome beard. Bold colors such as red, blue, or green can make your gnome more festive and whimsical.
- Consider the gnome’s story to inspire your color choice. A forest gnome may have a green beard, while a gnome from the Arctic could have a white one.
- Complement or contrast the beard color with the gnome’s hat and clothes for a cohesive look.
The texture of yarn significantly affects the appearance of the gnome beard.
- Thicker, chunkier yarn creates a more full and bushy beard.
- Thinner, finer yarn gives a more refined and sleek look.
- For an extra touch of whimsy, consider using novelty yarns, which come in a wide array of textures, from fuzzy to shiny.
Now that you’ve chosen the color and texture for your gnome’s beard, it’s time to navigate to the next step: cutting the yarn. Cutting the yarn accurately is fundamental as it will shape the beard of your gnome and determine its look. Remember, there’s no rush – take your time to do it properly, and the results will speak for themselves.
How to Cut Yarn for Gnome Beards
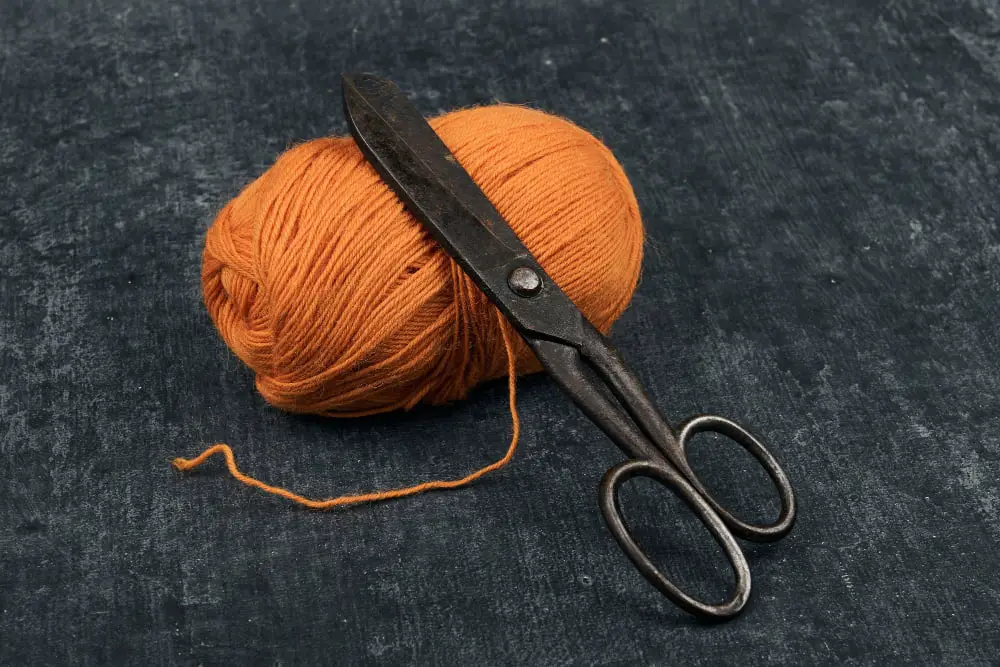
Begin by gathering all the necessary tools – a pair of scissors and your selected yarn. The length of the yarn pieces will determine the length of the gnome beard, so it’s essential to decide how long you want it to be. A good rule of thumb is to double the intended length since you’ll be folding the yarn pieces in half.
For an evenly trimmed gnome beard, the yarn pieces should all be the same length. Cut one piece of yarn at your desired length, and use it as a guide to cut the rest. Aim to cut enough yarn pieces to cover the area where the beard will be attached.
Keeping yarn pieces bundled together while cutting can speed up the process. However, please ensure the ends are aligned ideally before making a cut. Remember to exercise caution while cutting to avoid any accidents.
Comb through the cut yarn pieces gently to create a soft, textured appearance, mimicking an actual beard. Now, you’re ready to assemble and affix your gnome beard, which will add character and charm to your handcrafted gnome.
Creating a Gnome Beard Pattern

Start by deciding on the desired shape and size for your gnome’s beard. A triangle or semi-circle shape is typically favored, giving the look of a full and robust beard.
Next, use a piece of paper or cardboard serving as your template. Draw the beard’s outline according to your decided shape and size. Remember, the beard should be proportionate to the gnome’s body to maintain a balanced look.
Now, cut out the traced beard shape from your template. This will guide you in making a perfect yarn beard.
To create a thick and full look for your gnome’s beard, you might want to consider the loop technique. It involves looping the yarn around the template, ensuring that each loop corresponds with the size of the beard, and thereby adds the desirable volume.
Lastly, be sure to take note (or even mark) of where the mouth area on your gnome will be. It will help when attaching the beard to avoid covering this playful feature.
During this process, remember to continually refer back to your gnome. This ensures all proportions remain balanced and suit the overall appearance of your gnome.
Measurement Guidelines for Gnome Beards

Understanding the correct proportions is vital in crafting a gnome beard that’s both convincing and proportionate to your gnome’s size.
Initial factor to be considered should be the height of your gnome; typically, the beard should be about one-third of the total size, but feel free to make adjustments based on your gnome’s overall design.
Next, consider the width of the beard; it should be slightly wider than the gnome’s body to create a full, round appearance.
Before cutting any yarn, be sure to measure twice and cut once. This old adage is especially true when working with yarn, as it is difficult to fix a cut that is too short.
After determining length and width, sketch out the shape of the beard on a piece of paper to serve as your guide throughout the cutting process. This will ensure symmetry and a well-proportioned end result.
Once satisfied with your measurements and guide, you can move forward, using them as a reference during the cutting and assembly stages.
Remember, these measurements are not rigid. Allow room for customization based on individual aesthetic preference and design creativity.
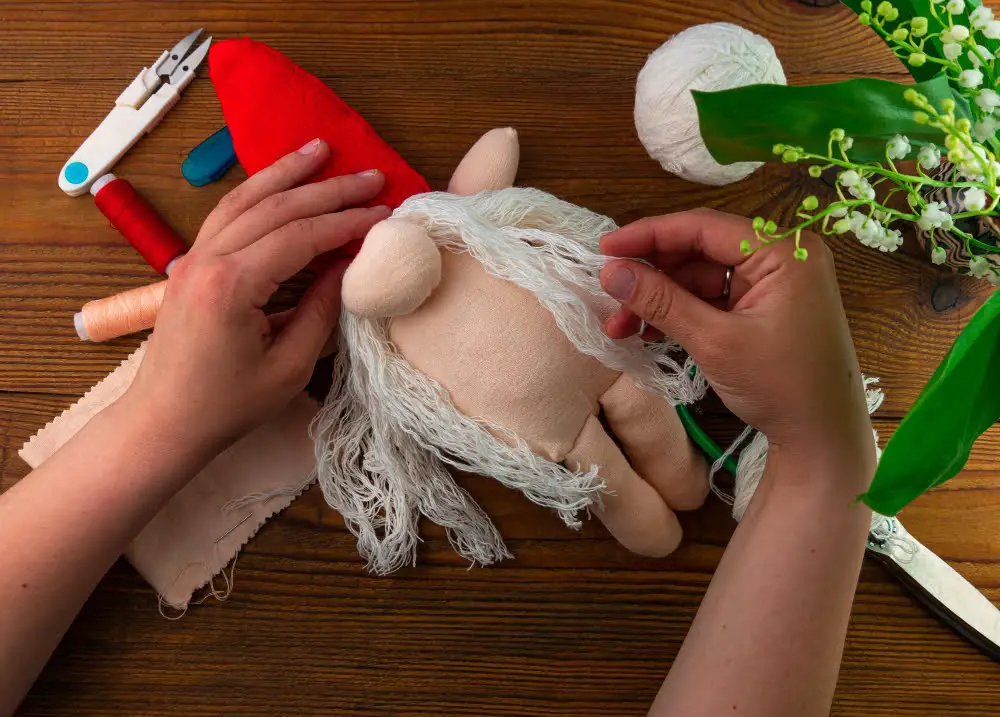
Assembling and Attaching the Beard to Your Gnome
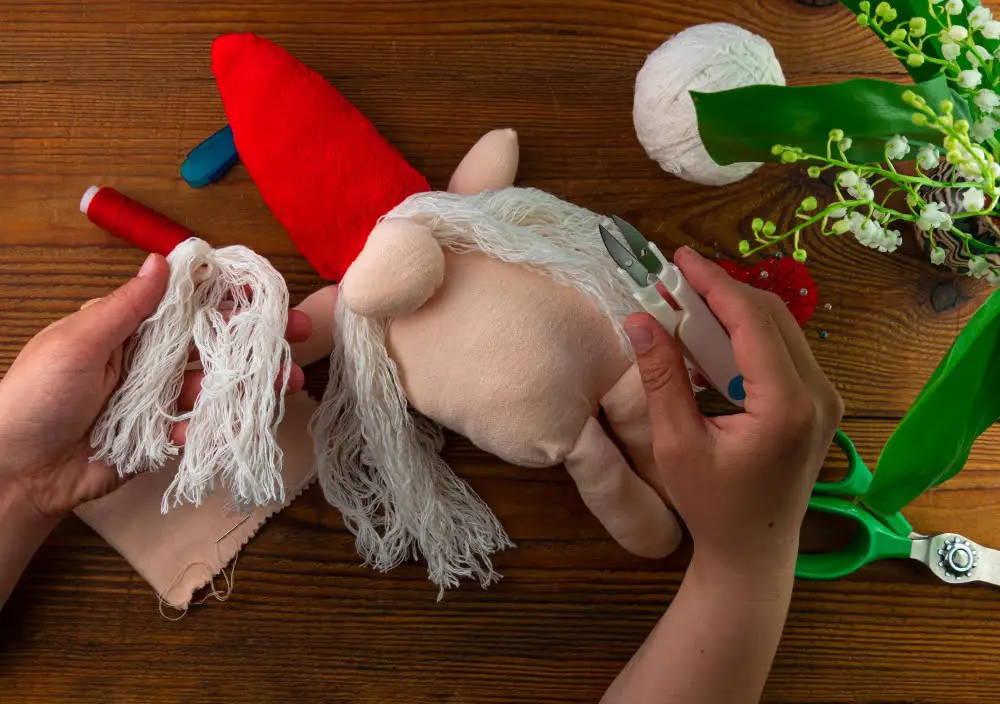
Start by taking your cut yarn lengths, which should align with the predetermined beard pattern size. Tie a small knot at one end of each yarn piece to give the beard its depth and texture. The knot’s position can vary depending on the desired beard look – closer to the end for a fuller look or in the middle for more length.
Next, attach your created beard to the gnome. Apply hot glue to the back of the gnome, under the nose but above the body bottom. Stick the yarn pieces to the hot glue, ensuring the knotted portion faces outward, while the smooth ends lay against the gnome’s body. Please ensure that the yarn covers the entire glued area, creating a lush, full beard.
If your gnome requires a mustache, repeat this process but trim the yarn pieces shorter. Hot glue these pieces directly under the gnome’s nose.
Finally, give the beard a trim. Using fabric scissors, trim the yarn to your preferred beard shape—longer at the ends for a natural beard or an evenly trimmed shape for a neater look. Let your gnome’s personality guide you.
Remember, it’s all right if the beard isn’t perfect – a little irregularity can add character and realism. Be careful with the hot glue, ensuring it doesn’t seep through to the front of the beard. Imparting patience, precision, and creativity into the process will undoubtedly yield a gnome beard to be proud of.
Tips for Customizing and Styling Your Gnome’s Beard
Experiment with different yarn types for unique effects: For example, boucle yarn can add a curly style while chunky yarn can give a fuller appearance.
Add decorative elements: Small beads can be threaded on individual yarn strands for a dotted beard effect, or incorporate glittery yarn for a magical touch.
Vary the beard length: The overall look of the gnome can radically change by adjusting the beard’s length. Try a short, neatly trimmed beard for a modern gnome or a long, wild beard for a more traditional, mythical look.
Mind the beard direction: For a more realistic facial hair effect, ensure yarn strands are pointing downwards. For unconventional styles, consider sideways or upwards pointing beards.
Use color blending: Blend two or more colors in the beard for a more natural look or to indicate age, such as a mix of white and grey for an older gnome’s beard.
Texture layering: Try attaching the yarn in multiple layers to give the beard more depth and texture. For instance, you can use coarse yarn for the underlayer and softer, longer yarn for the top layer.
Trim to style: Once the beard is attached, shape it. Angled trimming can give the beard a ‘V’ shape, while a rounded trim can create a more roly-poly gnome. Experiment until happy with the outcome.
FAQ
What are the different techniques to craft a yarn gnome beard?
Techniques to craft a yarn gnome beard involve cutting lengths of yarn, tying them together in the middle, brushing out the yarn to create a fluffy texture, and then trimming to shape it.
Can certain yarn types enhance the appearance of a gnome beard; if so, which types are most effective?
Yes, using fluffy or fuzzy yarn types such as bouclé, eyelash, or faux fur can enhance the appearance of a gnome beard by providing more texture and volume.
What is the role of color selection while creating a gnome beard out of yarn?
Color selection in creating a gnome beard out of yarn helps to enhance visual appeal and embody the character’s personality, perhaps making it whimsical with bright colors or more traditional with neutral tones.


