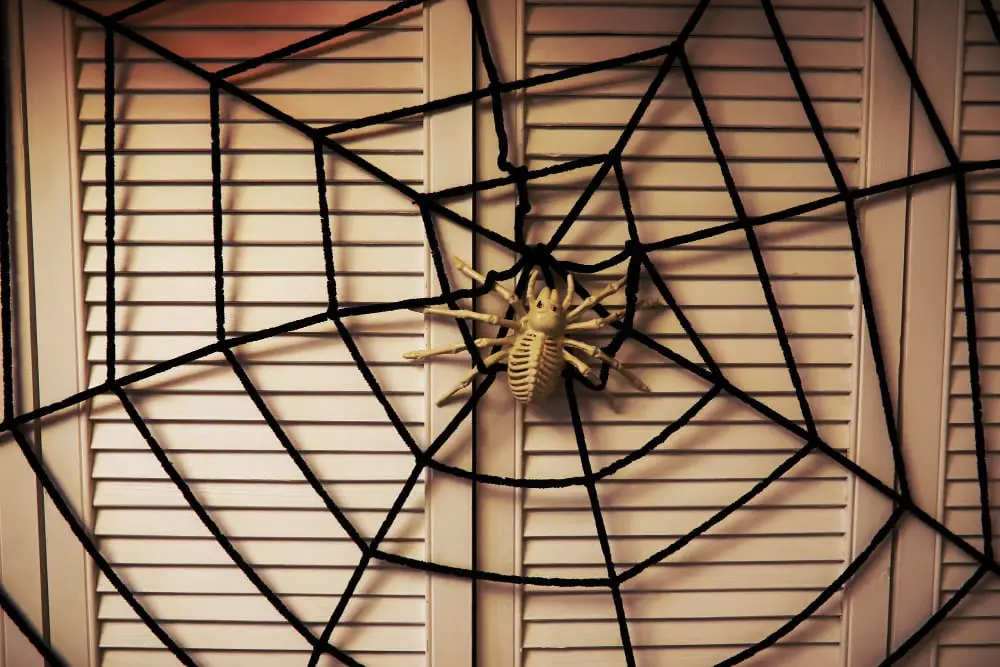
Creating a spider web from yarn can be an engaging and enjoyable project because it allows us to transform simple yarn into a unique decoration.

Creating a spider web from yarn is a fun and engaging craft project that can be accomplished using a few simple steps. This article will guide you through the process, from selecting the right type of yarn, to forming the web structure, and finally, adding the intricate web details.
By following the steps outlined here, you’ll be able to create a stunning yarn spider web that can be used as a unique decoration or a playful accessory.
Stay tuned for the detailed step-by-step guide that will make this project a breeze, regardless of your crafting skill level.
Key takeaways:
- Choose a sturdy but not too bulky yarn like cotton or acrylic.
- Consider using glitter or glow-in-the-dark yarn for added visual effect.
- Gather supplies like nails, push pins, scissors, measuring tape, darning needle, and craft glue.
- Cut yarn pieces to desired length, allowing for concentric rings and extra length.
- Connect yarn pieces in a star formation, then weave the webbing and create larger rings to complete the design.
Selecting Appropriate Yarn for Spider Web Craft
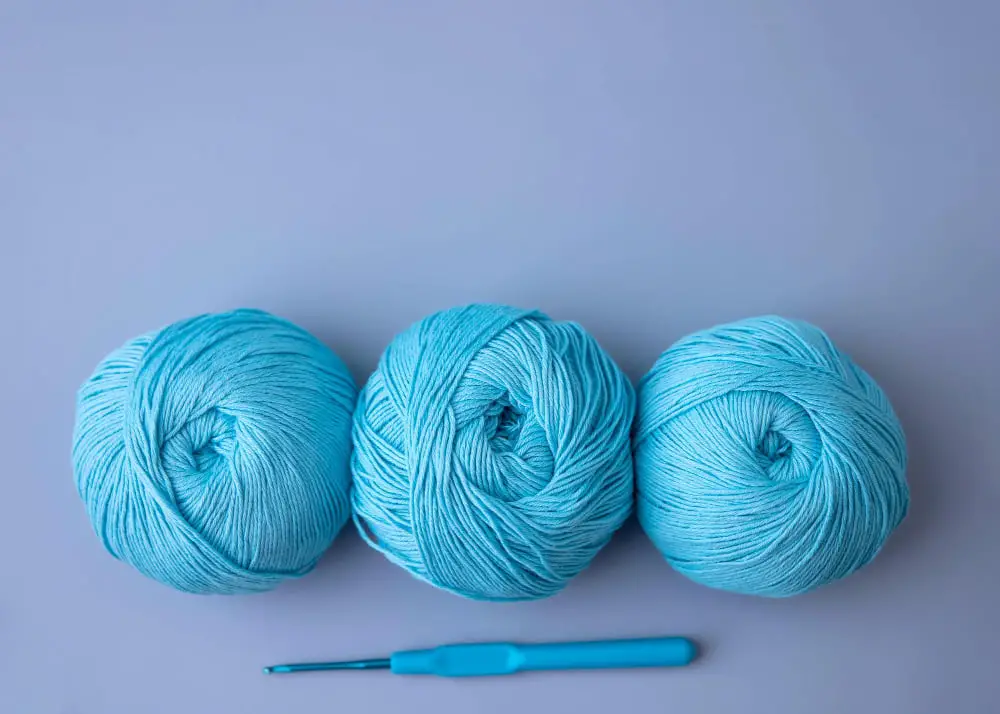
Choosing the correct type of yarn is crucial for your spider web craft. You need to select a yarn that is sturdy but not too bulky, ensuring it holds its shape well. Cotton or acrylic yarn is an excellent choice as these materials are easy to manipulate and durable.
You will also need to decide on the color of your yarn. A traditional web is white, but don’t be afraid to get creative. Glitter yarn or glow-in-the-dark yarn can add an enhanced visual effect to your craft.
The size of the yarn is also worth considering. Thicker yarn will create a more pronounced web, while a thinner thread will offer a more delicate look.
Finally, consider the length of the yarn you’ll need. This will largely depend on the size you want your web to be. Getting a rough estimate beforehand can prevent running out of yarn midway through your project.
Gathering Supplies for a Yarn Spider Web
Firstly, you’ll need a good quality yarn. It’s best to opt for a thicker yarn, like a worsted weight, to ensure that your web will hold its shape. Black or white colors are traditionally used for spider webs, but feel free to get creative with different colors!
To hold your yarn in place while you’re crafting, grab some nails or push pins – depending on if you’re working on a corkboard or wooden surface. If you’re comfortable freehand drawing, a pencil or chalk will be handy to sketch the basic web shape to guide your yarn placement.
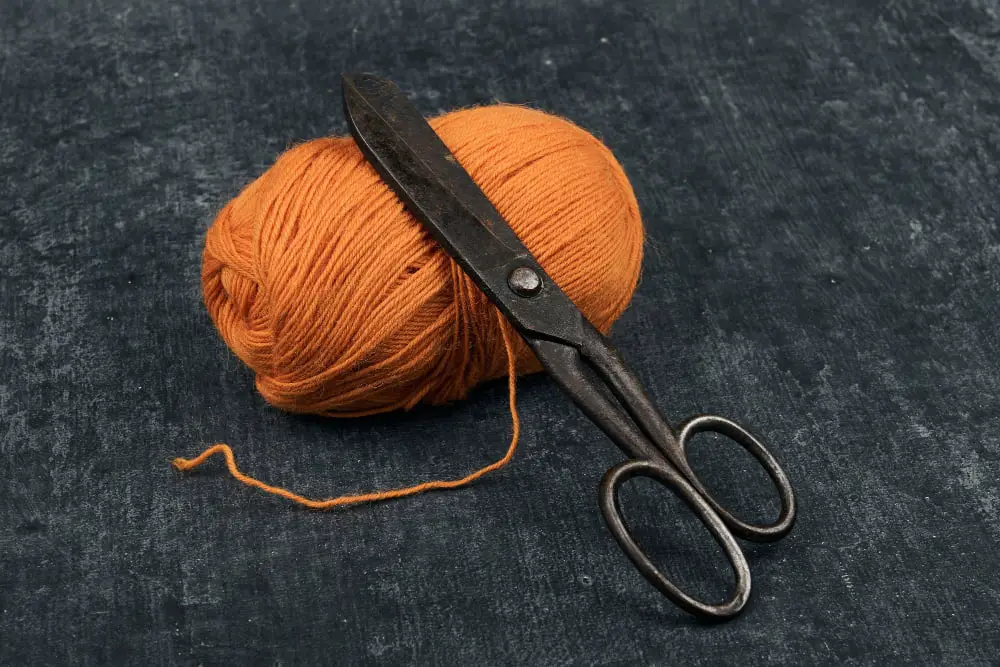
Don’t forget a pair of sharp scissors for trimming the yarn lengths, and a measuring tape to help maintain uniformity. If you need any extra staying power, consider having some craft glue handy.
Last but not least, to weave in the ‘web’ within the yarn frame, a darning needle would be helpful. This tool will allow you to weave easily in and out of your yarn layout.
Remember, choosing quality tools not only ensures a great finished product but also makes the crafting process smoother and more enjoyable!
Cutting the Yarn Pieces As Per Desired Length
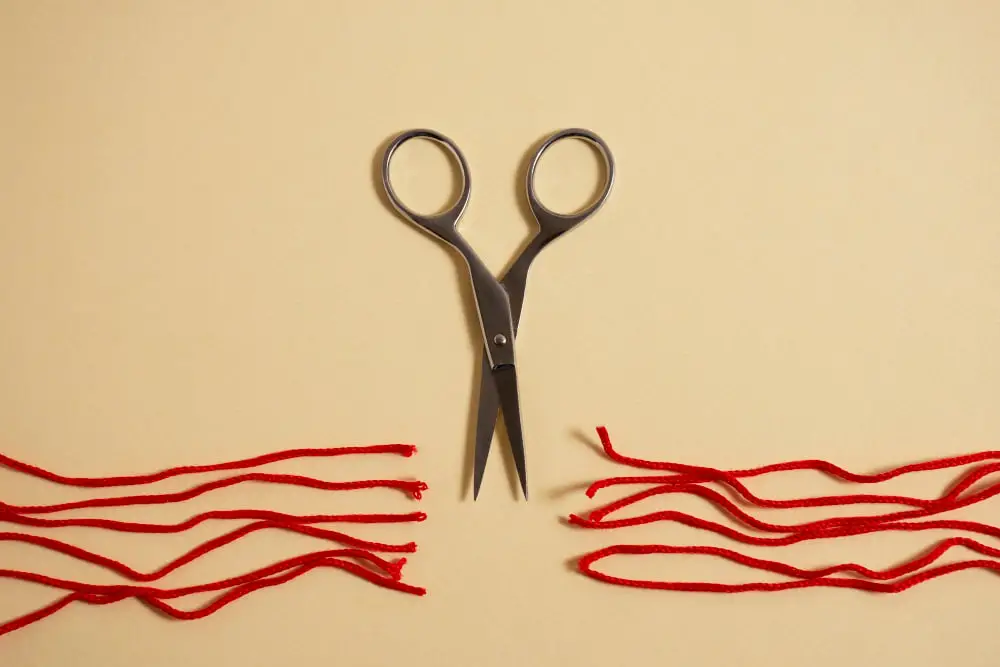
To start, use a measuring tape to determine the length you want for your spider web’s radii – the lines streaming out from the web’s center. An average-sized yarn spider web, arguably the best for beginners, usually calls for around 12 pieces of yarn, each measuring roughly two feet.
When cutting your yarn, use a sharp pair of craft scissors to ensure clean, non-frayed ends. You’ll also want to cut additional pieces for your concentric rings – these create the ‘spiral’ effect in your web. These yarn strands should gradually decrease in length, allowing them to fit inside one another. Remember, accuracy in your measurements and cuts now will result in a more symmetrical and realistic web later.
Finally, it’s always better to overestimate your yarn lengths rather than underestimate. It’s easier to trim excess length at the end than trying to stretch too-short strands. Don’t fret about having perfect lengths; slight standing of the strands can lend a more natural appearance to your final web.
Fixing Yarn Pieces On a Flat Surface
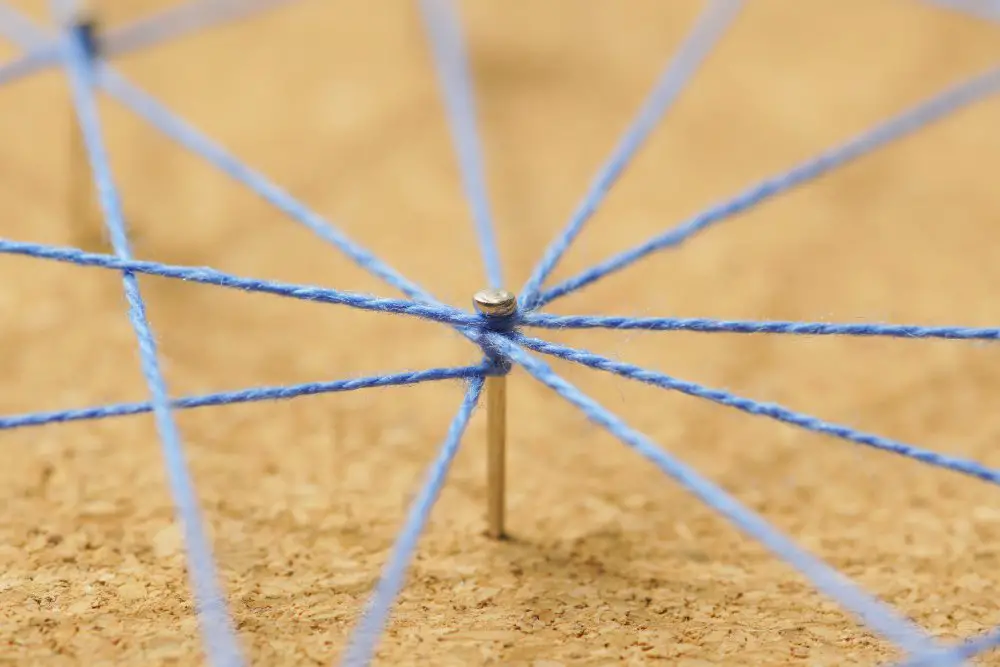
To start, choose a workspace that can handle push pins or tape without any damage. Spread out your cut strands so that they intersect in the middle—a good rule of thumb is to lay them out like spokes on a bicycle wheel.
Each “spoke” can vary in size depending on your personal preference for web intricacy. Use pins or tape to temporarily secure these intersections, ensuring each strand stays taut.
This will form the basic structure of your web, with each strand functioning as a skeleton for your design. Remember, accuracy is key—making sure each yarn piece is evenly spaced and tightly secured will yield the best results.
Connecting the Yarn Pieces to Form Basic Structure

Begin by laying out your cut pieces of yarn in a star formation on a flat surface, making certain that all the ends meet in the center. Use strong adhesive, such as hot glue or heavy-duty craft glue, to secure the connecting ends together. This forms your basic spokes.
To reinforce the central point, you might consider adding an additional piece of yarn in a circular shape around the point of contact. Ensure it’s secured with a strong adhesive and allow sufficient drying time to solidify the connections.
Remember, precision is key. Every spoke of your web should be equally spaced to maintain balance for the design. Use a ruler or tape measure if necessary to help with accurate spacing.
Creating the Webbing With Yarn
Start by choosing a yarn strand secured at the center of your structure to serve as the starting point for your web design. Use a simple yarn over-and-under process to weave this strand through the rest of the pieces.
A good tip to keep in mind is to gradually expand your loops as you reach the outer pieces, this will give your web design a more realistic look. Avoid pulling too tight; a loose pattern will still maintain its shape while appearing more natural.
Remember this weaving technique doesn’t require precision – slight variation in the loop sizes only enhances the web’s authentic appearance. Consistency in tension while weaving will further enhance the visual effect.
And finally, once the outer ring is completed, secure the end of the yarn with a knot. It’s easier to adjust the webbing while you’re working on it rather than after you’ve finished.
This simple and repetitive process will result in a fascinating, organically formed spider web. Don’t hesitate to experiment with different weaving techniques to see what works best for your desired end result.
Crafting Larger Rings to Complete the Web Design
In order to complete the web design, it’s time to create larger rings. Start from the center of the basic structure, where all the yarn pieces intersect. Using a secondary piece of yarn, tie a small, tight knot at the intersection. Slowly wrap the yarn around each string, moving outward in a circular pattern.
The distance between the wrappings will set the standard for the rest of your web. This could be 1-2 inches or even smaller if you prefer a more intricate web. Make sure to keep a consistent distance as this will maintain the symmetry and balance of your spider web.
Remember to tie another small knot each time you come full circle to prevent your work from unravelling. Continue this process until you reach the furthest points of your yarn pieces. At this point, your web will start taking shape. You will see the classic spider web design come to life. Maintain tension on your yarn while you weave to keep the web from sagging.
Lastly, after reaching the edges, do not cut the remaining yarn. Instead, lose it at the back of the design by weaving it through a few strands. This helps in keeping everything sturdy, neat and clean.
Keep in mind that practice makes perfect. The more webs you craft, the easier and more seamless this process will become. Happy crafting!
Addressing Common DIY Spider Web Problems
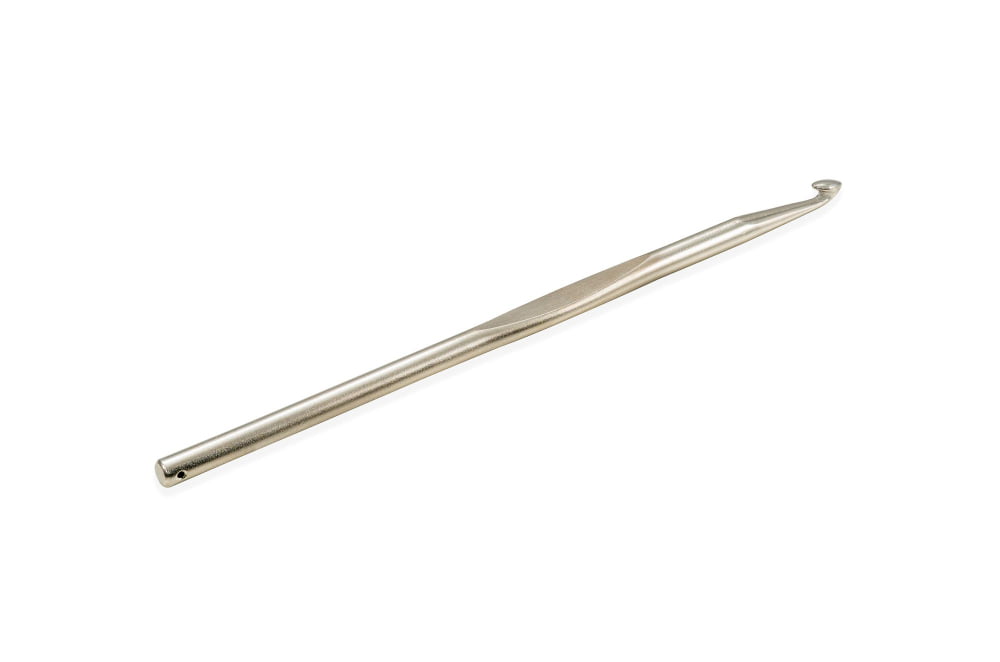
When creating crafts, it’s natural to encounter a few hurdles. With a yarn spider web, users may struggle with knotted yarn as they construct the web rings. Maintaining even tension to keep all the ‘strands’ of the web balanced can also be a challenge. Using a crochet hook can help manage tangles, and practicing patience while threading can aid in even tension distribution.
Attaching the yarn to the base without it slipping is another common issue. Secure the yarn with a simple tailor’s knot, or apply hot glue for increased grip. Should users find their web circles irregular, a handy tip is to use a stiffer yarn or embed wire within the yarn to hold shape better.
Finally, if the created web has gaps that are too large, reducing space between the circles or adding more ‘strands’ could be a solution. It allows more options for web scope refinement, resulting in a more realistic spider web structure.
Tips for Safely Crafting Yarn Spider Web
To ensure a safe crafting experience, apply these strategies. Firstly, select non-toxic, child-friendly glue, especially if children are participating in the crafting project. Secondly, keep crafting scissors safely stowed away when not in use, as they are sharp and could be hazardous. Thirdly, be aware of yarn scraps and loose ends that may likely cause tripping hazards. Keep your workspace tidy by cleaning as you go. Lastly, on completion of your project, safely discard or store any leftover materials. Remember, a safe crafting environment maximizes enjoyment and minimizes accidents.
Methods to Display Your Yarn Spider Web
To showcase your impressive creation, consider the following options.
Affix it on a wall with non-damaging adhesive hooks, placing it at a height where it can gain maximum visibility.
For a dramatic effect, try attaching your yarn spider web in a window or doorway. Here, the natural light will emphasize its intricate patterns and threads.
Transform it into a featured attraction by suspending it from the ceiling with fishing line, creating an eye-catching centerpiece in any room.
If you’re interested in staging an outdoor display, make sure your yarn is weather-resistant, then hang it in a covered area like a porch or gazebo, secured with heavy-duty outdoor hooks.
Lastly, convert the spider web into a unique table decoration by laying it flat on a table centerpiece. It wonderfully augments the ambiance, especially during Halloween.
Remember that the perfect spot for your spider web depends heavily on your personal aesthetic, so be sure to experiment with different locations.
Storing and Maintaining Your Yarn Spider Web
To keep your yarn spider web in the best possible condition, follow these simple tips:
1. Avoid High Moisture Areas: Yarn absorbs humidity, which can cause it to stretch or shrink. Always store in a dry location to prevent any distortion in shape.
2. Use A Storage Bag: A storage bag will protect the yarn from dust and insects. Opt for breathable material—like cotton—to prevent any condensation build-up.
3. Guard Against Direct Sunlight: Prolonged exposure to UV rays can cause the yarn’s color to fade.
4. Regular Dusting: Dust can accumulate over time on the yarn web. Use a soft, dry cloth to lightly clean your craft every few months.
5. Refrain from Hanging Heavy Decorations: Placing too much weight on the yarn web can strain the material and distort its shape.
6. Store Flat: If possible, store your yarn spider web flat to avoid unnecessary folds and wrinkles.
Remember, yarn is a delicate material that requires careful handling. With proper care and maintenance, your spider web craft will be ready for display year after year.
FAQ
What are the different techniques to make a yarn spider web?
The different techniques to make a yarn spider web include the circular pattern method, the tie-and-twist technique, and the loom knitting approach.
How can you incorporate a spider web design into your knitting or crocheting projects?
Incorporating a spider web design into your knitting or crocheting projects can be achieved by using lace stitches to replicate the intricate pattern of a spider’s web.
What types of yarn are most effective for crafting a spider web design?
For crafting a spider web design, thin and sturdy yarns such as lace weight yarn, fingering weight yarn, or crochet threads are most effective.


