Explore the creative process of crafting doll hair using yarn because this innovative approach can offer unique, customizable styles for your handmade dolls.
Creating doll hair with yarn is a fun and creative process that can add a personal touch to your handmade dolls. This article will guide you through the steps to create beautiful, fluffy, and realistic doll hair using yarn.
Whether you’re working with a crochet doll or a fabric one, the method remains the same. We’ll cover everything from selecting the right type of yarn, preparing it, attaching it to the doll’s head, and styling it to your liking.
With a bit of patience and practice, you’ll be able to create doll hair that can be styled in numerous ways, from braids to ponytails to loose curls. Let’s dive into the details.
Key takeaways:
- Choose the right yarn for doll hair (thickness, texture, and color).
- Gather the necessary supplies (yarn, crochet hook, yarn needle, scissors, glue, doll).
- Prepare the yarn for doll hair (length, straighten or curl).
- Make style decisions for the doll’s hair (length, color, texture, thickness, styling).
- Attach and secure the yarn hair to the doll’s head (start with a chain stitch, sew or glue hair strands, create additional layers for volume, secure around the face).
Selecting the Right Yarn Type for Doll Hair
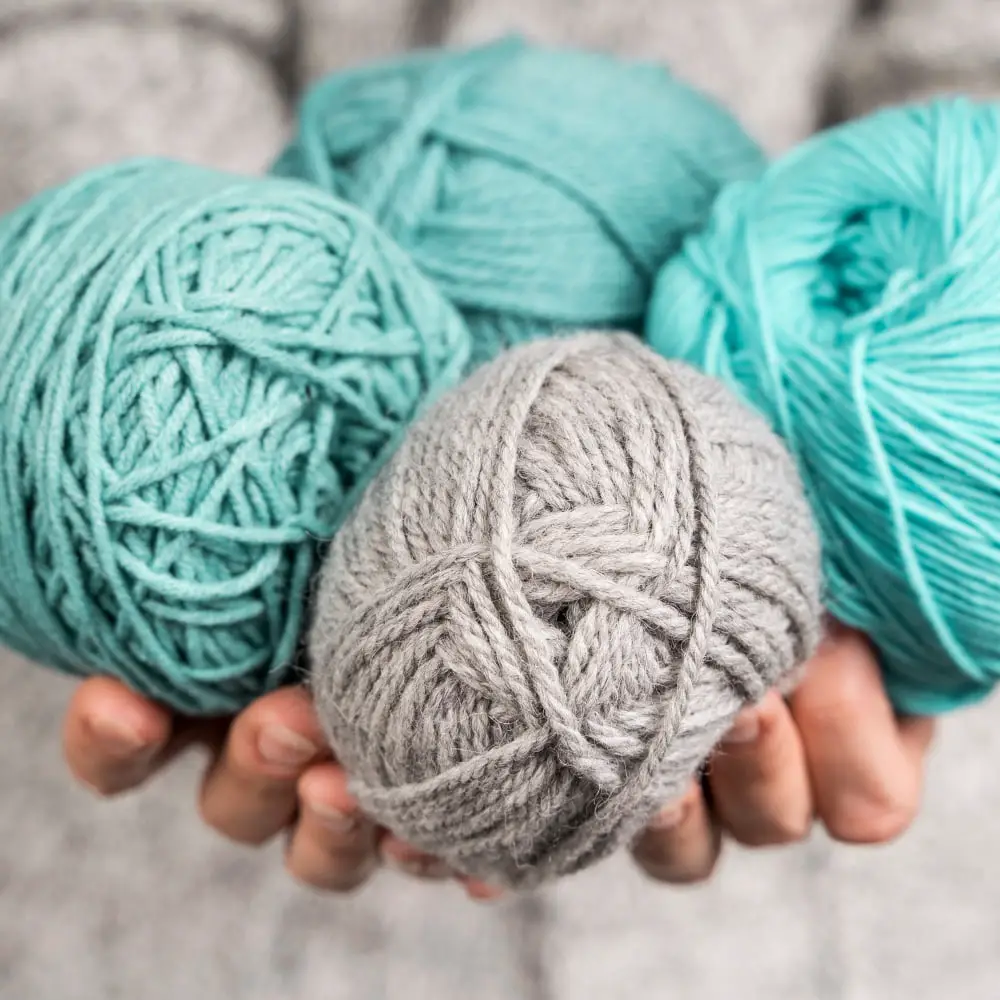
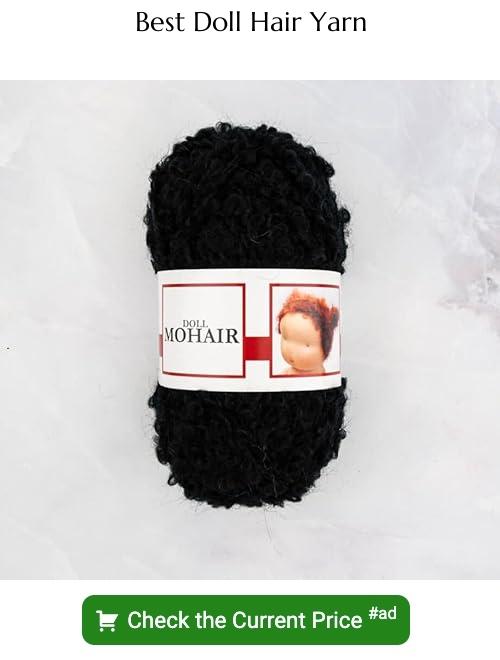
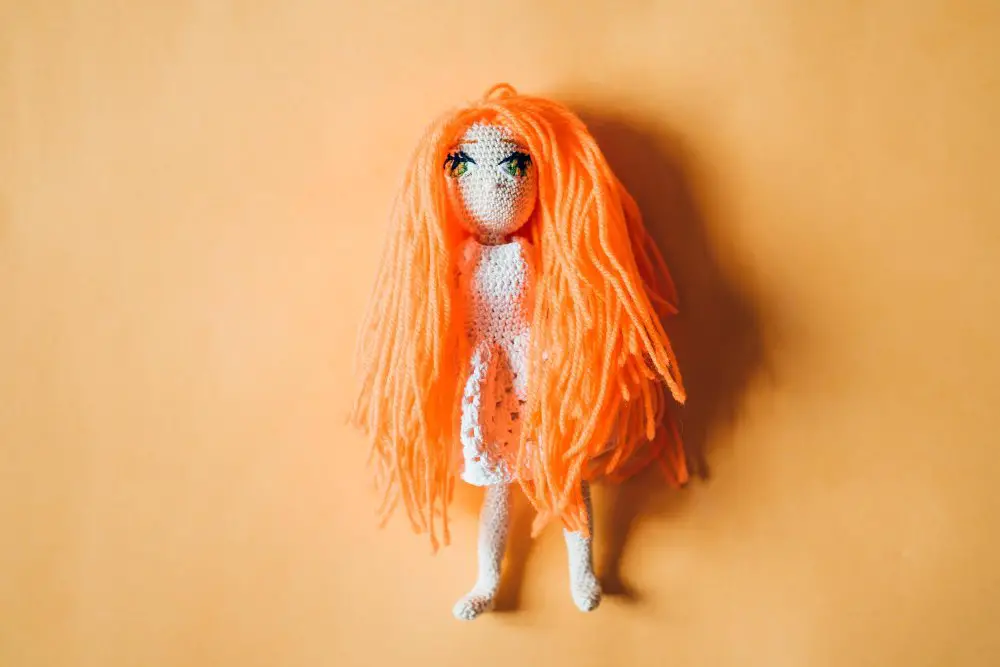
When it comes to choosing yarn for doll hair, several factors come to the fore. First, the thickness of the yarn contributes to the overall look and feel of the doll hair. Worsted weight or DK (double knit) yarns are usually an excellent choice for most medium-sized dolls. For a thicker, fuller hair look, bulky-weight yarn can be a good option.
Second, the texture of the yarn is something to consider. Smooth fibers create neat and glossy hair, while fuzzier yarns may lend a more realistic, textured look. Acrylic is usually easier to handle and clean, whereas natural fibers such as wool or cotton add a sophisticated touch, but might require special care.
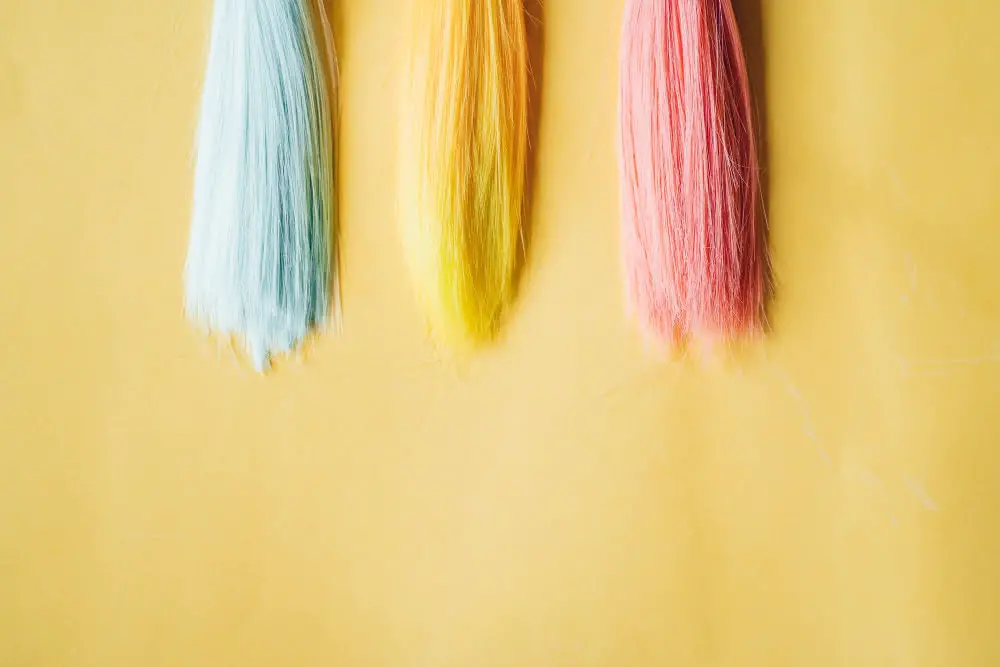
Lastly, color selection should not be undervalued. A range of options from natural hair hues to fantasy colors, or even variegated yarns, can significantly affect the doll’s overall appearance. The color choice depends on the desired personality of the doll.
Bear in mind that there is plenty of room for experimentation. Play around with different types, textures, and colors until you find the perfect fit for your doll hair project!
In the next section, we’ll cover all the necessary supplies you’ll need to create beautiful yarn doll hair!
Needed Supplies for Creating Yarn Doll Hair

The necessary items for this craft project are within arm’s reach in most homes, or easily found at a craft store. The primary material is yarn. Choose from a variety of fibers such as cotton, wool, synthetic, or a blend, in any color that suits the doll. Additionally, a crochet hook and a yarn needle are vital tools for stitching and securing the hair. You’ll also need sharp scissors for trimming and shaping the yarn hair. Besides, you might find a craft glue or a hot glue gun very helpful to attach the hair to the doll’s head securely. The last item on the list is a doll, of course, eager to debut its stylish new hairdo. Remember, a tape measure could prove handy for ensuring even hair length.
Preparing Your Yarn for Doll Hair
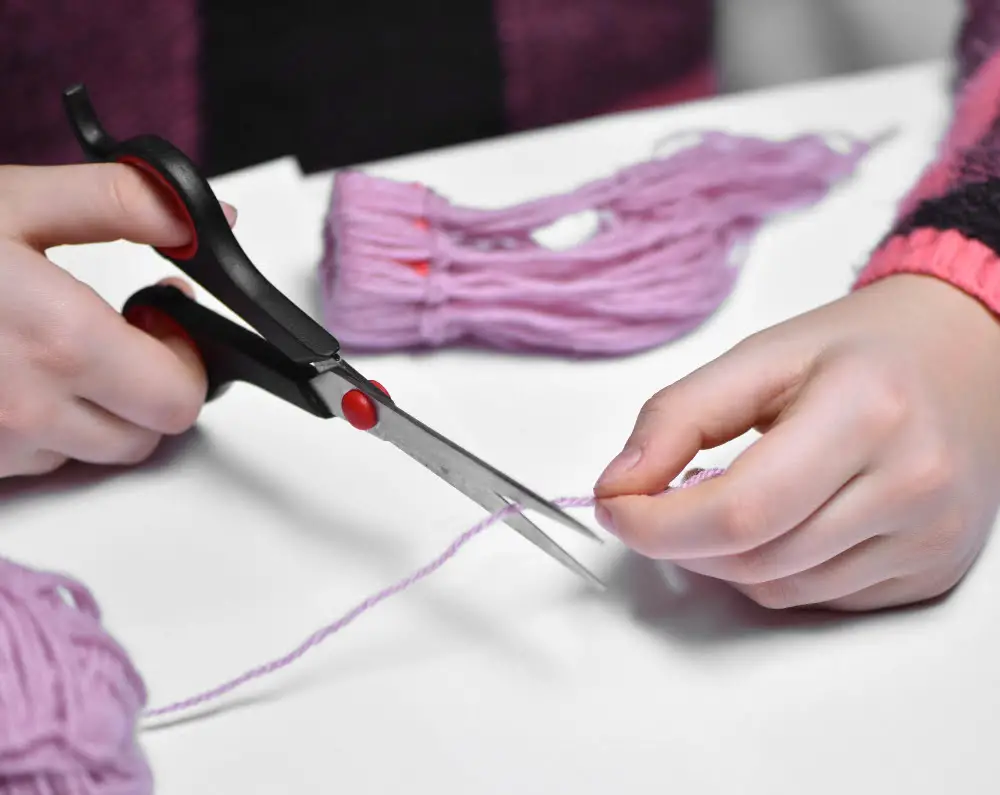
Firstly, gauge the appropriate length of the yarn. This would largely depend on the desired hair length for your doll. Typically, assuming the doll’s head to be the size of an adult’s thumb, about 10 to 14 inches would work. If you want longer hair, adjust accordingly. Cut these lengths from your yarn skein.
Once cut, the next step is straightening the yarn to make it behave more like hair. This process involves dampening the yarn, then weighing it down to dry in a straight position.
There’s an alternate approach for curly hair. After dampening the yarn, wrap it around a knitting needle, dowel, or pencil and bake it on low heat (always supervised) until it dries.
Remember, the yarn’s quality dictates the finished look. Bulky or fuzzy yarn creates fluffy hair, while thin yarn results in sleeker hair. Multi-colored yarn can replicate highlights and lowlights, adding depth to the hair.
These steps, when followed diligently, will prepare your yarn adequately for transforming it into doll hair. No matter what hairstyle you choose, with correct preparation, you can achieve an impressive look.
Making Style Decisions for Yarn Doll Hair
In choosing the style, consider the doll’s character. Are they sporty? Fun-loving? Elegant? This will guide your choice from a host of options.
1. Length
Opt for longer yarn if creating trailing locks, or shorter lengths for a bob or pixie cut. Remember to make them a little longer than your desired finished style to cater for trimmings and stylings.
2. Color
Yarn comes in various shades and hues. You could use a single color, mix different colors or even use multi-colored yarn. Don’t shy away from vibrant colors for a more playful look.
3. Texture
Straight, wavy, or curly? Yarn can be manipulated to achieve these textures. For example, looping the yarn around knitting needles or a curling tong will make it curly.
4. Thickness
Encourage an illusion of thicker hair by increasing the amount of yarn you use. For thinner hair, reduce the strands.
5. Styling after application
Braids, loose hair, ponytails, buns, or even a combination of styles can be achieved. Stay open to the process; allow your creativity to take over.
Remember, perfecting this will require practice, so have fun with it!
Starting With the First Stitch for Doll Hair
Before anything else, identify where the hair center part will be on the doll’s head. The hair strands’ pivotal point is this location, so proper placement is crucial. Use a long piece of yarn to make a single chain stitch which is the precise length of the doll’s head circumference. Attach this yarn chain to the doll’s head at the chosen center part using pins. This chain stitch forms the foundation for your first row of hair, acting like an anchor point around the doll’s head.
Starting now, prepare your yarn strands for the doll’s hair. For each hair strand, cut a piece of yarn double the length you want the doll’s hair to be, then fold it in half. You will pull each strand through the chain stitches you made on the doll’s head.
Now, locate a chain stitch on the left of the center of your doll’s head. Insert your crochet hook into this stitch. Place your folded piece of yarn over the hook at its halfway point (the loop formed by the fold), then pull this loop through the chain stitch.
You should now have a small loop on one side of the chain stitch and two loose ends on the other side. Pull these loose ends through this loop, creating your first hair strand. Continue this process following the same direction until you complete the left side of the center part.
Remember, the essential factor here is consistency. Make sure each hair strand is the same length, and they’re all attached securely to the doll’s head. Slow and steady work here will yield the best results.
Completing The Left Side Of the Doll’s Hair Center Part
Proceed by hooking the yarn on the needle and pulling a loop through the doll’s scalp from the inside, ensuring you leave a tail on the outside. Pull the loop up just enough to insert your fingers and grab the yarn tails from its end.
Once done, tighten your stitch by pulling both yarn ends simultaneously. Continue this method in a straight row until you reach the doll’s head’s middle. You want to maintain the stitches in a straight row to define the doll’s center parting neatly.
Remember, consistency is key. Keep each stitch the same length for a uniform look. Also, be sure to secure each loop properly, to avoid unravelling the doll’s hair.
Finalizing The Right Side of the Doll’s Hair Center Part
Once you’ve finished attaching yarn strands to the left side of the doll’s parting, it’s time to tackle the right side. The same process applies here; however, ensure you’re working symmetrically for a balanced look.
- Start from the parting: Like the left, initiate from the center part and work your way down.
- Maintain equal sections of yarn: Keeping the size of the yarn bundles consistent will result in uniformity in hair thickness.
- Keep strands long: Allow strands to flow long for later styling and trimming. It’s always easier to take away length than to add it later.
- Secure tightly: Ensure your knots are secure to prevent any loose yarn, especially when trimming and styling.
- Mirror the left side: Remember, symmetry is key for a natural look. Ensure the right mirrors the left side in regards to placement and strand density.
By employing these guidelines, you’ll be able to replicate the process with ease while maintaining balanced, voluminous hair for your doll.
Securing The Yarn Hair Around The Doll’s Face
You’ll want to focus next on properly affixing the yarn to the face of the doll. Begin this process by selecting a strand of doll hair. A double strand can provide a fuller appearance. Round it around a finger to form a loop, place it up against the doll’s scalp, and thread the free ends of the hair through the loop you’ve created, pulling tight against the scalp.
For a secure fit, apply a thin layer of glue onto the doll’s head before attaching the yarn. This should be done using a small-bristled paintbrush. Ensure to apply the glue in the same direction as the desired hair flow. This will enable the hair to lie flat and look more natural.
If the doll hair seems loose or unstable, you can also stitch it directly into the cloth of the doll’s head. Use a simple whipstitch or a ladder stitch ensuring it’s tight and secure.
Remember, it’s important to have an idea of the final hairstyle in mind as it will guide the direction and placement of the yarn hair. Be patient, the process may be time-consuming, but the results will be worth the effort.
Creating Additional Hair Layers for More Volume
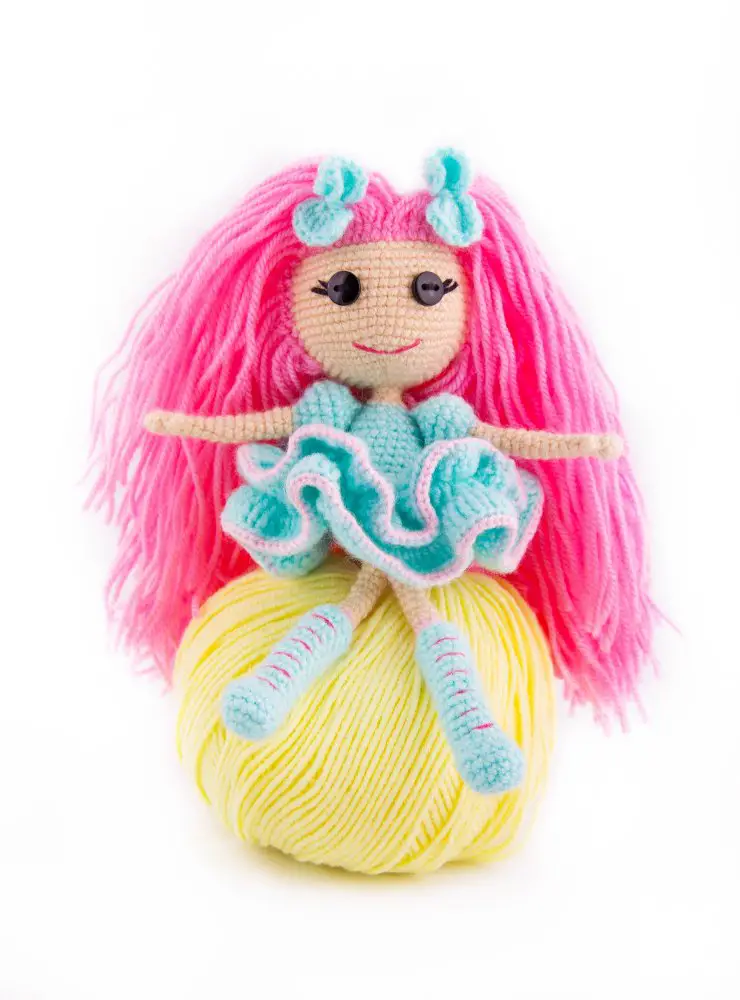
Once your doll’s hairline is secure, begin the next layer. Cut additional yarn strands, ensuring they’re long enough to be looped over to double the thickness. Tightly knot each strand at its midpoint to create a secure attachment point. Place each knotted area directly against the doll’s scalp, hiding the knots underneath the upper yarn strands.
Continuing this layering process will build up the volume of the doll’s hair. Remember, it’s easier to trim excess length than to add more, so err on the side of cutting your yarn strands a bit longer than you think you’ll need. Progressing layer by layer, gradually build your way up to the top of the head. Offering a few strands of a slightly different hue or color can also create more natural-looking highlights and depth.
When nearing the crown, ensure the fastenings are secure and hidden under the upper layers of yarn. This strategic placement of yarn layers gives the doll’s hair a fuller, more realistic look. Keep patience and continually adjust the yarn layers to ensure a consistent, flowing look.
Style and Care Tips for Yarn Doll Hair
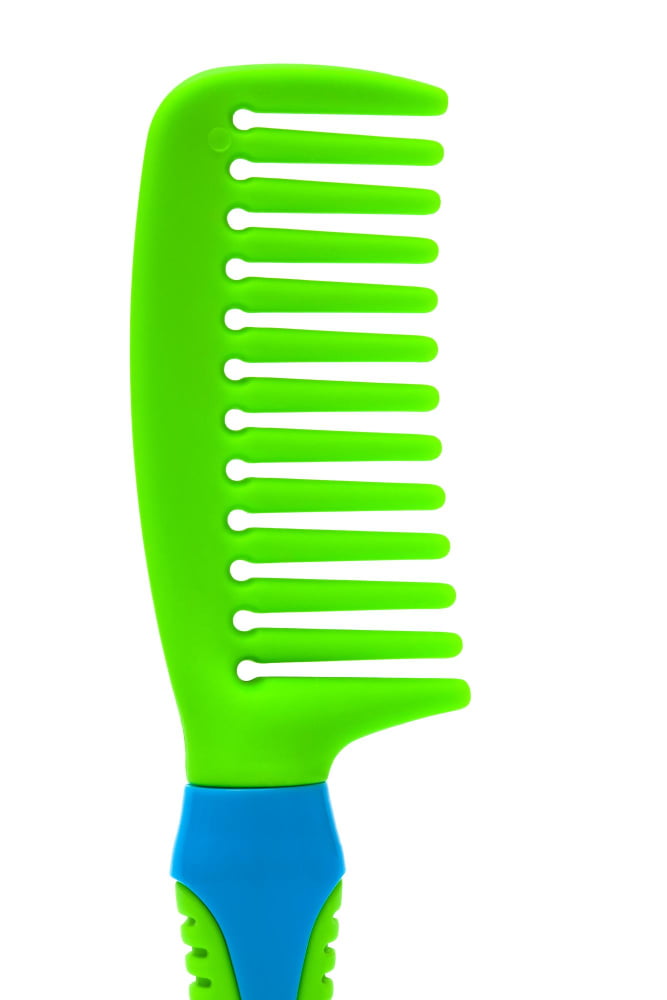
Keeping your yarn doll hair looking its best is not a difficult task. Comb it gently using a wide-tooth comb or be more delicate with a toothpick for tinier dolls. Avoid harsh brushes to prevent frizz and breakage. When detangling, apply a dab of fabric softener diluted in water, it works wonders.
When styling, it’s possible to create loose curls using a thin knitting needle or a toothpick. Simply wrap damp yarn strands around the needle, secure with clothespins and leave it overnight to dry. For a straight hairstyle, carefully iron the hair using the lowest heat setting of your iron.
For dolls with longer hair, hair ties or miniature ponytail holder can be used to create different hairstyles like ponytails or braids, offering endless versatility similar to human hair.
Essentially, remember not to excessively play with or tug on the yarn hair to avoid causing it to frizz, break, or detach from the doll’s scalp.
Answering Common Questions: Can You Use Embroidery Floss for Doll Hair?
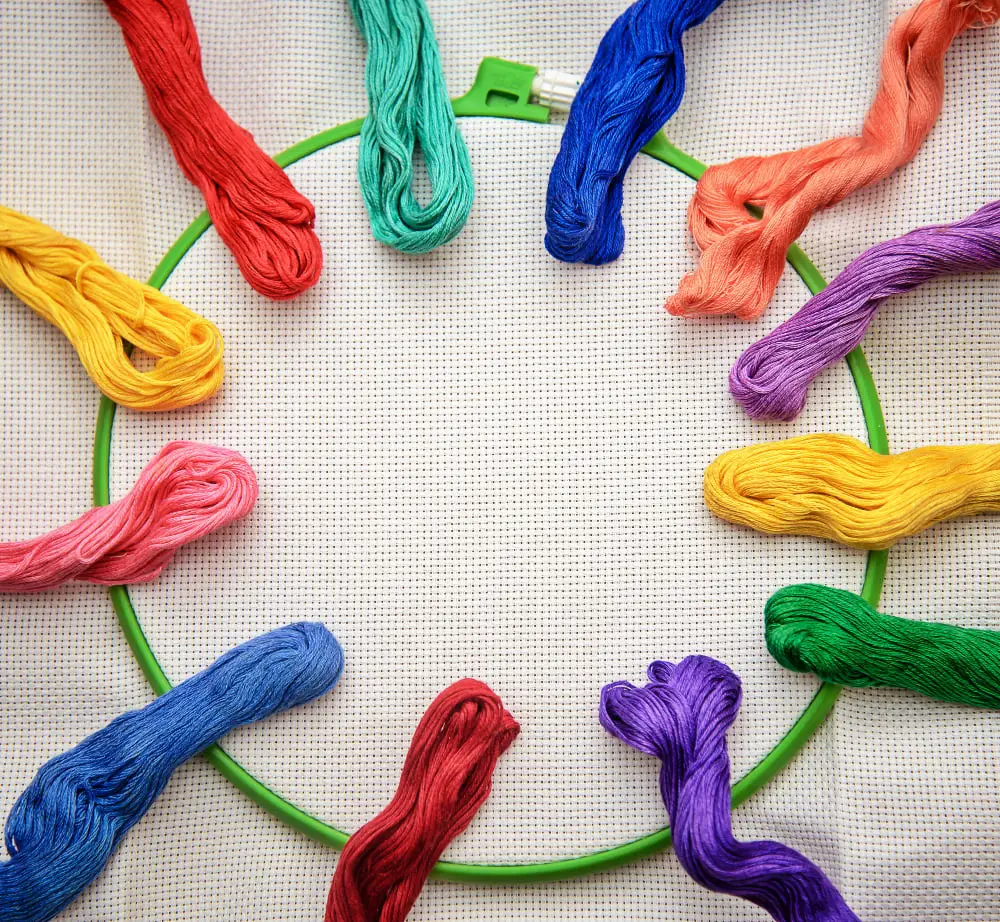
Absolutely, embroidery floss is a viable option for crafting doll hair. It renders a different texture and effect compared to yarn. Here are a few points to note if considering this option:
- Texture: Embroidery floss, usually made of cotton, provides a smoother and shinier appearance than most yarns. It’s perfect if you desire a silky hair effect on the doll.
- Thinner Strands: Because it’s thinner than yarn, using embroidery floss can create detailed hairstyles and more intricate looks.
- Durability: Despite being thin, it is exceptionally strong and long-lasting. Therefore, it’s an excellent choice if the doll is intended for child’s play.
- Variety of Colors: Embroidery floss is available in a vast array of colors, allowing for more diverse and unique hair color options.
However, always remember that working with embroidery floss can be slightly more challenging than yarn due to its delicacy. It might require a bit more time and patience, but the end-result can be quite rewarding.
FAQ
What yarn should I use for doll hair?
For doll hair, Little Loop is versatile with all sizes, De Witte Engel is ideal for a doll 10 inches or taller, and Nature Spun or Lamb’s Pride provide straight hair which is easy for young children to comb with their hands.
What can I use to make doll hair?
You can use embroidery thread or yarn to make doll hair.
What are the different methods to attach yarn hair to a doll?
Yarn hair can be attached to a doll using various methods such as sewing directly onto the head, using knot method, loop method, or the latch hook technique.
How can I style yarn doll hair effectively?
Styling yarn doll hair effectively can be achieved by gently brushing the yarn with a toothbrush, twisting or braiding sections for texture, and using a small amount of white glue or clear drying craft glue to maintain its shape.
Are there specific types of yarn better suited for certain doll hair styles?
Yes, for curly doll hair, wavy or bouclé yarns are ideal, while straight hair can be best achieved using worsted or sport weight yarns.


