Crafting animals from yarn can be an adventurous skill to hone because it offers a creative yet relaxing endeavor that results in long-lasting, adorable play items.
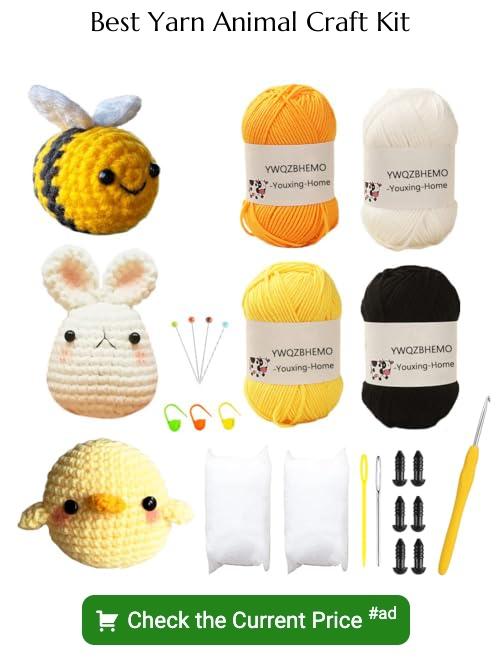
Creating adorable animals from yarn is a delightful craft that combines creativity, skill, and a love for all things cute. This article will guide you through the process, from choosing the right yarn and tools, to mastering the basic stitches, and finally, to assembling your yarn animal masterpiece.
Whether you’re interested in crocheting a cuddly kitten or knitting a noble narwhal, you’ll find step-by-step instructions, helpful tips, and detailed diagrams here. So, grab your yarn and let’s dive into the world of yarn animal crafting!
Key takeaways:
- Choosing suitable yarn for animal creating: Consider texture, color, and weight.
- Basic techniques for making animals with yarn: Learn common knots, stitches, and shaping techniques.
- Tips for knotting and braiding yarn in animal shaping: Master basic knotting, incorporate braiding, maintain tightness, and understand size ratio.
- Step-by-step guide on making specific animals like cats, dogs, and birds: Mimic shapes, use appropriate yarn type, and practice until perfect.
- Troubleshooting common issues in making yarn animals: Address uneven stitches, misshapen body parts, color transition issues, knotting problems, and difficulty in following patterns.
Choosing Suitable Yarn for Animal Creating
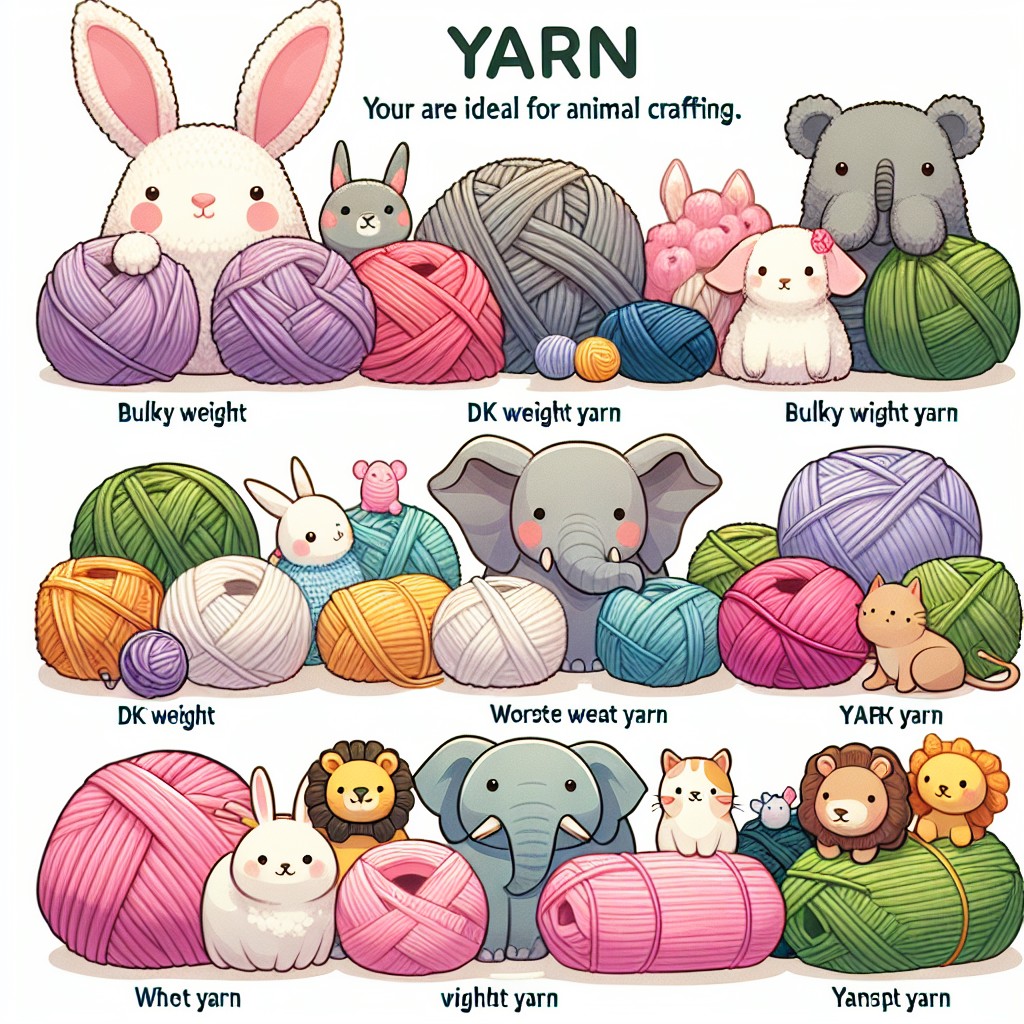
When selecting yarn, consider texture, color, and weight. For a realistic appearance, choose colors reflecting the animal’s natural hue: earth tones for animals like deer or squirrels, brighter colors for tropical birds, and so on. Incorporating various shades can add depth and realism – for instance, a mix of white and gray for a wolf.
The texture of the yarn can influence the animal’s overall look and feel. Smooth, glossy yarns result in sleek animals perfect for sea creatures or birds. Contrastingly, fuzzy yarns result in a soft, plush effect suitable for mammals.
Weight, or thickness, of the yarn helps determine the size and sturdiness of the final product. Fine yarns are perfect for smaller, intricate animals, while bulky yarns fit larger, robust creatures and are generally easier to work with for beginners. Always remember to use a crochet hook or knitting needles appropriate for your yarn’s weight, to maintain the right tension and to prevent your yarn from fraying or breaking.
Lastly, consider the yarn’s washability, especially if your creations will be used as toys. Synthetic fibers or treated natural fibers are typically machine-washable, making them practical choices for animal crafting.
Basic Techniques for Making Animals With Yarn
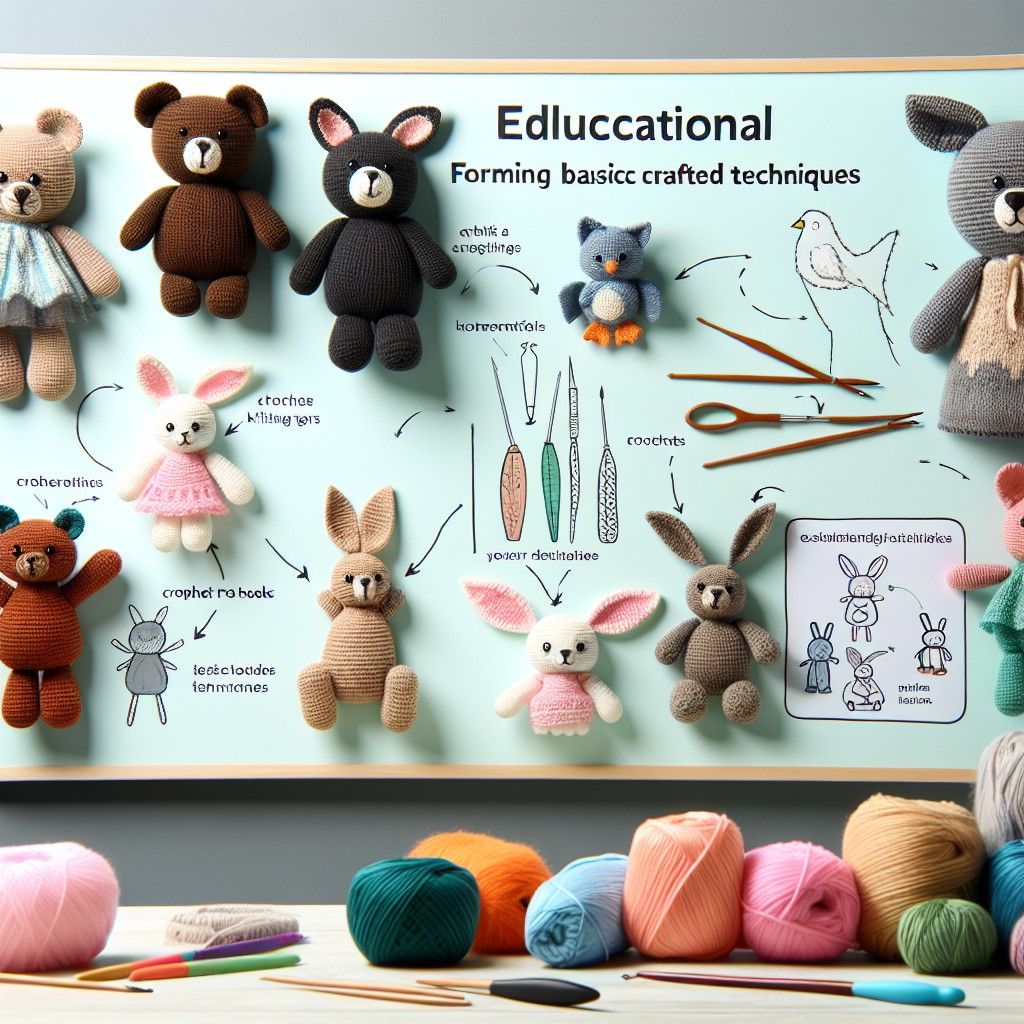
Understanding the basic techniques is essential to create charming yarn animals. To begin with, familiarize yourself with common knots and stitches, such as the slipknot, chain stitch, single crochet, and double crochet. These are the foundation of most yarn animal designs.
Secondly, learning to increase and decrease stitches will allow you to shape the body parts of your creatures. Increases help to expand an area, while decreases tighten it.
Next, practice working in the round. Many animal body parts like heads, bodies, and limbs are made using this technique.
Color changes are also vital. By switching yarn colors at appropriate intervals, you can create distinctive features such as spots or stripes on your yarn animal.
Lastly, mastering the art of stuffing and sealing your yarn animals gives them a complete look. Use the appropriate amount of filling to avoid misshapen animals, and ensure all openings are securely sealed.
Remember, these techniques require time and patience to master, so don’t rush the learning process. Each technique lends itself to the creation of adorable, unique yarn animals.
Tips for Knotting and Braiding Yarn in Animal Shaping
When crafting yarn animals, an understanding of knotting and braiding techniques can significantly enhance your results.
1. Master Basic Knotting: Start with simple knots such as the overhand or square knot before moving onto complex knots. Consistently practicing will lead to improved skill.
2. Incorporate Braiding: Braiding can provide texture and depth to your yarn creatures. It can be used to signify animal features like manes, fur or tails.
3. Tightness is Key: Keep your knots and braids tight to ensure that the shape of your yarn animal holds up. However, be careful not to pull them too firm, as this could distort the shape and cause the yarn to stretch or tear.
4. Understand Size Ratio: Different knotting and braiding techniques can impact the size of your yarn animal parts. Plan out your work beforehand to ensure symmetrical outcomes.
Armed with these tips, crafting intricate animal shapes out of yarn will become a more manageable task. With practice, you’ll find yourself making intricate kept and braided structures that bring your yarn animals to life.
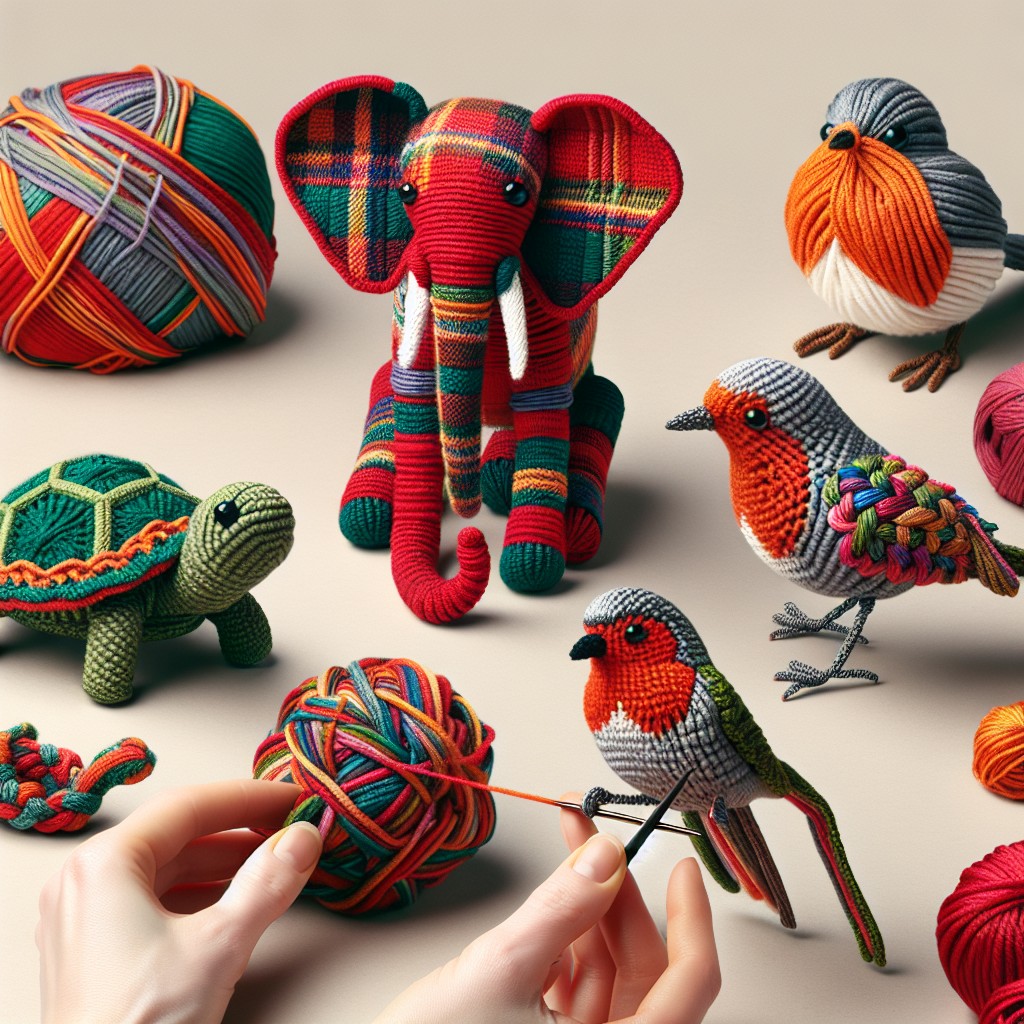
Step By Step Guide On Making Specific Animals Like Cats, Dogs, and Birds
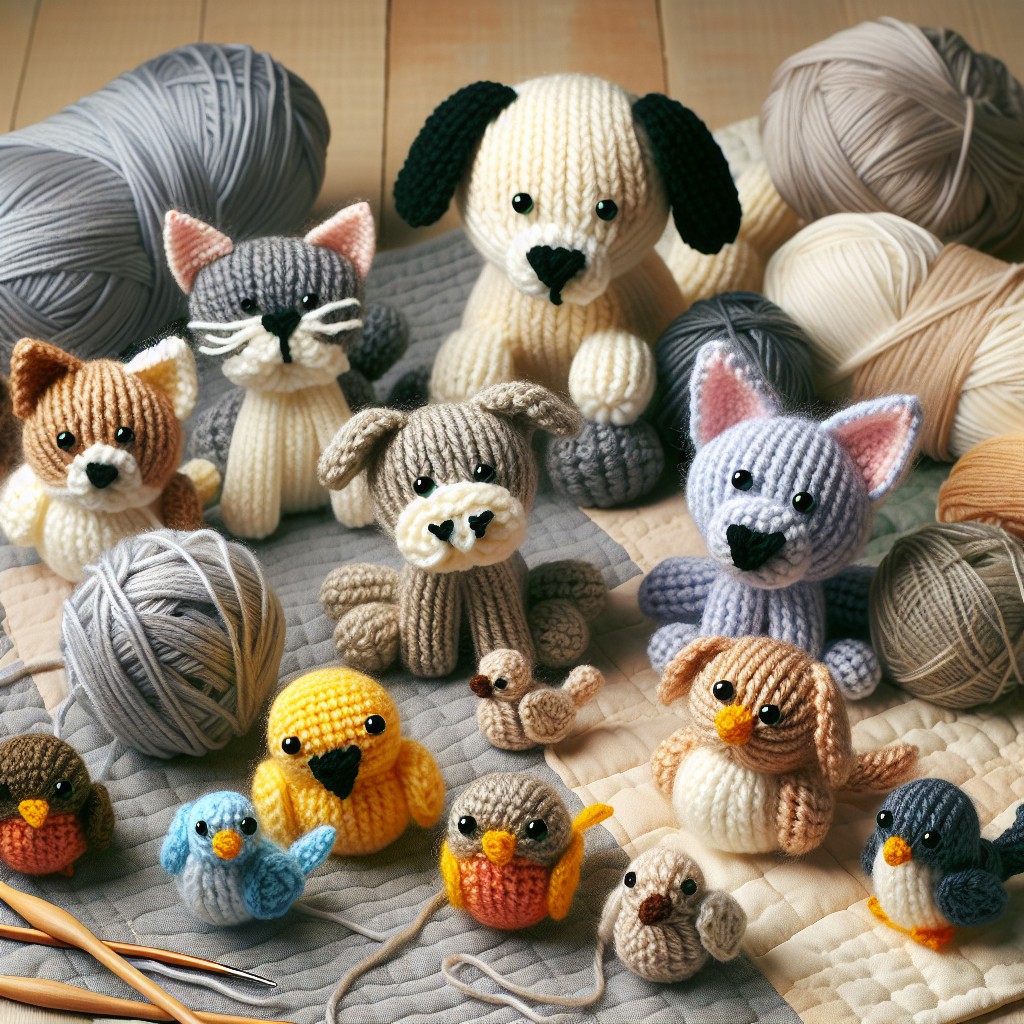
Crafting yarn animals relies heavily on your skill to manipulate yarn to create desired shapes and features. Understanding the basic shaping techniques will allow you to create a variety of animals, from cats and dogs to birds.
1. Cats: Start by winding yarn around a book or cardboard to form the body. Use additional yarn to create ears and a tail, attaching them securely with knots. Use different yarn colors for added details like facial features or patches of fur.
2. Dogs: Similarly to the cat, create a yarn-wrapped body. Use smaller bundles to form legs, paying close attention to different breed characteristics, like long ears for a Basset Hound or curly tail for a Husky.
3. Birds: Start with a small bundle of yarn for the body and a longer piece for the tail. Add on wings and a beak, using bright or contrasting colors to give it a vibrant look.
Carefully examine real or cartoon images of these animals to mimic the shapes. Yarn type also plays a vital role in the result; fun fur yarns can give a fluffy look, while smoother yarns provide a sleek appearance. Take your time to make sure every feature is secure and proportionally placed. Practice makes perfect, so keep trying until you create a perfect yarn replica!
Troubleshooting Common Issues in Making Yarn Animals
Indeed, each crafting journey has its share of challenges. When dealing with yarn animals, these common blips should not deter you:
- Uneven stitches – This often results from inconsistent tension. The goal is to keep equal pressure on the yarn for each stitch. Practice is key in mastering this skill.
- Misshapen body parts – The stuffing stage is crucial. Overstuffing can lead to distended shapes, while understuffing may result in limp parts. Fill just until the piece is firm, but not hard.
- Color transition issues – This might be due to hasty color changes. To maintain smooth transitions, always finish a stitch fully in one color before starting the next stitch in the new color.
- Knotting problems – A mistake in a knot can unravel your work. Learn to tie secure knots and ensure to weave in the ends properly.
- Difficulty in following patterns – This is commonplace for beginners. Reading and understanding patterns requires experience and sometimes a bit of research. Patience, when understanding new terms or techniques, pays off in the long run.
Remember, troubleshooting is part of the learning process. Each challenge conquered represents a benchmark in your yarn crafting journey.
Guide to Making Yarn Animals for Beginners
Here’s how to get started:
1. Start Small: Your first project should be a simple one, like a miniature teddy bear or bird. This gives you an opportunity to try different stitches and techniques without being overwhelmed.
2. Practice Basic Stitches: Master the single crochet stitch as it forms the basis for most yarn animals. Other essential stitches include the slip stitch, half double crochet, and double crochet.
3. Learn to Increase and Decrease: This is crucial for shaping your animal. Increasing involves adding more stitches to a row while decreasing eliminates stitches.
4. Get Comfortable with Amigurumi: This Japanese craft involves crocheting small, stuffed yarn creatures. Learning this technique allows the creation of intricate and adorable animal designs.
5. Use the Right Tools: Use a crochet hook of appropriate size for the yarn you’re working with. Stitch markers and darning needles are also a must.
6. Read Patterns: Understanding patterns and abbreviations is important. They’ll guide you on the amount of yarn required, hook size, stitches, and construction of your animal.
7. Follow YouTube Tutorials: There are plenty of simplified videos that can guide beginners through creating their first yarn animal.
8. Practice, Practice, Practice: You might not create a perfect yarn animal on the first try, but don’t be discouraged. Keep practicing and improving your skills.
How to Care for and Preserve Your Yarn Animals
Dusting off your yarn animals regularly can prevent the accumulation of dirt and preserve their appearance. If they get stained, you can spot clean them using mild dish soap and warm water, gently dabbing the stained area without soaking the whole figure.
Avoid exposing your yarn creatures to direct sunlight for extended periods as this may cause their colors to fade. If displaying them on a shelf, rotate them from time to time for even exposure.
Keep them away from pets and small children to avoid accidental damage. If these yarn animals need to be stored, placing them in sealed bags with silica gel packets, away from moisture, is advisable.
For repairs, use the same type and color of yarn that was used in creating the animals. Always remember to keep some leftover yarn from your projects for such eventualities. Sew loose ends back carefully without altering the shape of the figure.
Above all, handle your yarn animals with care. Minor wear and tear could occur over time, but with adequate care, they can remain your precious keepsakes for years to come.
FAQ
What are the specific techniques for creating textured fur in yarn animal projects?
Specific techniques for creating textured fur in yarn animal projects include using loop stitches, brushed yarn techniques, and variegated yarn to simulate fur color variation.
Which types of yarn are best suited for crafting lifelike yarn animals?
Acrylic, wool, and cotton yarns, due to their versatility and ability to hold shapes, are best suited for crafting lifelike yarn animals.
What are some common mistakes to avoid when making animals out of yarn?
Common mistakes to avoid when making animals out of yarn include not using the correct type of yarn, failing to count stitches accurately, misunderstanding patterns, and not properly securing ends.


