Dive into the world of yarn crafts because making a yarn ghost is an exciting and easy way to bring a touch of whimsy and spookiness to your Halloween decor.
Creating yarn ghosts is a fun and easy craft project, perfect for Halloween. This article will guide you through the steps to create your own spooky yarn ghosts.
You’ll need just a few supplies: white yarn, a pair of scissors, a book, and some black marker or felt for the eyes.
By following the step-by-step instructions provided in this article, you’ll be able to craft an adorable army of yarn ghosts.
Whether you’re looking to decorate your home, or just searching for a creative activity, this article is a comprehensive guide to making your own yarn ghosts.
Key takeaways:
- Use white or light-colored yarn for a classic ghostly look.
- Experiment with different yarn weights for different ghost appearances.
- Measure and cut yarn strands to create a fluffy ghost body.
- Assemble the basic ghost shape with knots and create arms.
- Create a yarn-wrapped head with a balloon or ball, and add facial features.
Gathering the Materials for Creating Yarn Ghosts
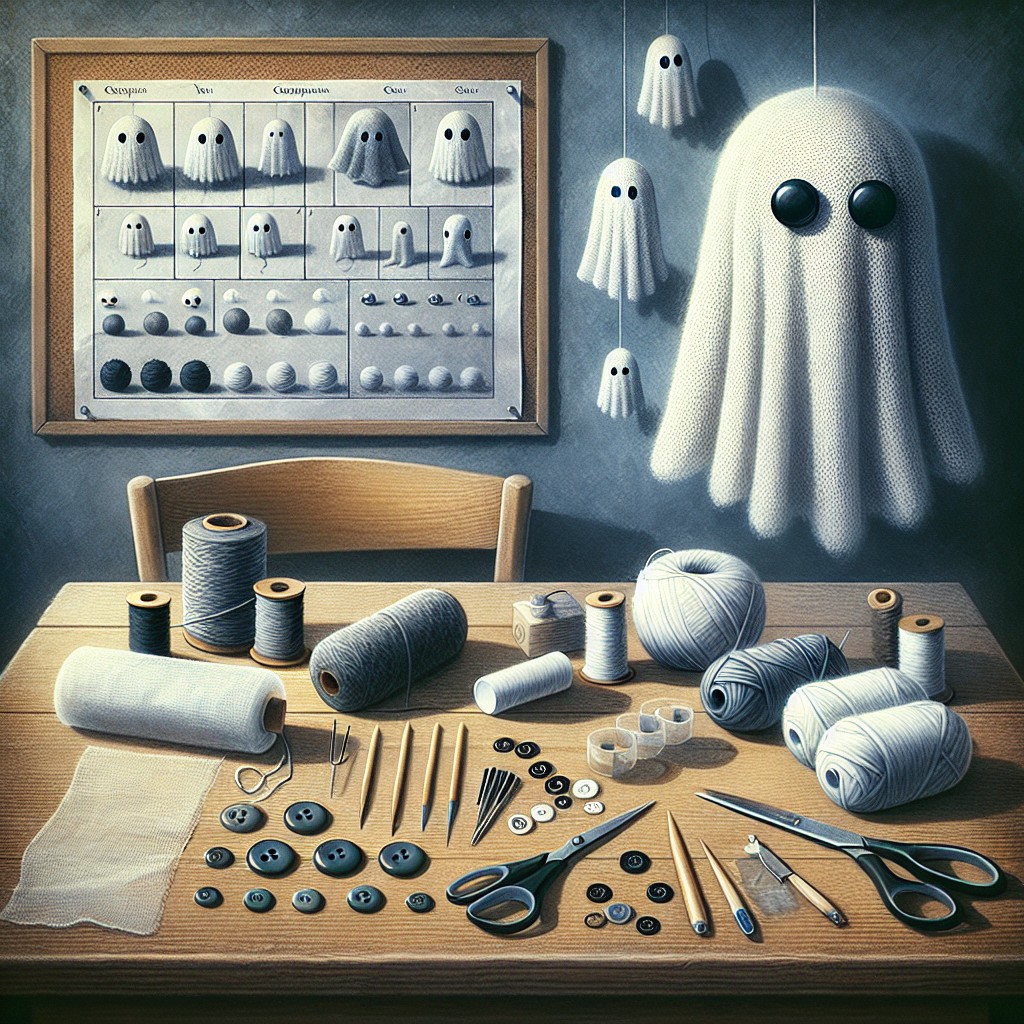
To ensure a smooth crafting process, having all the required items within arm’s reach is important. The primary ingredient, definitely, is yarn. Opt for white or light-colored yarn to achieve the ghostly look, but don’t hesitate to experiment with colors if you prefer. Regular crafting glue, a small balloon or ball, and a black marker are other essential items. Additionally, a pair of sharp scissors for cutting is a necessity. Optional materials like glow-in-the-dark paint can elevate your yarn ghost to the next level. Remember to tidy your working space too, clear clutter and arrange your tools for ease and efficiency. This preparation will not only hasten the creation process, but also make it more enjoyable.
Choosing the Right Type of Yarn
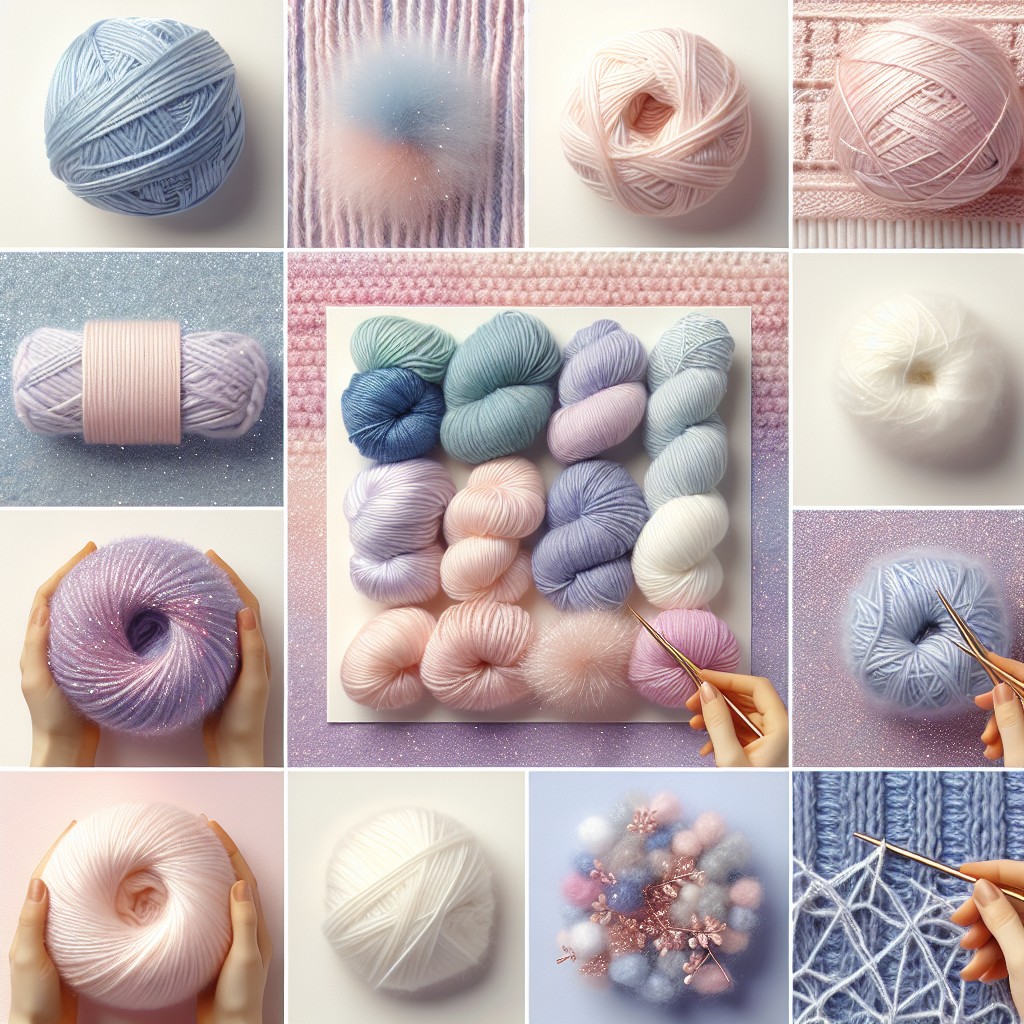
When it comes to creating yarn ghosts, the type of yarn you select will greatly impact the overall appearance and durability of your craft. For a spooky, translucent ghost, opt for thin and lightweight yarn, such as lace or fingering weight. These yarn types will give your ghost a floaty, ethereal look that can be quite chilling!
On the other hand, if you want a more robust, fuller ghost, consider worsted or bulky weight yarn. These yarns provide a substantial, full-bodied specter that is perfect for holding strong shapes. Always make sure your chosen yarn is machine washable and resistant to fraying for crafts that will last through multiple Halloweens!
Last**l**y, color plays a critical role in ghost-making. While traditional white yarn gives a classic ghostly appeal, don’t shy away from experimenting with glow-in-the-dark or speckled yarn for an extra eerie effect. Remember, there’s no wrong choice – it’s all about your personal, spectral vision.
In the next part, we’ll discuss measuring and cutting yarn strands, so stay tuned!
Measuring and Cutting the Yarn Strands

To construct the body of your yarn ghost, a generous length of yarn is required. Generally, for a medium-sized ghost, strands of about four feet should suffice. This length ensures that your ghost has enough volume to appear fluffy and ethereal.
Begin by unrolling your selected yarn, take care not to tangle it. Once you’ve stretched out roughly four feet of yarn, use a sharp pair of scissors to cut it. The warm charisma of yarn lies in its fuzzy imperfections, so don’t stress if your cuts are uneven.
Following the initial cut, continue in this fashion until you have a substantial stack of strands. Aim for consistency in length for a uniform look. This preparation sets the groundwork for your project, aiding in a smooth crafting process.
Feel free to experiment with different lengths and colors of yarn based on the size and aesthetic you desire for your adorable spectral creation. As always, the beauty of crafting is the creative freedom it endows you with. Enjoy this process!
Assembly of Basic Ghost Shape With Yarn and Tying Knots

To assemble the basic shape of your yarn ghost, first gather several strands of yarn. These need to be long enough to form the ghost’s body when doubled over. Fold these strands in half and slip another piece of yarn through this loop to form the head with a sturdy knot.
Next, assemble another bunch of similar yarn strands. Attach them beneath this head knot, using a simple overhand knot. This will create a tiered effect, adding volume to the ghost shape. You can repeat this step as needed, ensuring each layer of knotted yarn forms a segment of the ghost’s form.
Remember to keep the knots tight and consistent to maintain a structured shape. If your pieces of yarn aren’t all the same length, trimming them can create the effect of a flowing ghostly figure.
To create the arms, cut another piece of yarn and knot it in the middle of the ghost’s body. The strands that fall on either side of the knot will form the arms. This will give your yarn ghost a more three-dimensional, animated appearance.
Finally, keep the tail end of the yarn after the last knot long. This will serve as the hanging mechanism for your ghost making it easy to display.
Creating the Ghost’s Head Using a Balloon or Ball
To start off, pick a balloon or lightweight ball that suits the size you want for the ghost’s head. Inflate the balloon slightly to provide a basis for wrapping your yarn. Remember, the size of the head will determine how much yarn you need to apply, so consider that when deciding on the head size.
Next, dip strips of yarn into basic craft glue. Carefully start wrapping these yarn strips around the balloon, creating several layers for thickness. It’s a good idea to go in different directions to make the structure sturdier.
Make sure you leave an uncovered patch, typically at the base, that’s large enough for the balloon to be removed. Leave the yarn-wrapped balloon to dry thoroughly before proceeding.
Once the glue has dried completely, pop and remove the balloon. Now you have a lightweight, hollow sphere – the perfect ghostly head for your craft project! You might want to run your fingers gently over the dried yarn to smooth out any loose ends.
Adding Facial Features to the Yarn Ghost
Once you’ve created the basic shape, it’s time to give your yarn ghost some character. This can be done with craft supplies you have on hand.
1. Consider using black felt or fabric for the eyes and mouth. These materials can be cut into shapes and glued on without difficulty.
2. If you prefer a minimalistic approach, you might choose to use black embroidery thread. Simply make a couple of stitches where you want the eyes and mouth to appear.
3. Another creative idea involves using glow-in-the-dark paint. Little spots or lines can be your ghost’s eyes and mouth, and they’ll provide a spooky glow in the dark!
Be sure to place these features slightly above the middle of the ghost’s ‘face’ to ensure the optimal ghostly look. Applying the facial features might seem like a simple step, but it’s this final touch of character that truly brings your yarn ghost to life.
Final Touch-ups and Display Suggestions for Yarn Ghosts
After your yarn ghost has taken shape, ensure there are no loose ends and the knot under the head is tight. For the facial features, simplicity is key. Use black yarn for a mouth and two eyes. A crocheted or knitted mini hat or scarf may also serve as a charming accessory.
Displaying your ghosts appropriately enhances their spooky effect. Hang these spectral decorations from tree branches or porch railings for an outdoor display. For indoor décor, party centers, or chandeliers make great perches. Use fishing line or colorless yarn to create an illusion of floating ghosts. If preferred, place them grouped together on a fireplace mantel or tabletop, ensnaring everyone’s attention with their spookiness.
Playing with different light sources can also elevate their haunting presence. For instance, a backlit silhouette of a ghost floating by a window can stir quite a scare.
These touch-ups and placements not only complete your yarn ghost creation but also make sure they fulfill their creepy-cute potential.
FAQ
What kind of yarns are best-suited for creating a yarn ghost?
White or light-colored, fluffy or bulky yarns are typically best for creating a yarn ghost because they provide the needed texture and resemblance to a ghostly figure.
How do you maintain the form and shape of your yarn ghost over a long period of time?
To maintain the form and shape of your yarn ghost over a long period of time, store it in a dry, cool place and avoid squashing or folding it.
Can you provide tips on designing different facial expressions for your yarn ghost?
To design different facial expressions for a yarn ghost, use varying sizes and shapes of black felt or embroidery thread for the eyes and mouth, creating different looks such as happy, sad, surprised, or scary.


