Understanding how to weave a basket with yarn can unlock an enjoyable and functional new crafting skill, because even simple materials can transform into beautiful, practical objects.
Weaving a basket with yarn is a delightful craft that combines the joys of knitting with the practicality of creating a useful item. This article will guide you through the process step-by-step, ensuring that you understand the techniques and materials needed.
From selecting the right type of yarn, to mastering the basic weaving pattern, to adding the finishing touches to your basket, every detail will be covered. Whether you’re a seasoned knitter or a beginner looking to expand your skills, this comprehensive guide will provide you with all the information you need to successfully weave a beautiful and functional yarn basket.
Key takeaways:
- Select the right yarn and materials for weaving a basket.
- Prepare and cut the yarn accurately for best results.
- Follow instructions for starting the base and weaving the sides.
- Properly attach the cord to maintain the basket’s structure.
- Weave the yarn in and out to create the body of the basket.
Required Materials for Yarn Basket Weaving
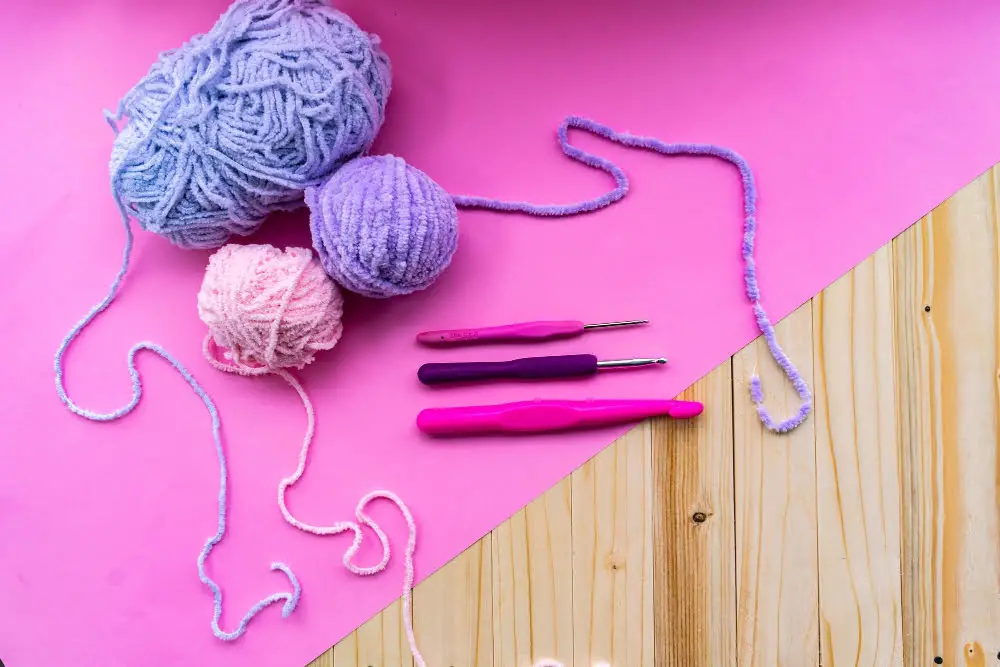
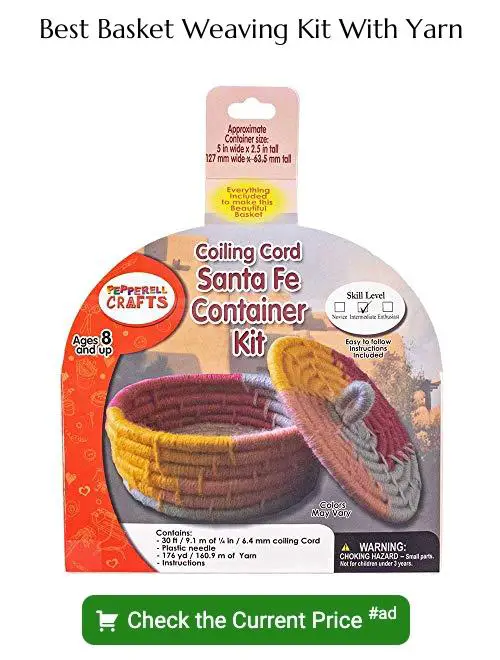
To embark on this creative adventure, you’ll need some essential items. Gather a sturdy thick yarn, preferable cotton for its durability and soft texture. A plastic clothesline cord or any rigid cord will serve as the backbone of your basket structure. Scissors for cutting the yarn and cord are necessary, along with a yarn needle which possesses a large eye for easy threading. It’s a good idea to have a measuring tape on hand to ensure accuracy in dimensions. Lastly, a chunky crochet hook will provide assistance when weaving difficult sections. These are your tools for crafting a perfect, homemade yarn basket.
Preparing and Cutting the Yarn

To ensure the best results in your basket, select a yarn of medium weight to provide stability and durability. You will need about 200 yards for a typical small basket.
To prepare, unwind the yarn from the skein and smooth out any kinks or tangles in a clear, open space. This will make the weaving process smoother and prevent any snags or knots.
Next is the cutting step. It’s crucial to measure accurately, as this can greatly affect the final size and shape of your basket. For the base, cut lengths of yarn measuring about 2 feet each. For the sides, slice the yarn into lengths of about 5 feet.
Remember, it’s advisable to cut a little extra yarn to accommodate for any small errors or discrepancies in measurement. It’s always better to have more yarn and trim down later than to run out mid-project and disrupt your weaving flow. Ensure that the cuts are neat and precise to avoid fraying.
One last tip: be sure to keep the cut pieces of yarn neatly organized by size and length. This will help the weaving process be more efficient and manageable, allowing you to easily find the pieces you need when you need them.
Instructions for Starting the Basket’s Base
First, create a loop at the end of the yarn. Next, insert the yarn and the cord into the loop and pull the ends to tighten it. This forms the secure starting point of your basket.
Now begin to wrap the yarn around the cord. This wrapping technique creates the ‘rope’ that makes up your basket. Maintain a firm but not overly tight grip on the yarn while wrapping to achieve a clean and consistent look.
Once you have about 12 inches of wrapped cord, start coiling this section into a disk. This becomes the center of your basket’s base. Remember to stitch the yarn around the layers to connect them, keeping the stitching tight to ensure a sturdy basket.
Continue this process, expanding the base to your desired size. Keep the wrapping and coiling consistent for a uniform base. Remember to add more yarn as needed, always joining the new piece with the old one discreetly in the underside of the basket.
Techniques for Properly Attaching the Cord
To attach the cord, it’s important to use a specific technique to ensure the strength and shape of your yarn basket. Begin by threading the yarn through the end of the cord and tying a knot. Keep these points in mind:
- 1. The knot must be tight: A loose knot risks unraveling as the weaving progresses, compromising the structure.
- 2. Start weaving: Bring the yarn over and under the cord, wrapping it each time. The tighter the wrap, the smaller the gaps in your design.
- 3. Secure each round: With every completed round, secure the yarn to the cord with an additional knot. This measure prevents the yarn from sliding on the cord.
With these techniques, the cord remains firmly bound by the yarn throughout the basket weaving process. This attachment ensures the overall firmness of your basket structure.
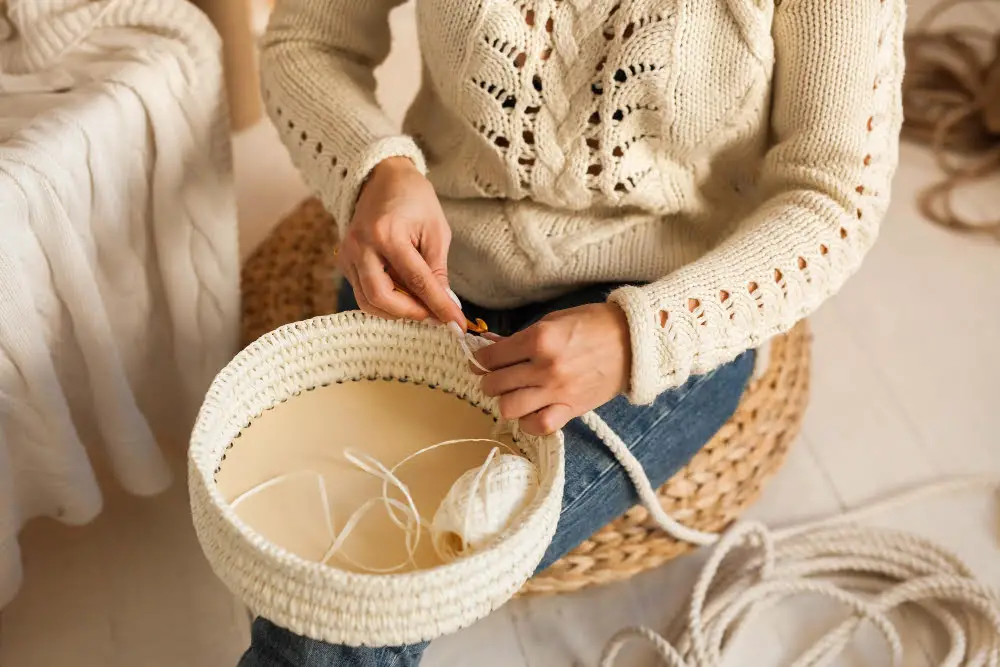
Process for Starting the Sides of the Basket
Once the basket’s base is secured, it’s time to venture upwards by creating the sides. Start by extending the yarn upwards from the edge of the base; this will become the framework for the higher portions. The weaving technique remains similar: you continue to loop the yarn around each of these extensions. The biggest difference? Now you’re weaving vertically.
A few extra guidelines to remember:
- Ensure the tension of the yarn remains consistent to avoid irregular, floppy sides.
- Work in circles to maintain the basket’s shape, adding additional rounds until desired height.
- Guide each yarn over and under the vertical strands, securing at the end of each round.
- Always keep the coils tight and closed to avoid gaps in the basket’s structure.
Remember, precision and patience are key while weaving the sides, ensuring that the basket maintains its sturdiness and visually appealing texture.
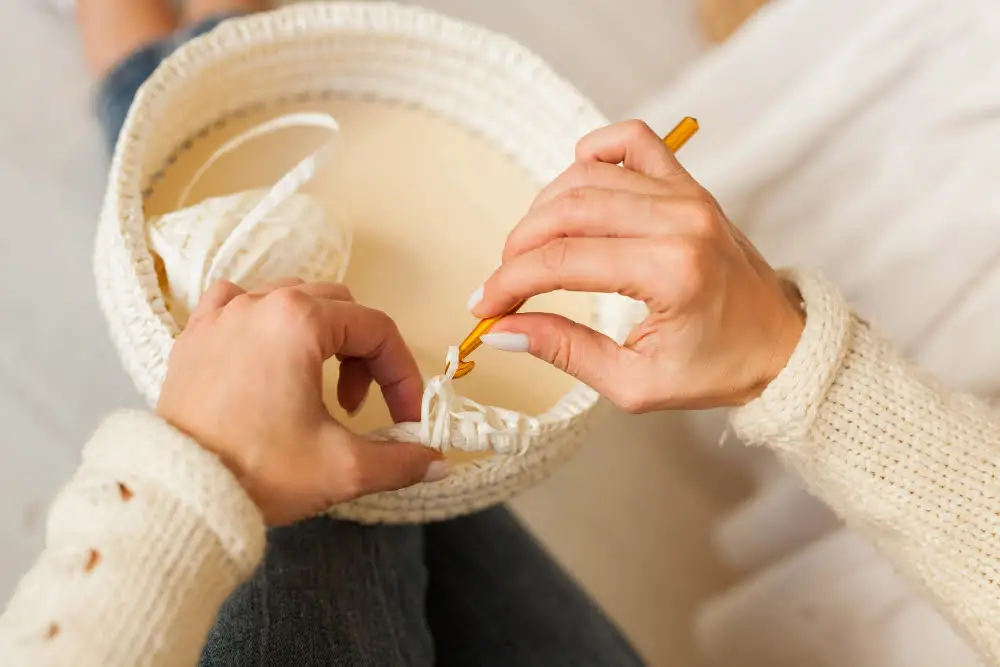
Method for Weaving the Yarn Throughout the Basket
After establishing the sides, you’ll continue weaving, creating the body of the basket. Follow these simple steps:
1. Start by taking the end of your yarn, and weaving it in and out of the rows you have established thus far.
2. Each weave should be firm but not too tight, to maintain the basket’s structure and shape.
3. Be mindful of the pattern you’re creating. Consistency is vital for an even and appealing look.
4. Make sure each round of weave connects to the one before it. If done correctly, you should see a wall of woven yarn taking shape.
5. Continue this process, weaving in and out, until you reach a desired height for your basket. Remember, the size of the basket is entirely dependent on your personal preference or specific needs.
6. For a neat, professional finish, ensure that every weave aligns with the one below it, forming a consistent pattern.
Guide to Finishing the Yarn Basket
Once you’ve completed weaving, trimming the remaining ends is the initial step. Secure loose fibers with a concealed knot to prevent the unraveling of the structure. Next, make a neat rim for the basket by folding the outstanding stands onto the interior. This will help stabilize the basket structure and enhance aesthetics. Remember to secure these top fibers with additional yarn to keep them in place.
You can also add personal touches at this stage. Custom adornments like bows or flowers can be woven in, or if you prefer a minimalist look, keep the basket plain. Whichever choice you make, ensure all additions are tightly fastened to maintain the basket’s structural integrity. Lastly, review the completed basket, adjusting any irregularities that catch your eye.
After the final inspection, your handmade yarn basket will be ready for use!
FAQ
Can I weave a basket with yarn?
Yes, you can weave a basket with yarn, and it can even be customized with features like chic leather handles for a stylish and practical storage solution.
What are the four common basic basket weaving techniques?
The four common basic basket weaving techniques are coiling, plaiting, twining, and wicker.
What kind of yarn is best for weaving a basket?
Sturdy and coarse yarns, such as jute, hemp, or sisal, are ideal for weaving a basket due to their durability and shape-holding capabilities.
How do you maintain the shape of a yarn-basket while weaving it?
To maintain the shape of a yarn-basket while weaving it, use a balloon or a bowl as a mold for the basket, applying starch or glue to further enhance its form and rigidity.
What are some expert tips for adding creative designs and patterns to a woven yarn basket?
To add creative designs and patterns to a woven yarn basket, consider incorporating mathematical sequences like Fibonacci series for symmetrical patterns, utilize color blocking with complementary hues for bold designs and experiment with different weaving techniques for unique textures.


