Discover the fascinating process of spinning your own yarn because this skill can transform your crocheting or knitting projects into personalized, one-of-a-kind creations.
Key takeaways:
- Choose the right spinning tool for your budget and goals.
- Consider the different types of drop spindles for various spinning experiences.
- Modern spinning wheels offer advanced features and compact designs.
- Different fibers have different spinning qualities and impacts on the final yarn.
- Use key accessories like fiber prep tools and a yarn gauge.
Choosing Your Spinning Tool
When deciding on a spinning tool, consider your budget, space, and goals:
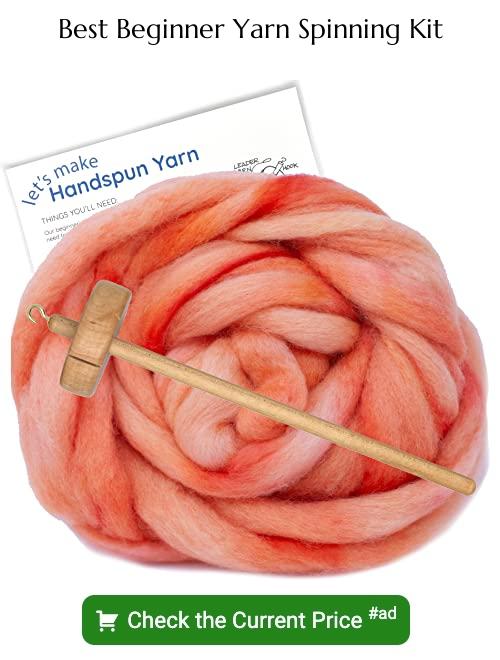
1. Drop Spindle: Ideal for beginners due to its affordability and portability, this tool helps you understand twist and tension basics without a large investment.
2. Wheel Spindles: If you’re looking to produce yarn more quickly and comfortably, a wheel might be the right choice. Compact modern wheels are now available, which are space-efficient.
3. E-Spinner: An electronic spinning wheel is suitable for those with limited mobility or who prefer not to use a foot treadle. They offer consistent speed, which some spinners find helpful.
4. Budget: Factor in how much you’re willing to invest. Drop spindles are typically less expensive, while spinning wheels are a larger commitment.
5. Fiber Types: Consider that certain tools might work better with specific fibers. Some spindles are great for fine fibers like cashmere, while others are better for wool.
6. Try Before You Buy: If possible, try different models through classes or from fellow crafters to find the one that feels most comfortable for your use.
Types of Drop Spindles
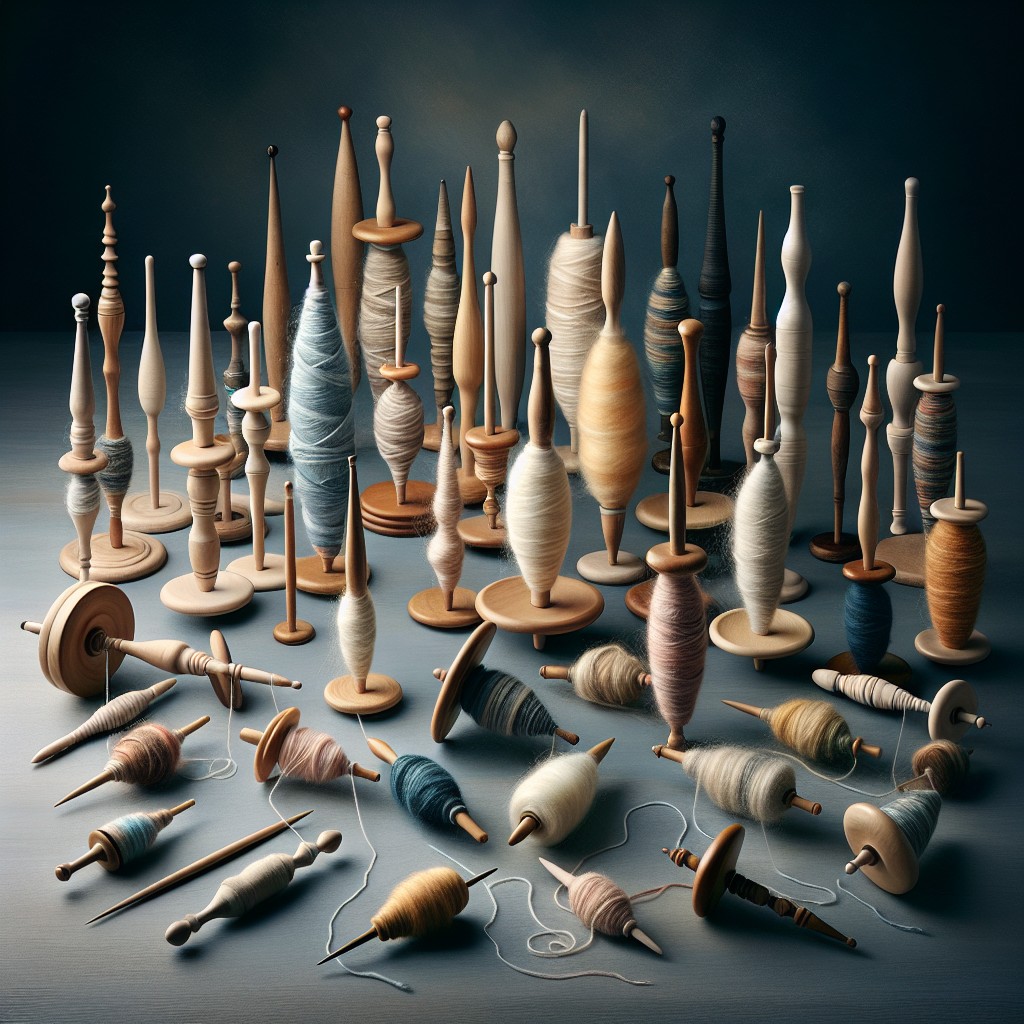
Drop spindles come in various shapes and sizes, each offering a different spinning experience.
Top-whorl spindles feature a whorl near the top of the spindle. This design is ideal for high-speed spinning and is well-suited to fine, light-weight fibers. Their center of gravity is higher, making them spin faster but for a shorter duration.
Bottom-whorl spindles have a whorl attached at the bottom, spinning more slowly but with greater momentum. They are often recommended for beginners due to their stability and ease of learning.
Turkish spindles present a unique design with crossbars that create a center pull ball as you spin. They are collapsible for easy transport and yield a user-friendly experience.
Supported spindles rest on a surface while spinning, such as a bowl or a tabletop. They are great for spinning very fine yarn and luxurious fibers.
When selecting a drop spindle, consider the type of yarn you wish to create. Heavier spindles are typically used for thicker yarns, while lighter spindles are favored for fine, delicate yarns. Keep in mind the portability and ease of use, especially if you’re new to spinning.
Modern Spinning Wheels
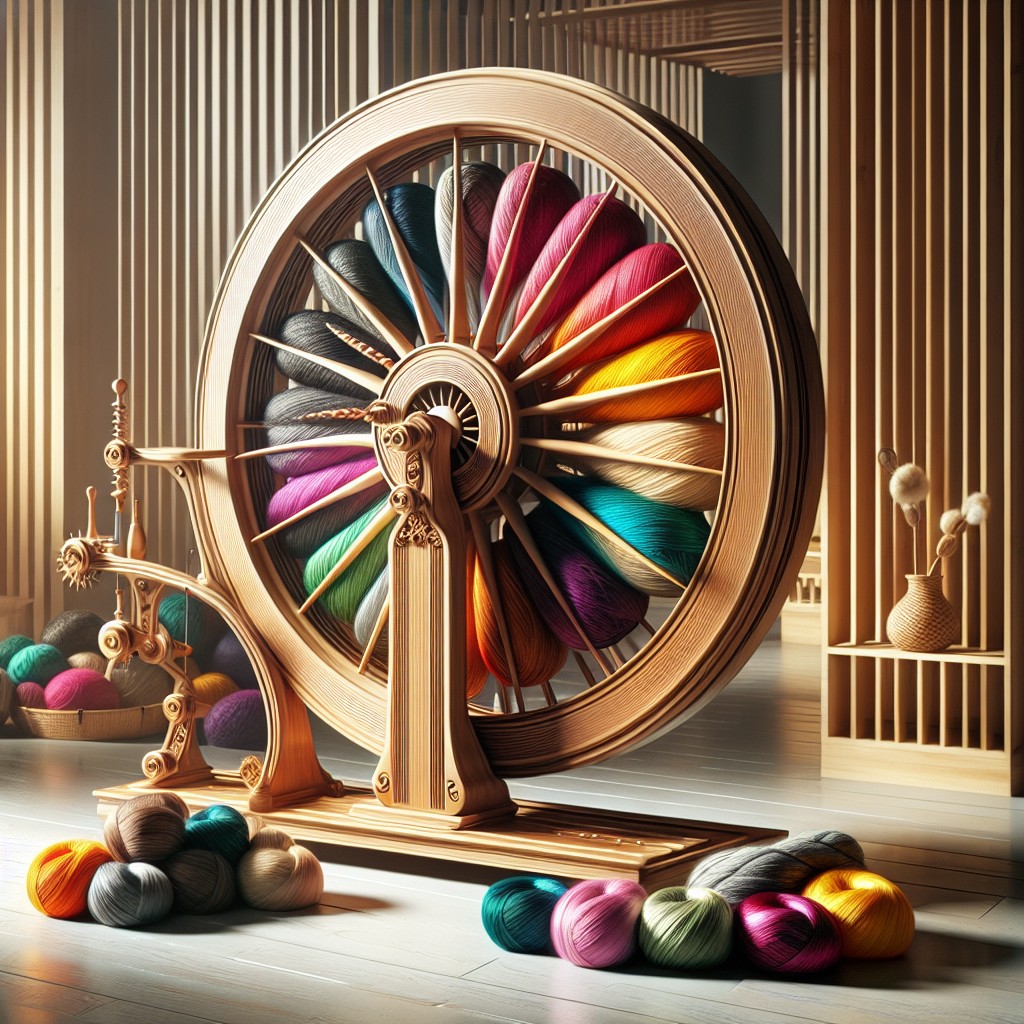
While traditional spinning wheels are beautiful and have an old-world charm, modern spinning wheels provide a broad range of features that cater to contemporary crafters. Their compact design often allows for easier storage and transport, important for those with limited space. The integration of advanced engineering materials, like high-grade plastics and composite fibers, results in durable yet lightweight wheels.
Some key benefits of modern spinning wheels include built-in lazy kates for plying, adjustable tension controls for fine-tuning your yarn, and interchangeable flyers for crafting different yarn weights. They also tend to offer double treadles, which can lead to more comfortable spinning sessions and reduced fatigue.
Another advantage is the variety of drive systems available, such as Scotch tension for precise control over yarn take-up and double drive for consistent tension and speed, enabling you to tailor your wheel to your specific spinning style.
Many contemporary wheels come assembled or require minimal setup, allowing you to jump right into spinning. With these advancements, modern spinning wheels make the craft more accessible, especially for beginners looking to invest in their first wheel.
Types of Fibers for Spinning
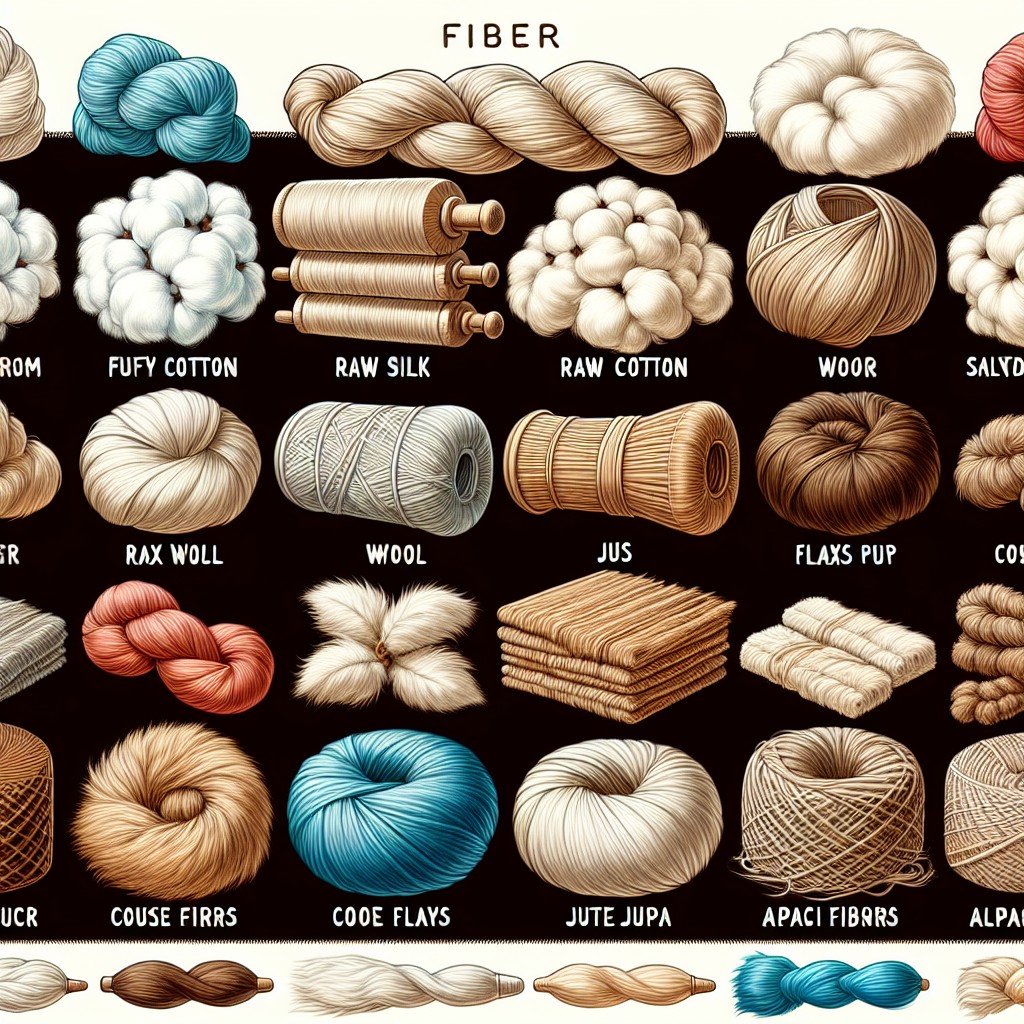
Natural fibers vary widely in characteristics, each impacting the spinning experience and final yarn outcome.
Animal Fibers: Wool, from sheep, is a staple for beginners due to its forgiving nature and elasticity. Mohair (goat), alpaca, and silk offer smooth, lustrous qualities but may challenge novices with their slipperiness.
Plant Fibers: Cotton, flax (linen), and bamboo deliver a cooler, softer yarn, ideal for warmer climates. These fibers lack memory and can be more difficult to spin without prior experience.
Synthetic Fibers: Acrylic and nylon are uniform in texture and durable, yet lack the warmth and natural feel of animal and plant fibers.
Blended Fibers: Mixes, such as wool-acrylic, combine qualities of various fibers, often enhancing spinability and final product utility.
Understanding the properties of these fibers helps in selecting the appropriate one for your project’s needs and your spinning comfort level.
How to Choose a Wool Breed for Beginner’s Spinning
Selecting the right wool breed is crucial; it can make your initial spinning experience enjoyable or frustrating. Wool varies in softness, crimp, staple length, and ease of use. As a beginner, you should aim for wool that is forgiving and not too slippery to handle.
Look for breeds like Corriedale, Romney, or Coopworth, which have a medium staple length (around 3-5 inches); this makes the fibers easier to grip and less likely to slip away from you. These wools usually also have a good amount of crimp, which gives the yarn elasticity.
Steer away from very fine wools like Merino initially, as their short staple length and fine fibers can be challenging to manage without experience. Similarly, longwool breeds like Lincoln or Wensleydale, while beautiful, can be difficult due to their silky, longer fibers.
Wool from a medium fiber breed will be easier to work with, offer a pleasurable texture, and help you build confidence as you develop your hand-spinning skills.
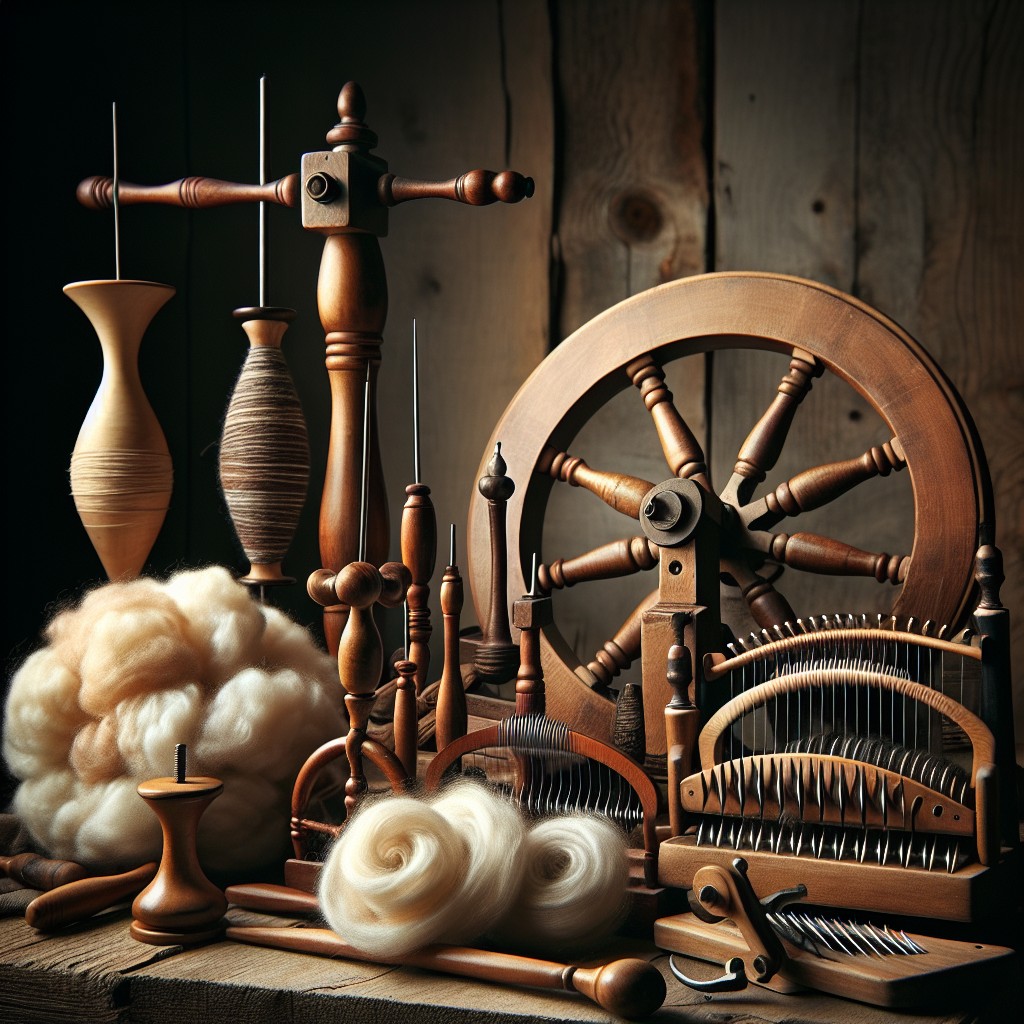
Basic Spinning Accessories for Beginners
When starting your spinning journey, a few key accessories will support your craft.
Fiber prep tools are essential. Hand carders or combs align fibers, making them easier to spin. Niddy-noddies help in skeining finished yarns. A lazy Kate holds bobbins during plying, preventing tangles.
A yarn gauge measures the thickness of your yarn, providing consistent results. For fiber maintenance, consider a swift or ball winder for tidy storage.
Maintenance tools such as hooks for threading and oil for lubricating your wheel keep your equipment in top shape.
Organizing these tools within reaching distance of your spinning spot will streamline your workflow and enhance your spinning experience.
Preparing Your Fiber: Pre-drafting
Pre-drafting is an essential step, especially for beginners, as it aligns the fibers to make them easier to spin and reduces the likelihood of creating lumpy yarn. Here’s how to pre-draft your fiber effectively:
1. Divide Your Roving: Gently pull your fiber roving into smaller, more manageable sections about an arm’s length long. This will give you better control as you draft.
2. Gentle Separation: Carefully tease apart the fibers along the length of each section. The aim is not to pull the fibers apart entirely but to loosen them, maintaining the integrity of the roving.
3. Light Pull: As you separate, gently pull longitudinally to slightly extend the fibers. This encourages evenness in thickness and reduces the drafting you’ll need to do while spinning.
4. Regular Width: Try to keep the width of your pre-drafted fiber consistent. This uniformity will translate into a more consistent yarn as you spin.
5. Avoid Overstretching: Take care not to over-draft or over-thin the fibers which can lead to weak points in your yarn.
By pre-drafting, you’ll set yourself up for a smoother spinning session, allowing you to focus on maintaining a consistent treadling and twist rather than battling thick slubs of fiber.
The Spinning Process: Park and Draft Technique
Begin with a spindle in your lap or between your knees, ensuring it’s secure, and hold the fiber in your preferred hand with a small amount extending out. This extended fiber is what you’ll spin first.
Twist the spindle with a flick of your fingers to set it in motion, creating a twist that travels up the fiber. Once it reaches your fingers, stop the spindle (park) and secure it between your knees or under your arm.
Now, focus on drafting. Gently pull (draft) the unspun fibers out to thin the section of fiber being worked, maintaining enough tension to avoid its untwisting.
Release the drafted fiber into the twist, which will stabilize it, turning fluff into yarn. Repeat the process: spin the spindle, park it, draft more fiber, and allow the twist to catch the newly drafted piece.
Continue this rhythm, alternating between spinning and drafting. This controlled approach is excellent for beginners, allowing mastery of drafting without juggling the spindle’s constant motion. Remember, smooth, consistent drafting will yield a more even yarn.
Finishing Techniques: Winding a Hank and Blocking
Once you’ve spun your yarn, winding it into a hank facilitates the cleaning and setting of the twist. To wind a hank, use a niddy noddy or a chair’s back to wrap the yarn evenly. This step transforms your spun yarn into a large loop, which is then tied loosely in a few places to prevent tangling.
Before using your yarn in a project, it is crucial to wash and block it to set the twist and soften the fibers. Soak the hank in lukewarm water with mild soap, avoiding agitation which can cause felting. Gently squeeze out excess water without wringing. Roll the hank in a towel to remove moisture, then hang it to dry with a weight to ensure it dries straight, without curling. This process helps ensure consistent stitch size and overall aesthetic in your final crafted piece.
Plying: Creating Balanced Yarns
Achieving balance in your yarn affects its overall look and feel, and plying is a technique to enhance both. When plying, you’re twisting two or more strands of spun yarn together in the opposite direction of their original spin.
Twist Direction: For a balanced ply, if your single yarns were spun clockwise, you’ll want to ply them counterclockwise, and vice versa.
Ply Evenness: Try to maintain consistent tension and twist rate as you ply to ensure overall uniformity in your yarn.
Sampling: Create a small sample of your plied yarn, wash it, and hang it to dry. If it doesn’t twist upon itself, you’ve achieved a balanced yarn. Adjust your technique accordingly if it does.
Tools for Plying: You can use a lazy kate to manage your singles, preventing them from becoming tangled and helping to maintain even tension.
Joining Yarn: When adding a new single, overlap the ends for a smooth transition that will be nearly indistinguishable in the final project.
Finishing: After plying, washing and thwacking the yarn can help set the twist and relax any overactive fibers, ensuring the yarn’s balance is maintained through future use.
FAQ
Can you spin yarn without a spinning wheel?
Yes, you can spin yarn without a spinning wheel by using either a drop spindle or a supported spindle.
Is spinning yarn difficult?
Spinning yarn is not inherently difficult but requires time, focus, attention to detail, and persistence for mastery.
What equipment do you need to spin yarn?
To spin yarn, the basic equipment required includes a spindle or wheel, a niddy-noddy, and a set of handcards.
What are the different methods of spinning yarn?
The three main methods of spinning yarn are drop spinning, using a spinning wheel, and using a spindle.
What type of fibers can be used for spinning yarn?
Fibers for spinning yarn can include natural materials like wool, silk, cotton, and flax, or synthetic materials like nylon and acrylic.
How can one effectively maintain the consistency of hand-spun yarn?
To maintain the consistency of hand-spun yarn, regular practice of spinning is crucial, as well as paying close attention to the thickness during the process, and keeping the twists per inch consistent.


