Dive deeper into the world of yarn crafting because plying yarn can elevate the quality and aesthetics of your knitted and crocheted projects, a process explored in this comprehensive step-by-step guide.
Key takeaways:
- Plying yarn creates stronger, more durable yarn with enhanced texture.
- 2-ply yarn is smooth and lightweight, while 3-ply is sturdier.
- Multi-ply yarn is bulky and suitable for heavy-duty use.
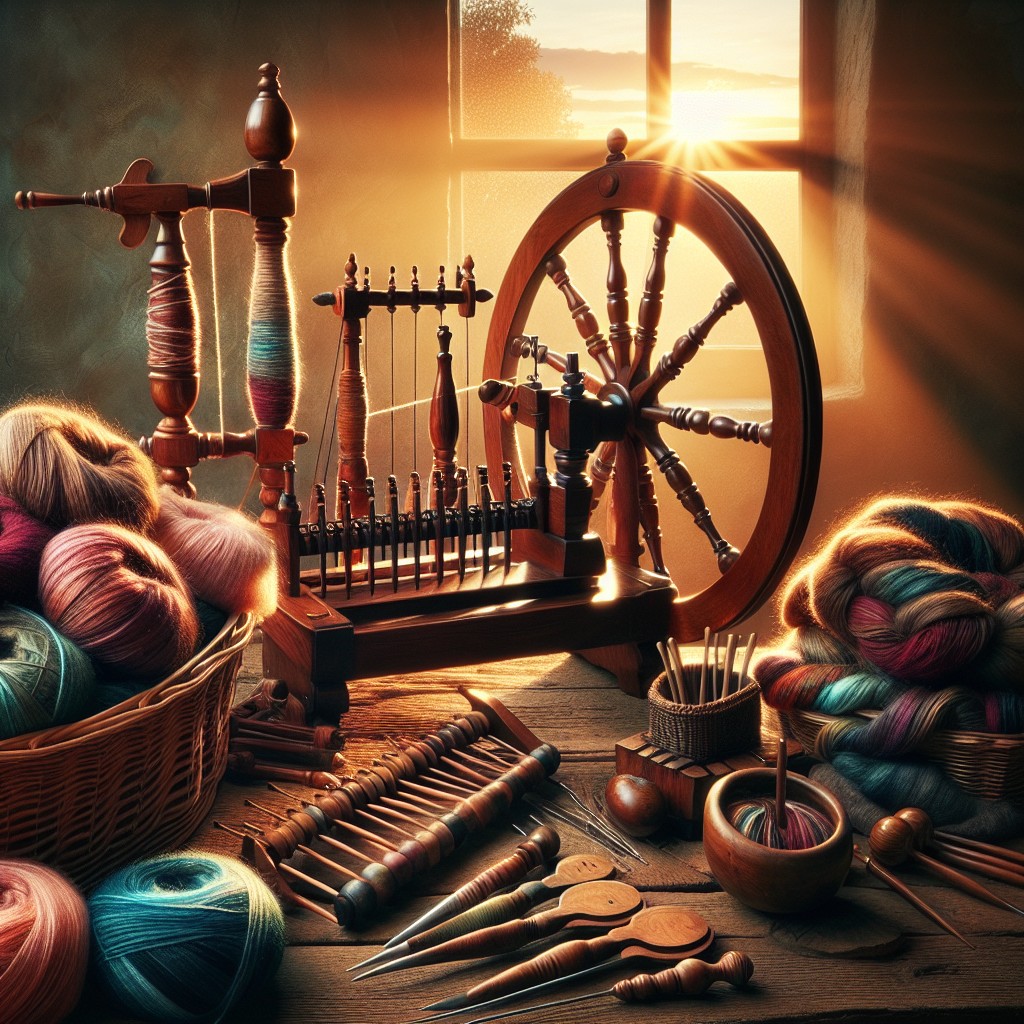
- Tools needed for plying yarn include a spinning wheel, bobbins, and a yarn swift.
- Proper tension and checking twist balance are important for successful plying.
Definitions of Plying
Plying refers to the process of twisting two or more strands of yarn together to create a thicker and stronger thread. Each individual strand, known as a single, contributes to the final properties of the plied yarn, including its weight, strength, and the way it drapes or feels in a finished project.
Plying not only combines singles into a durable yarn but can also balance the twist of the singles, preventing the yarn from curling onto itself. Additionally, this method can enhance the visual texture of the yarn, producing interesting color effects when different colors are combined.
There are various plying techniques, each yielding a unique outcome in the final yarn’s structure and appearance.
Importance of Plying in Yarn Strength and Texture
Plying yarn not only enhances its strength but also influences the final texture, which is crucial for the durability and feel of finished projects. Here’s how:
- Strength: Twisting fibers together in ply creates a more resilient yarn capable of withstanding the rigors of knitting, crocheting, and wear.
- Durability: Plied yarns have reduced pilling tendencies because the fibers are securely twisted, hence they last longer while maintaining a fresh appearance.
- Texture: The ply affects the yarn’s surface and hand-feel; for instance, a 2-ply yarn tends to create a smooth, sleek texture, while a chunky 3-ply offers a bouncier, more cushioned feel.
- Stitch Definition: Depending on the number of plies and how they’re spun, yarn can offer crisp stitch definition for intricate patterns or a softer look for more rustic designs.
- Drape: The way yarn will hang in a finished piece is greatly affected by its ply structure, which can range from flowy and supple for 2-ply yarn to more structured and sculptural for heavier ply counts.
Types of Ply: 2-ply, 3-ply, and Multi-ply
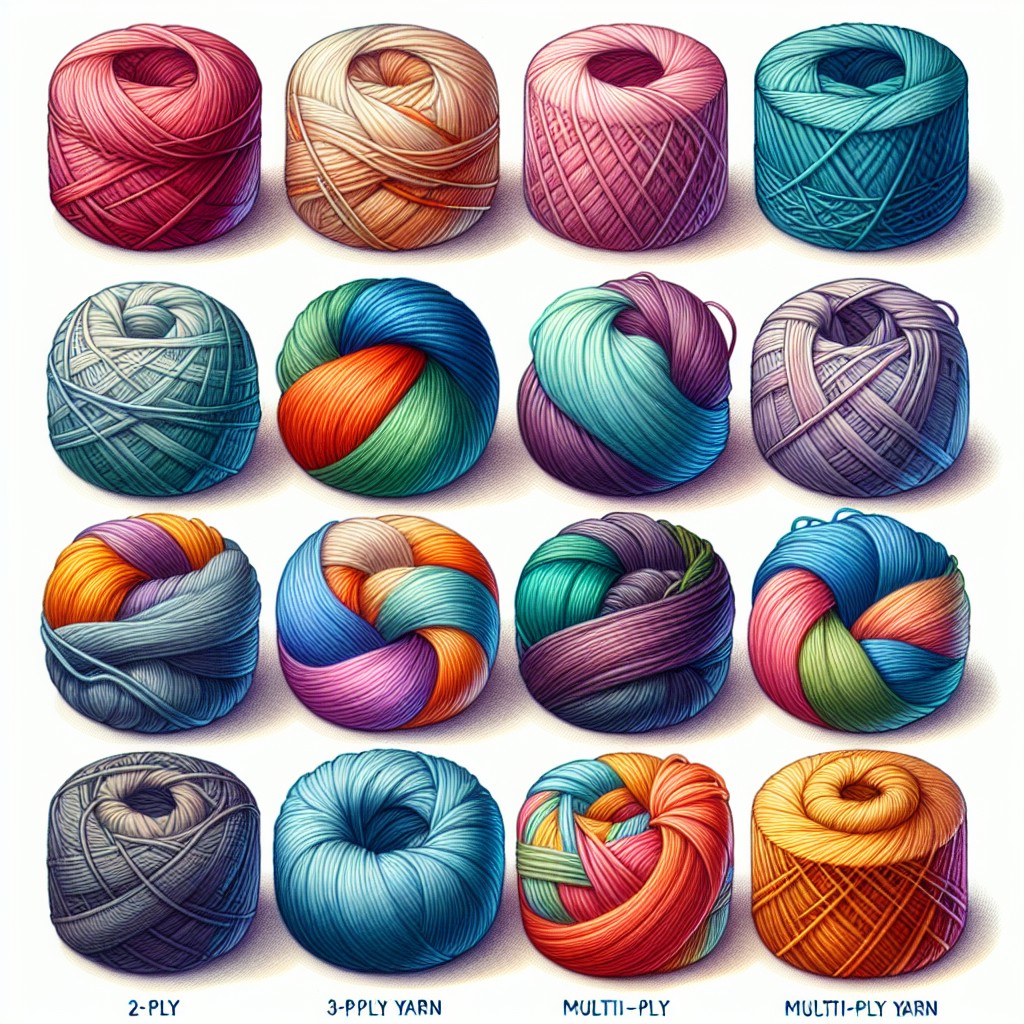
Understanding the various types of ply is crucial for determining the final texture, strength, and intended use of yarn.
2-ply Yarn: This yarn consists of two single strands twisted together. It tends to be smooth and is often used for delicate projects where a light, airy fabric is desired. One unique feature is that it can create a slight “halo” effect in the finished fabric.
3-ply Yarn: Made by twisting three single strands together, this type is rounder and sturdier than 2-ply, providing excellent stitch definition. It’s a popular choice for projects requiring more durability and structure, like socks and sweaters.
Multi-ply Yarn: Refers to yarn with four or more plied strands. The more strands involved, the rounder and bulkier the yarn becomes. Multi-ply yarns are even stronger and offer robust textural quality, suitable for heavy-duty use and bold stitch patterns.
Each type has its specific applications, so the choice of ply counts on the desired outcome in your knitting or crocheting project.
Tools Needed for Plying Yarn
To ply yarn effectively, you will require a few essential tools:
- Spinning Wheel or Spindle: While a wheel is commonly used for plying larger quantities, a spindle can handle the task for smaller projects.
- Lazy Kate: This tool holds multiple bobbins of spun singles in place, allowing them to unwind evenly during the plying process.
- Bobbins: You’ll need multiple bobbins; one for each single you plan to ply together.
- Yarn Swift or Niddy Noddy: After plying, you’ll use a yarn swift or niddy noddy to wind the yarn into a hank, making it easier to wash and set the twist.
- Yarn Winder: If you prefer to create balls or cakes instead of hanks, a yarn winder will be indispensable.
Ensure that whatever tools you choose are the right fit for your project size and yarn type for an enjoyable and efficient plying process.
How to Ply Yarn Step-by-Step
Begin by spinning singles yarn that will be used for plying. Ensure each single has been spun in the same direction, typically ‘Z’ twist (clockwise).
Wind each single onto separate bobbins or spools in preparation for plying, ensuring they are easy to unspool without tangling.
Set up your yarn on either a lazy kate or an equivalent device to maintain even tension and prevent snarls. Position the bobbins so that the yarn feeds off easily and consistently.
Choose between plying on a spinning wheel or a drop spindle, depending on your preference and the tools available.
For spinning wheel plying:
- Adjust the wheel’s tension to a lower setting than used for spinning singles, allowing the yarns to twist together without over-twisting.
- Feed the singles into the wheel through the orifice, holding them together and allowing them to twist. This is typically done with an ‘S’ twist (counterclockwise).
- Keep the singles under even tension with your hands while controlling the twist rate with the treadling speed.
- Wind the plied yarn onto the bobbin, watching for consistent twist along the length.
For drop spindle plying:
- Secure the singles to the spindle before starting to ply.
- Use your hands to control the amount of twist, ensuring even plying along the length of the yarn.
- Wind the finished yarn onto the spindle, periodically checking for balanced twist.
Monitor the yarn twist by periodically stopping and letting a section hang free. A balanced ply will cause the yarn to fold back on itself without excessive twisting.
Wind the finished plied yarn into a skein using a niddy noddy, ensuring not to stretch the yarn to maintain an accurate yarn measurement.
Utilize the skein winder to create a loop of the plied yarn, tie off in several places to prevent tangling during the finishing process.
Managing Tension: Active and Stale Twist
Ensuring consistent tension during plying is key to achieving an even twist. As you ply, you’re combining twists from individual strands, described as active twist, into the new yarn. Maintaining this active twist prevents the strands from becoming too loose or overly tight, leading to an unbalanced yarn.
Here are a few points to consider:
- Keep the yarn feeding smoothly from bobbins or spindles to maintain consistent tension.
- Control the angle at which the yarns enter the ply twist to manage how the twist migrates through the yarn.
- Use a lazy kate or similar tool to hold bobbins in place, allowing them to dispense yarn without tangling or unwinding too quickly.
- Adjust tension devices appropriately if using a spinning wheel for plying.
- Monitor the twist as you go; if the yarn backs on itself and forms loose loops, the tension is too low. If it corkscrews or kinks, the tension is too high.
- Allow the yarn to rest if it starts to lose its active twist, giving the fibers time to relax before plying continues.
Keep these points in mind for plying with consistency and to ensure that the energy of the twist contributes to a well-structured and balanced yarn.
Checking the Balance of Plying Twist
To assess whether your plied yarn is balanced, let a length of it dangle from your hand. If it hangs straight with occasional gentle twists, it’s balanced. However, if it twists excessively upon itself, there’s too much twist and it’s over-plied. Conversely, if the strands begin to separate, it’s under-plied.
A simple method to tweak the balance is by running the yarn through the spinning wheel or spindle in the opposite direction to which it was plied, either adding or removing twist slightly. This adjustment requires careful moderation; it’s easier to add more twist later than to remove excess.
For a visual cue during plying, observe the yarn’s angle. Ideally, yarn plies should sit at a 45-degree angle to the yarn length. To preserve the balance you’ve achieved, always finish by setting the twist through washing and drying under light tension. This process helps the fibers memorize their plied state, ensuring the yarn maintains its properties in your finished project.
Common Plying Issues and Solutions
Uneven twist is a frequent plying challenge, which can lead to a yarn that is over-twisted in some sections and under-twisted in others. To prevent this, maintain a consistent speed and tension when feeding yarn into the plying twist. Use sample skeins to gauge the appropriate twist level before plying large quantities.
Breakage during plying often occurs with fragile fibers or when excessive tension is applied. To resolve this, gently handle the fibers and ensure your wheel or spindle is not pulling too forcefully.
Twist buildup, where too much twist migrates to one area, may cause snarling and difficulty in handling. Periodically release the twist by letting the yarn unwind slightly.
Lastly, unbalanced yarn, identified by a yarn that twists back on itself when hanging freely, is another common concern. Balance can be improved by adding or removing twist accordingly. If the yarn is too tightly plied, run it back through the spinning wheel in the opposite direction to remove excess twist. If it’s not plied enough, add more twist in the initial plying direction.
Finishing the Plied Yarn: Washing and Setting the Twist
Once you’ve plied your yarn, the next phase is to wash and set the twist, ensuring a professional finish. This process relaxes over-twisted fibers and evens out any inconsistencies.
- Soak the yarn in lukewarm water with a gentle wool wash for about 20 minutes, allowing the fibers to fully absorb the moisture.
- Press out the excess water without wringing, which can disturb the twist.
- To remove additional moisture, roll the yarn in a towel and gently squeeze.
- Hang the skein to dry, weighing it down with a hanger or clip to encourage a straight, balanced hang.
- Allow the yarn to dry completely before winding it into a ball.
Proper finishing solidifies the structure of your plied yarn, resulting in beautiful, stable projects.
Storing Plied Yarn Correctly
After you’ve washed and set the twist in your plied yarn, proper storage is key to maintain its quality until you’re ready to use it. Here are some tips to ensure your yarn stays in top condition:
- Use skein bands or ties: To prevent tangling, secure your yarn in at least four places before storing.
- Avoid direct sunlight: Store your yarn in a place away from sunlight to prevent fading.
- Maintain a clean, dry environment: Moisture can lead to mold growth and pests, so ensure your storage area is dry.
- Avoid hanging the yarn: Hanging can stretch the yarn and distort the twist over time. Instead, lay skeins flat in a drawer or on a shelf.
- Cedar balls for protection: If you’re concerned about moths, consider adding cedar balls or natural moth repellents to your storage space.
- Keep it loose: Don’t store yarn wound too tightly on a ball winder, as it may stretch the fibers.
- Label it: Include information about the fiber content, yardage, and weight on the label, so you can reference back easily when you choose your next project.
By following these steps, you’re helping your handcrafted yarn remain beautiful and functional for whenever inspiration strikes next.
FAQ
What is plying yarn?
Plying yarn involves twisting two or more singles yarns together in the opposite direction to their initial twist to create a torque-balanced yarn.
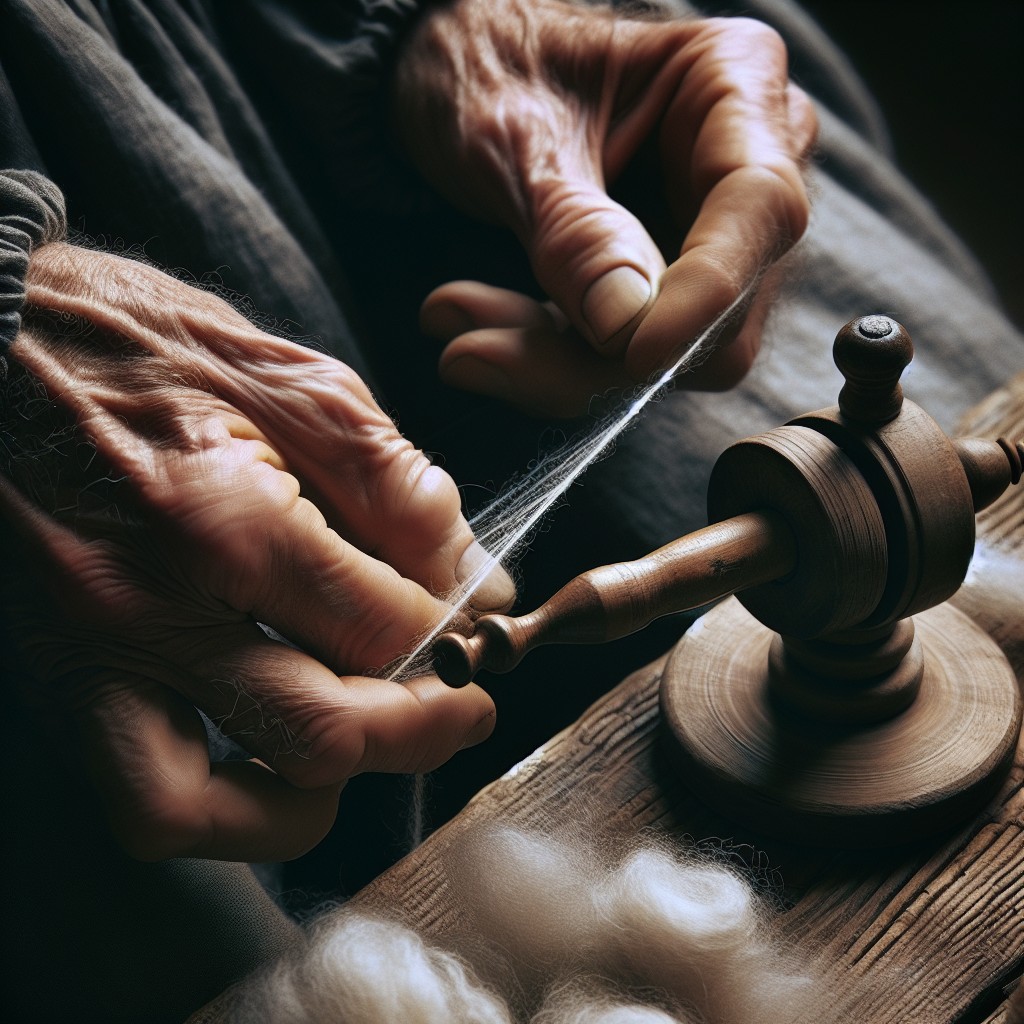
How do you ply yarn without a machine?
Plying yarn without a machine involves pinching the ends together near the orifice, then releasing the opposite end, allowing the strands to self-ply, culminating in a smoothed out, plied yarn.
What are the advantages of plying yarn?
Plying yarn enhances its properties including strength, elongation, evenness, abrasion resistance, bulkiness, twist liveness, and reduces hairiness.
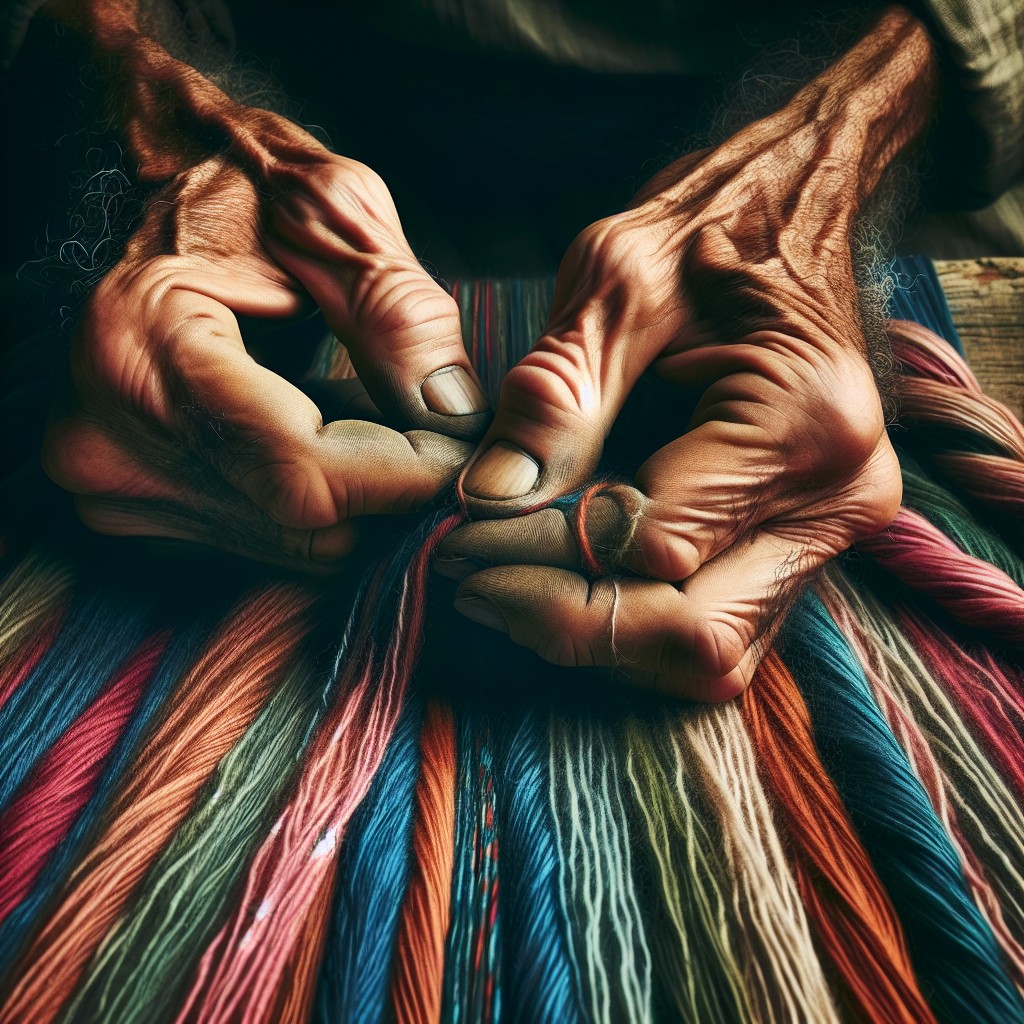
What are the different techniques of plying yarn by hand?
Plying yarn by hand involves techniques such as simple plying, Navajo or chain plying, and cable plying.
What materials are needed for the plying process?
The materials needed for the plying process include two or more singles of spun yarn, a spinning wheel or spindle, and a lazy kate or a device to hold the singles.
Are there any potential mistakes to avoid while plying yarn?
One common mistake to avoid while plying yarn is over-twisting, which can result in a stiff and unmanageable material.


