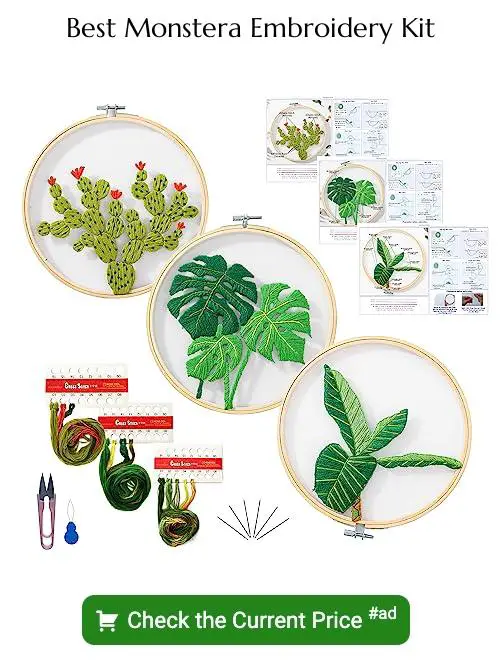
Discover how to create a stunning monstera leaf embroidery piece, outlining the materials, techniques, and stitches needed to bring this tropical design to life.
Key takeaways:
- Gather materials: fabric, embroidery floss, needle, hoop, scissors, pattern, transfer tools
- Choose the right hoop size for your Monstera design
- Use tracing, iron-on transfer, carbon transfer, or sticky stabilizer to transfer the pattern onto fabric
- Use backstitch, stem stitch, satin stitch, long and short stitch, and split stitch for different embroidery techniques
- Hand wash gently, press water out, dry flat, and store properly to care for your embroidered piece
Materials Required for Monstera Embroidery
To embark on your Monstera embroidery project, gather the following essentials:
- Fabric: A sturdy cotton or linen fabric provides a smooth canvas for your work.
- Embroidery floss: Opt for green shades to mimic the Monstera’s natural hues, along with any other colors you’d like for detailing.
- Embroidery needle: A size 7 or 9 is ideal for most cotton threads and fabrics.
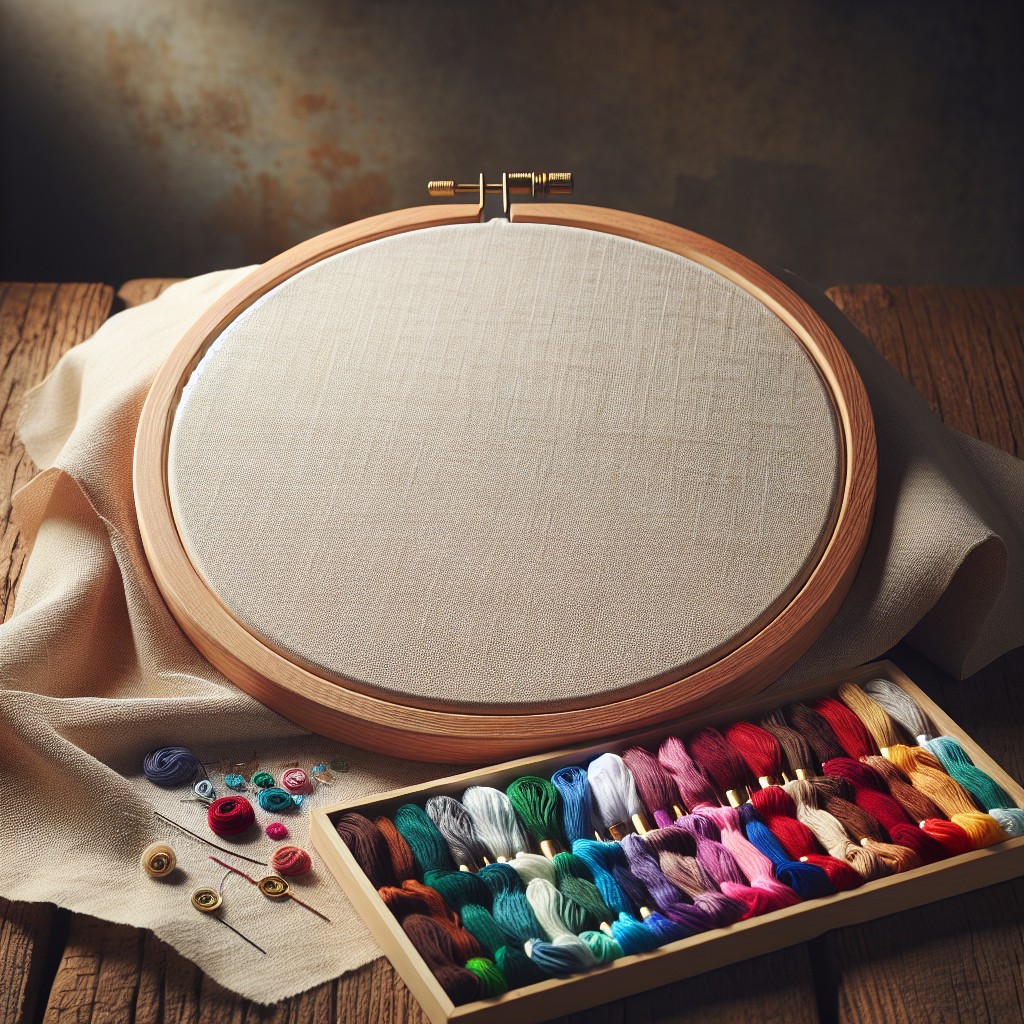
- Hoop: This tool keeps the fabric taut while you stitch, ensuring even, precise work. Choose one that fits the size of your Monstera design comfortably.
- Scissors: Small, sharp embroidery scissors are necessary for snipping thread and making clean cuts.
- Pattern: A Monstera leaf pattern can be hand-drawn or printed, depending on your preference.
- Transfer tools: A water-soluble pen or dressmaker’s carbon paper for transferring your pattern onto the fabric.
- Optional: Embellishments like beads or sequins if you aim to add texture or sparkle to your leaf design.
Having these materials at hand simplifies the process, allowing you to focus on the joy of bringing your Monstera to life stitch by stitch.
Embroidery Hoop Sizing for Monstera Design
Selecting the right size hoop is essential. For small Monstera leaves, a 4-inch hoop is sufficient. If you’re working with a larger, more intricate pattern, consider 6-inch to 8-inch hoops. This offers ample space and ensures the fabric remains taut while stitching.
When planning a gallery wall or intending to display multiple designs together, it’s visually appealing to create a variety of sizes using different hoops, which will add interest to your display. Remember that the hoop size dictates the scale of your work, so choose one that complements the complexity of your Monstera pattern and your intended final display method.
Transferring the Pattern Onto Fabric
Before stitching begins, ensuring your Monstera pattern is accurately positioned on the fabric is crucial. There are several methods to transfer your design:
- Tracing: If you’re working with light-colored, somewhat transparent fabric, simply position it over the pattern and trace using a water-soluble fabric pen or a pencil specifically designed for fabric.
- Iron-on Transfer Pencil: Transfer the design onto tracing paper with an iron-on pencil, then iron it directly onto the fabric. This method is great for darker fabrics where tracing might be difficult.
- Carbon Transfer Paper: Sandwich carbon paper between the pattern and the fabric, then trace over the pattern. The pressure will transfer the design onto the fabric.
- Printable Sticky Stabilizer: Print the pattern directly onto a sticky stabilizer, peel off the backing, and adhere it to the fabric. After stitching, the stabilizer will wash away or can be torn off.
Whichever method you choose, ensure your fabric is well-secured in the hoop to maintain fabric tension for even stitching. Remember to test your transfer method on a scrap piece of fabric to ensure the marks come out as intended and are removable after your stitching is complete.
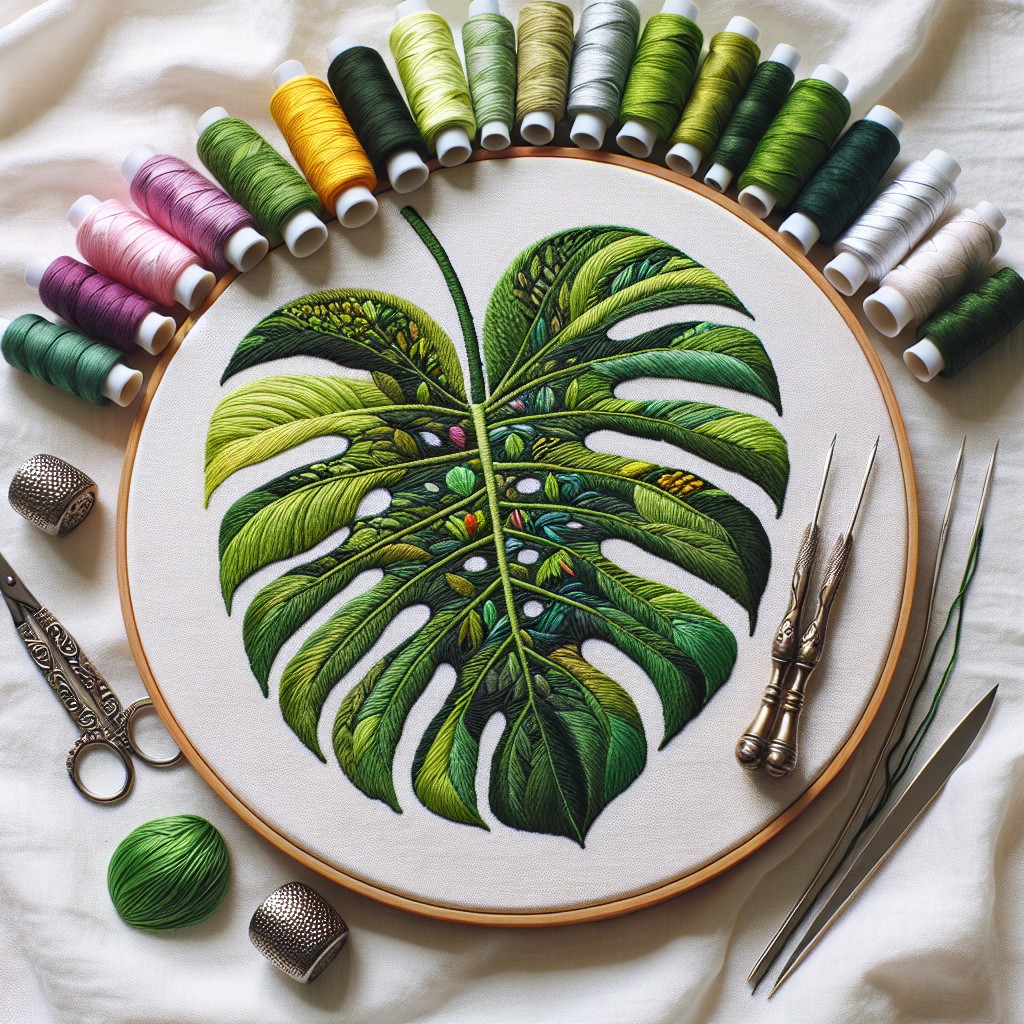
Stitching the Monstera Outline and Filling in Techniques
Begin with a backstitch around the perimeter of each leaf to create a clean, defined edge. Keep stitches tight and even for a smooth look. For the stems, consider a stem stitch for a twisted, rope-like appearance that adds texture to your piece.
To fill in the leaves, satin stitch is ideal. Work closely spaced, parallel lines of stitches across the shape for a smooth, solid appearance. For an added dimension, use long and short stitch, blending shades of green to create depth and a more lifelike appearance.
When tackling the iconic splits and holes of monstera leaves, employ a negative space technique. Stitch around these areas, letting the fabric show through to mimic the natural fenestrations.
For the smaller, intricate details like veins, a fine split stitch will add delicacy. Keep tension even to prevent puckering and ensure a flat, professional finish.
Remember, contrast can be a striking addition. Use a slightly darker or lighter green thread for the details to make your embroidery stand out.
Care Instructions for Your Embroidered Piece
To ensure the longevity of your work, proper cleaning and maintenance are paramount. Gently hand wash your embroidery in cool water using a mild detergent. Avoid scrubbing, which can distort the stitches and fabric.
After washing, press excess water out with a clean towel, then lay the piece flat to dry. Ironing is best done on the reverse side with a pressing cloth to protect the stitches, using a setting appropriate for the fabric. Protect the embroidery from direct sunlight when displaying to prevent fading.
For storage, wrap the piece in acid-free tissue paper, which prevents discoloration and fiber breakdown. If using a frame, opt for one with glass or acrylic glazing to shield the embroidery from dust and environmental damage.
Related Posts
 How to Embroider Large Areas: Step-by-Step Techniques for Stunning Results
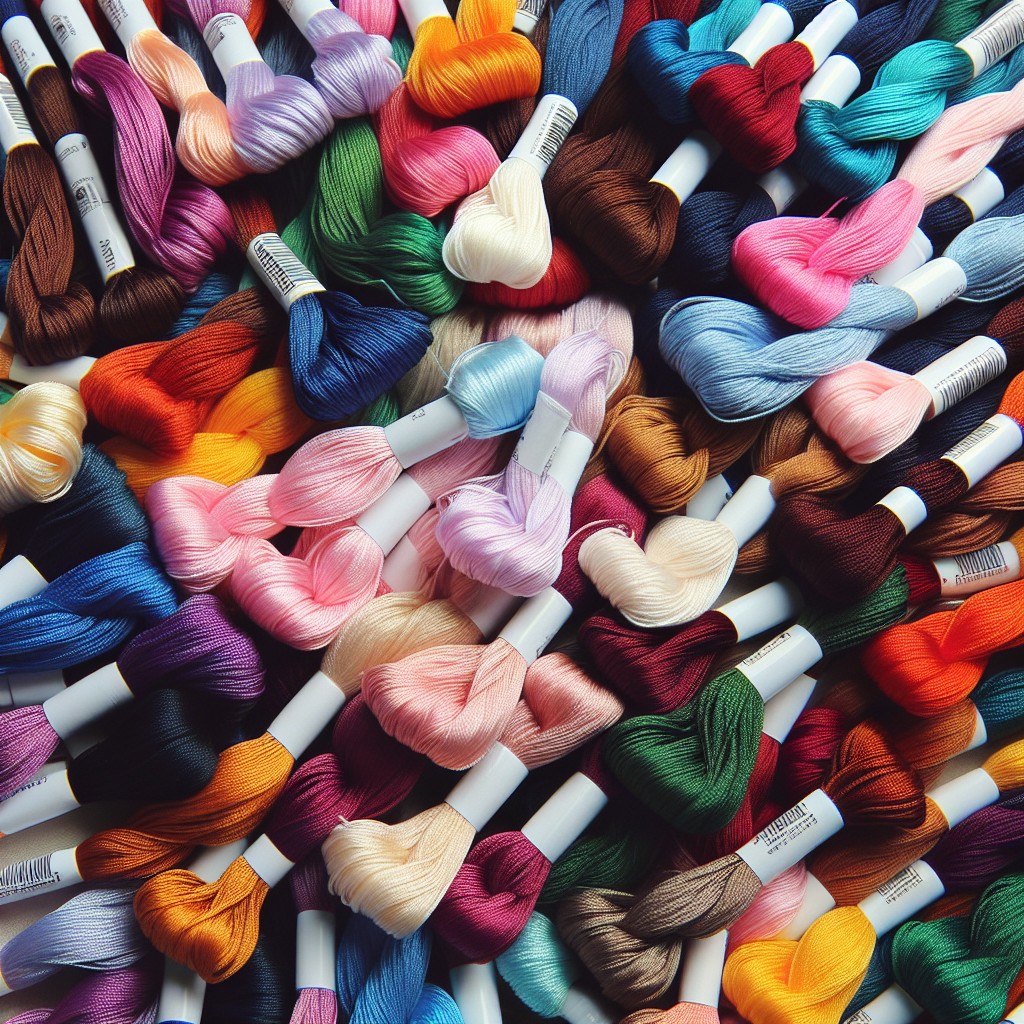 How Many Threads for Embroidery: Choosing the Right Amount for Your Project
 Best Embroidery Stitches for Outlining: Techniques and Tips
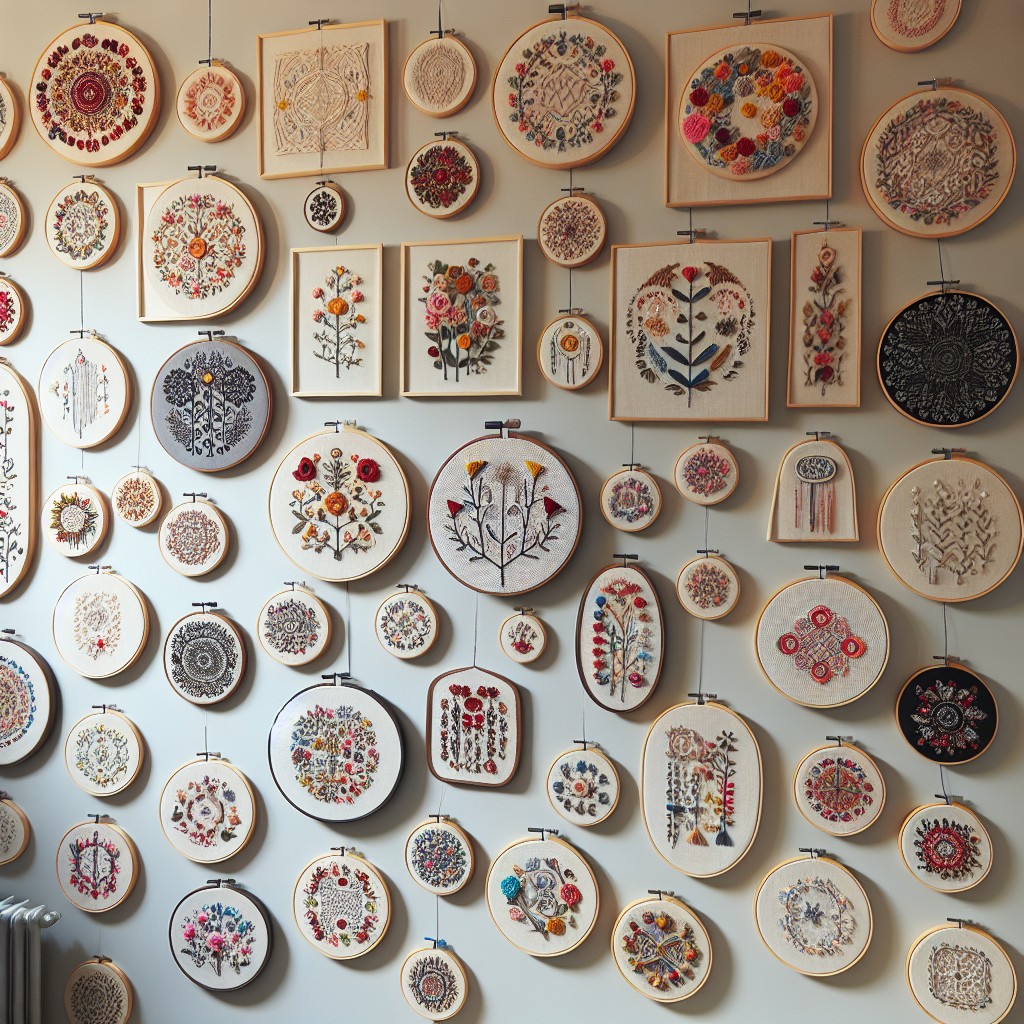 How to Display Embroidery Hoops: Creative Ideas for Your Home Decor
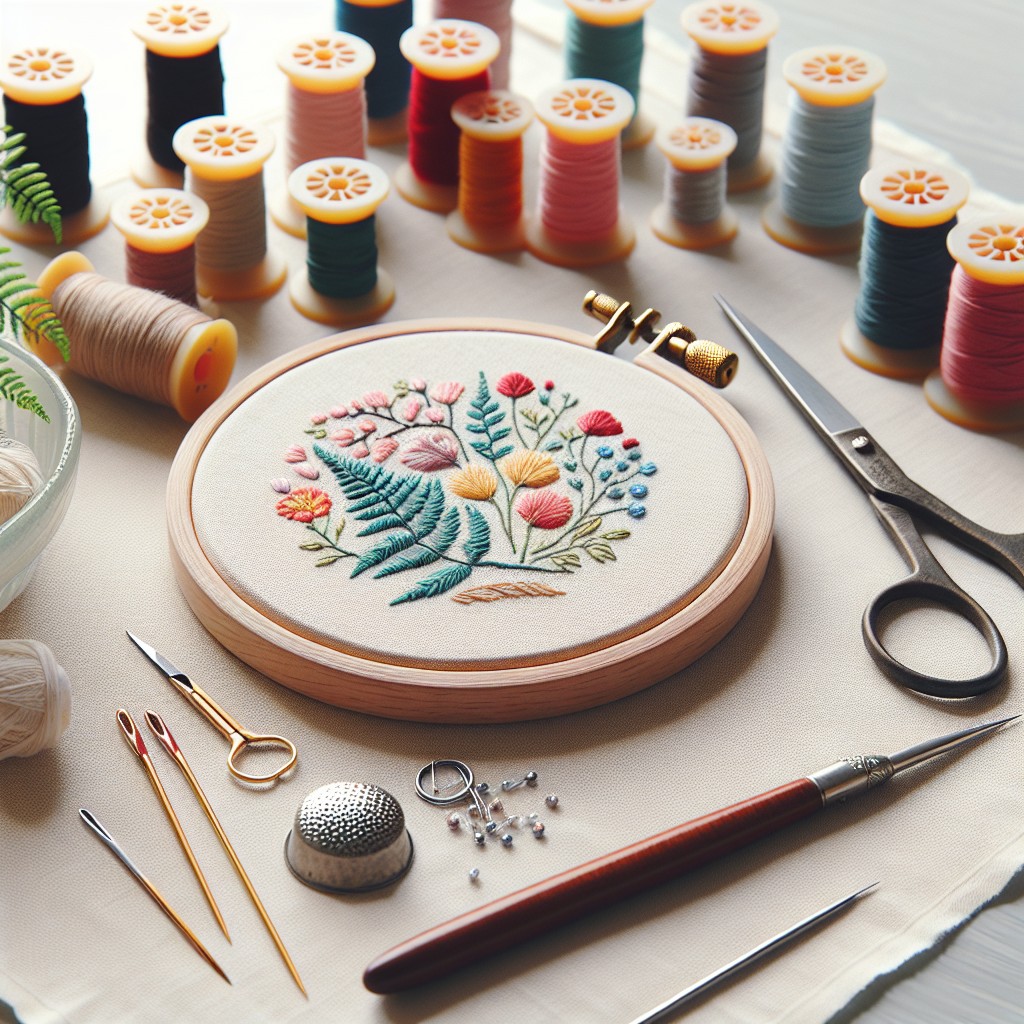 How to Finish the Back of an Embroidery Hoop: Step-by-Step Instructions