This article will guide you through various steps to efficiently finish your embroidery hoop, securing your artwork for a lasting impression.
Key takeaways:
- Trim fabric and prepare floss for embroidery hoop finishing.
- Create a running stitch around the perimeter of the hoop.
- Secure cinched fabric with a simple knot for stability.
- Cover the back of the hoop with fabric or felt for a polished look.
- Display your finished embroidery hoop art creatively.
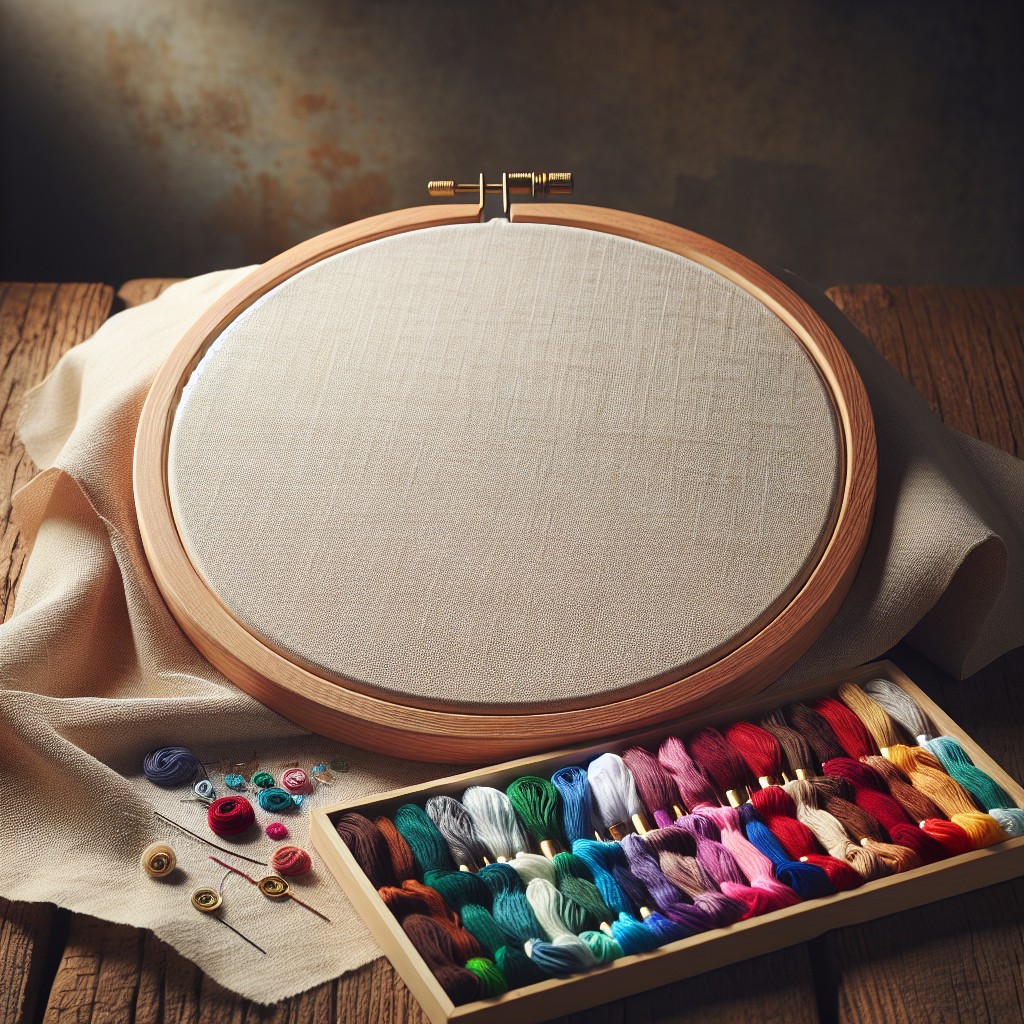
Trim Your Fabric and Prepare a Length of Floss

Begin by leaving about 1 to 2 inches of excess fabric around the edges of your embroidery hoop; this will allow sufficient material for finishing the back.
Next, select a piece of embroidery floss that matches or complements your design.
Cut a length of this floss approximately three times the circumference of your hoop to ensure you have enough for the running stitch which will gather the fabric.
Threading it through a needle, you’ll be ready to proceed to the next step of creating the running stitch.
This step is essential as it enables you to neatly gather and secure the fabric at the back of your hoop for a polished look.
Create a Running Stitch Around the Perimeter of Your Hoop
To ensure a tight and even finish, a running stitch will secure the fabric to the back of the hoop. Here’s how to accomplish this:
1. Cut a long piece of embroidery floss, matching or complementing the color of your fabric.
2. Thread your needle, and tie a knot at the end of the floss.
3. Beginning from the front to the back, start approximately a half-inch from the edge of the fabric.
4. Weave the needle in and out of the fabric, creating evenly spaced stitches (about a quarter to a half-inch apart).
5. Continue this stitching motion all around the hoop’s perimeter.
6. Pull the thread gently, taking care not to warp the fabric, as you work your way around to gather the fabric.
This technique will form a neatly gathered back, preventing loose ends and giving your hoop a professional-looking finish.
Secure Your Cinched Fabric With a Simple Knot
Once you’ve pulled the thread taut, ensuring the fabric is evenly gathered without any puckers, it’s time to hold that tension in place. This is where a simple knot comes into play. Tying off your running stitch effectively secures the fabric around the hoop, preventing it from slipping.
Follow these easy steps:
- 1. After cinching, keep a firm grip on the thread end.
- 2. Wrap the thread around your finger to form a loop.
- 3. With your other hand, pass the end of the thread through the loop.
- 4. Gently pull the thread while easing the loop smaller until it’s snug against the fabric.
- 5. Make another knot atop the first for extra security, ensuring your embroidery remains taut over time.
To maintain an attractive appearance on the back, trim any excess thread and tuck the ends beneath the secured fabric. This attention to detail results in a polished and professional-looking display piece.
Covering the Back With Fabric or Felt
For a clean, polished look, consider adding a backing to your hoop. Cut a circle of fabric or felt slightly larger than the size of your hoop’s back. If you’re using felt, its stiffness can add extra support to the piece. Choose a color that complements your design for aesthetic harmony.
Here’s how you can attach it:
- 1. Place your cut fabric or felt over the back of the embroidery.
- 2. Secure it in place by applying a bead of glue at intervals along the inner rim of the hoop. Avoid overloading with glue to prevent seepage through the stitches.
- 3. Press the fabric or felt down firmly as you go to ensure good adhesion.
- 4. Once the glue has dried, trim any excess material from the edge if necessary for a neat finish.
By covering the back, you not only protect the stitching work but also give your project a professional touch ready for display.
Displaying Your Finished Embroidery Hoop Art
Once you’ve secured and tidied the back of your embroidery, you’re ready to show off your artwork. Hanging your piece on a wall can transform your space, adding a personal touch of handmade charm. Consider these points for displaying:
Choose a spot that receives indirect sunlight to prevent fading of threads and fabric.
Utilize clear, adhesive hooks if you prefer not to damage walls; they are both strong and inconspicuous.
Incorporate a ribbon or twine loop glued or sewn to the top if you want a more decorative hanging element.
Group multiple hoops together for a gallery effect, mixing sizes and designs to create visual interest.
Stand your hoop on a small easel on shelves or desks to add a creative flair without wall hanging.
Rotate your displays with the seasons or as you add new pieces, keeping your decor fresh and engaging.
FAQ
What are the ways to back an embroidery hoop for a cleaner presentation?
The ways to back an embroidery hoop for a cleaner presentation include using felt or fabric to cover the back, applying a backing with stitches, or attaching a piece of paper or cardstock with glue or double-sided tape.
How can one hang an embroidery hoop art on the wall without making it look rudimentary?
One can hang embroidery hoop art on the wall by using adhesive hooks, decorative nails, or wall-safe tape to keep the arrangement aesthetically pleasing and avoid a rudimentary appearance.
What materials are required to professionally finish an embroidery hoop craft project?
To professionally finish an embroidery hoop craft project, you need an embroidery hoop, embroidery floss, embroidery needles, fabric, a pair of scissors, a pencil for tracing the design, and a hot glue gun for securing the fabric.
Related Posts
 How to Embroider Large Areas: Step-by-Step Techniques for Stunning Results
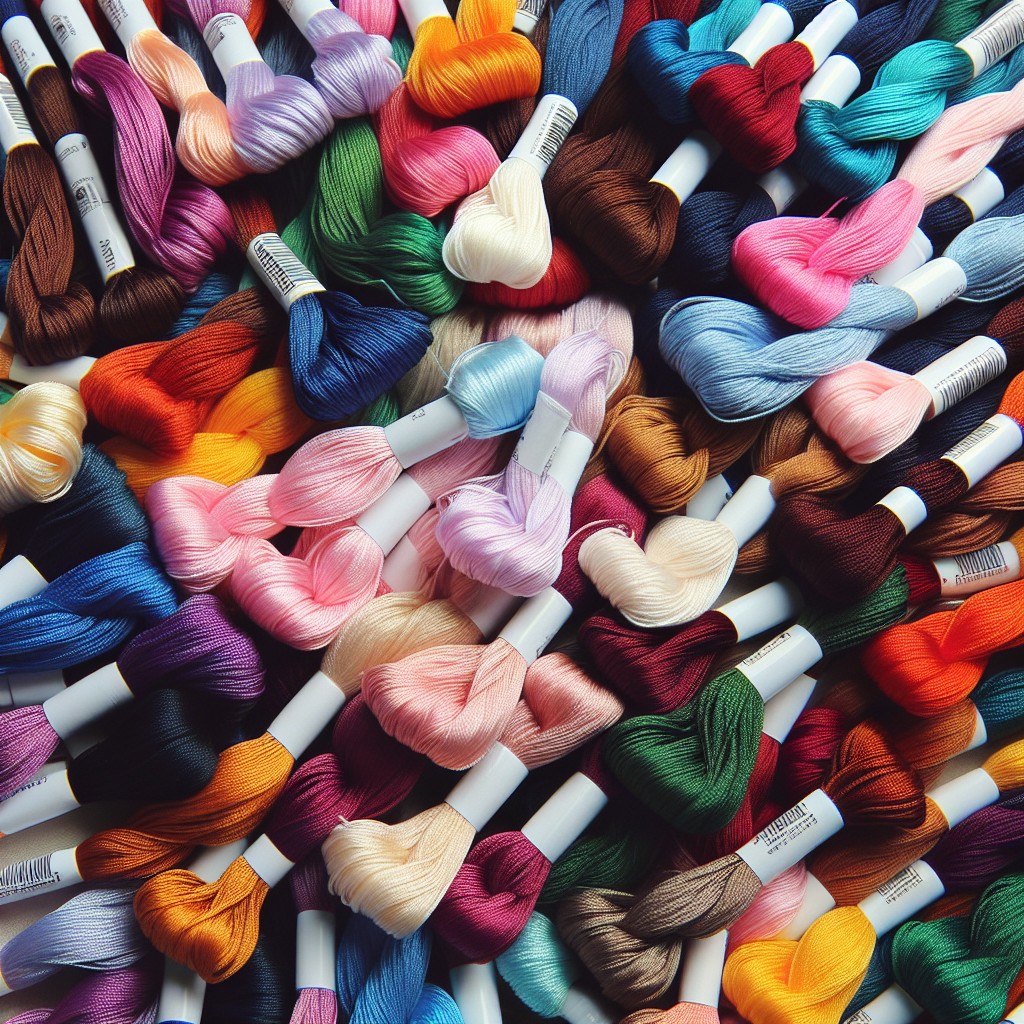 How Many Threads for Embroidery: Choosing the Right Amount for Your Project
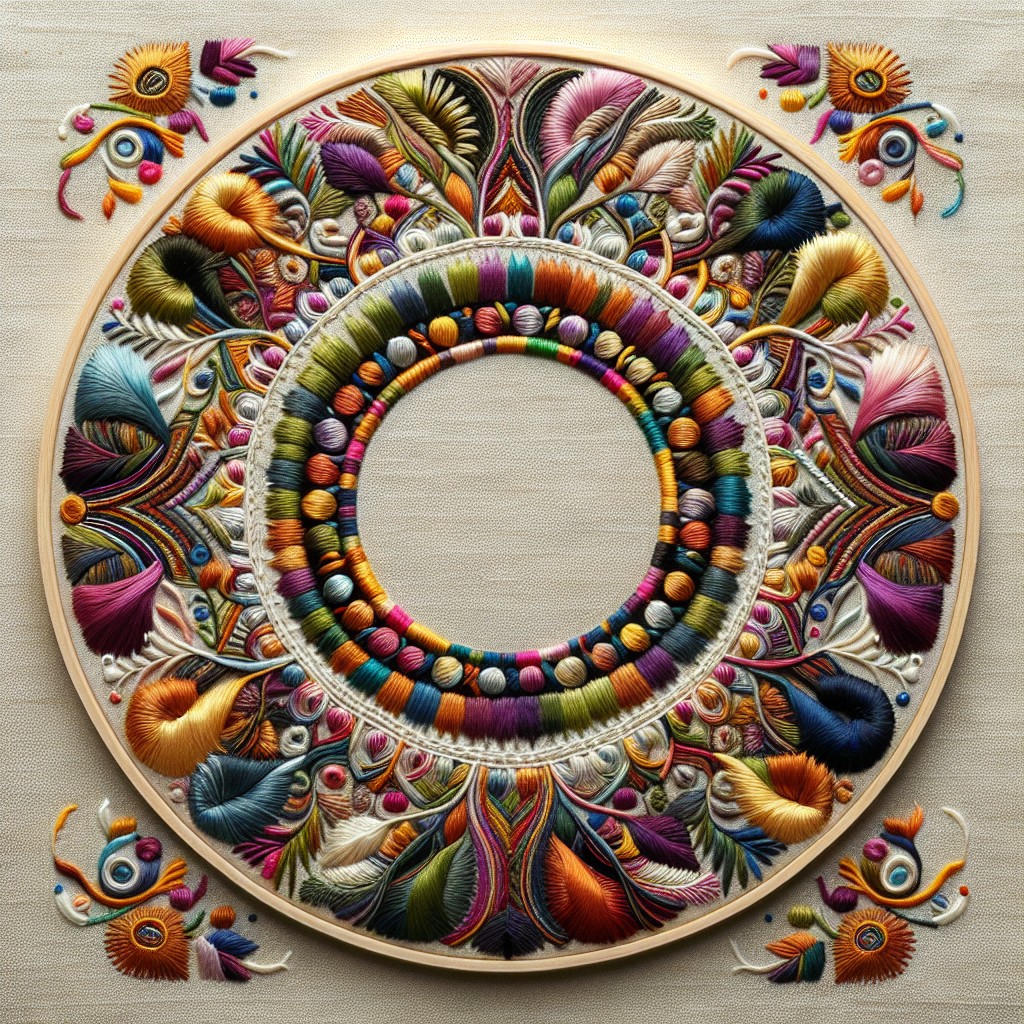 Best Embroidery Stitches for Outlining: Techniques and Tips
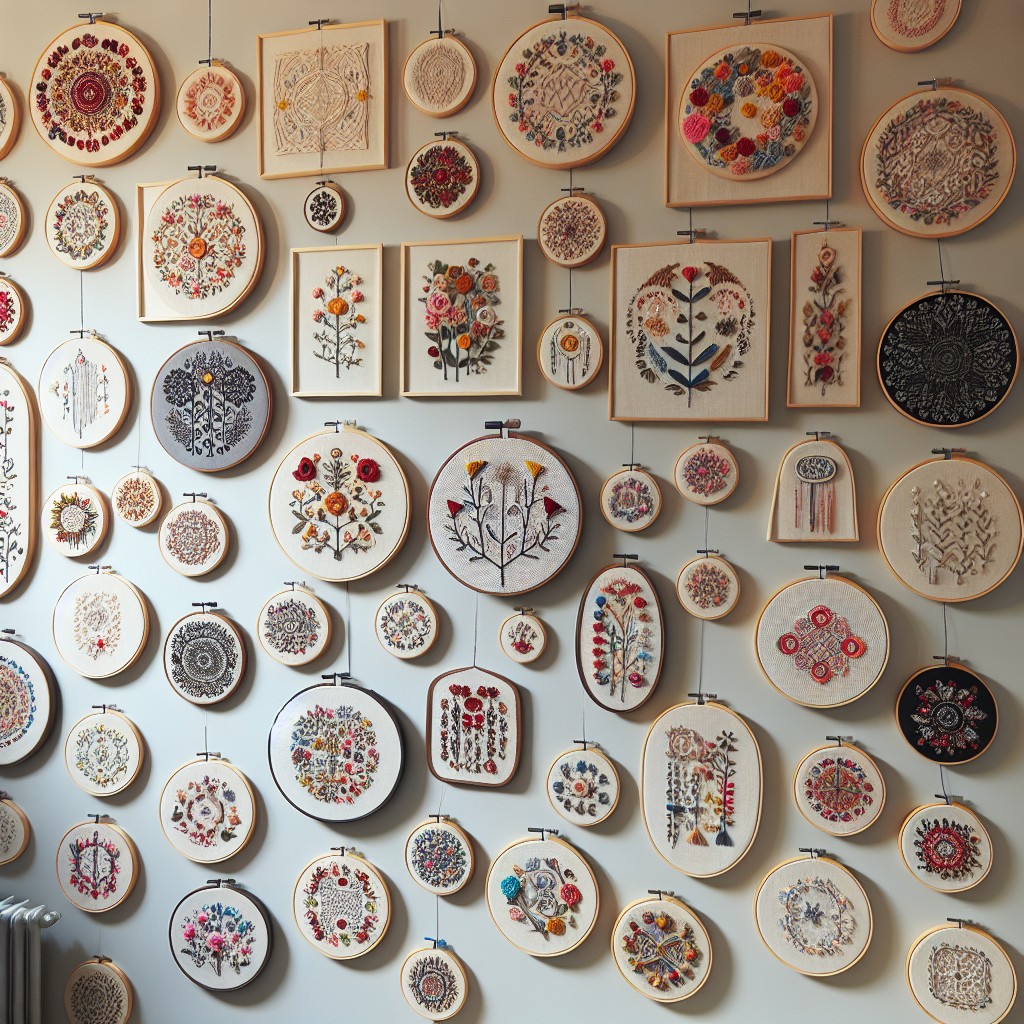 How to Display Embroidery Hoops: Creative Ideas for Your Home Decor
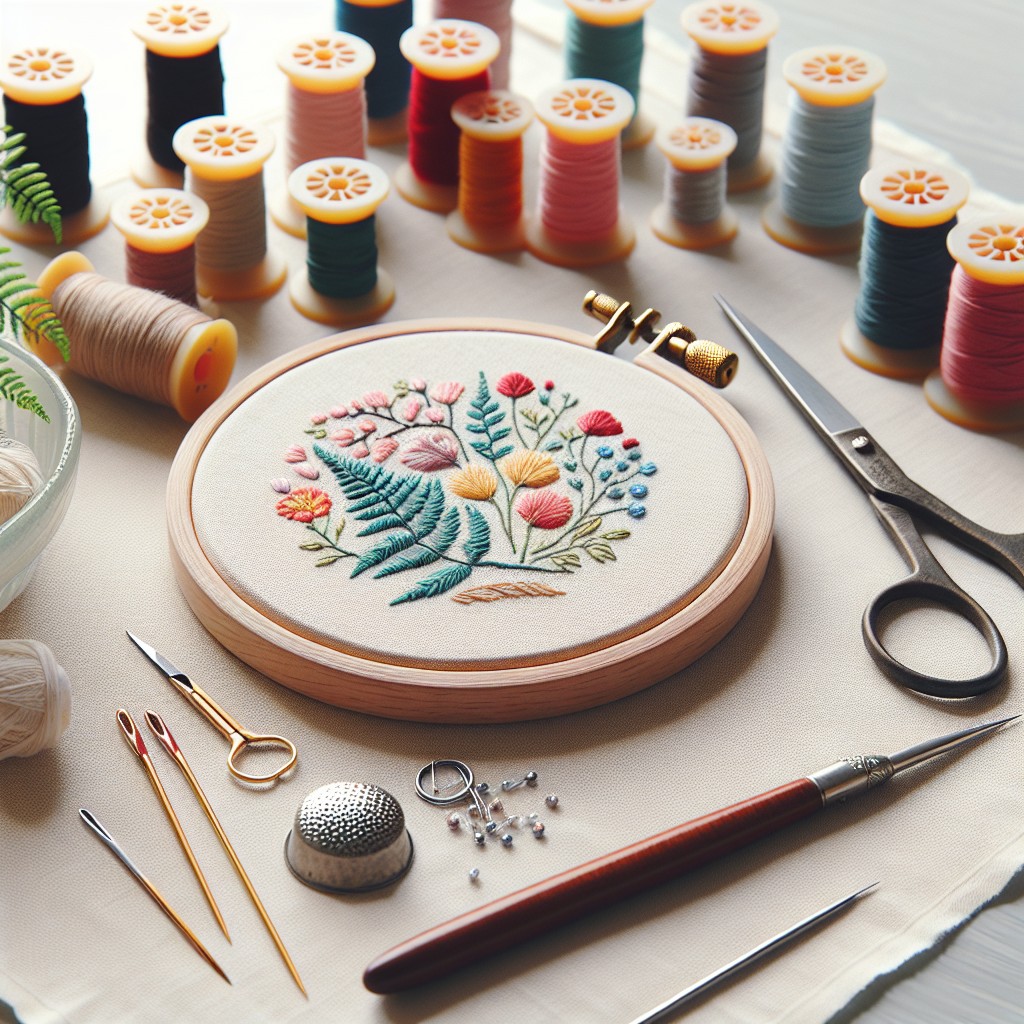 How to Finish the Back of an Embroidery Hoop: Step-by-Step Instructions