This buying guide will help you understand the different types of embroidery rings available, how to choose the right one for your project, and tips on how to properly use them.
Key takeaways:
- Wooden, plastic, and metal hoops offer different benefits and functionalities.
- Consider the project dimensions, tension maintenance, material thickness, and handling comfort in choosing the right hoop size.
- Properly set up the hoop by securing the fabric tautly between the inner and outer rings.
- Hoops can be used for wall art, holiday ornaments, organization, dream catchers, and coasters.
- FAQ: Embroidery hoops are also known as tambour frames. Their use depends on various factors, and the best hoops to use are the Morgan Products Plastic No-Slip Hoop and the Mwellewn 4 Piece Embroidery Hoop Set.
Types of Embroidery Hoops
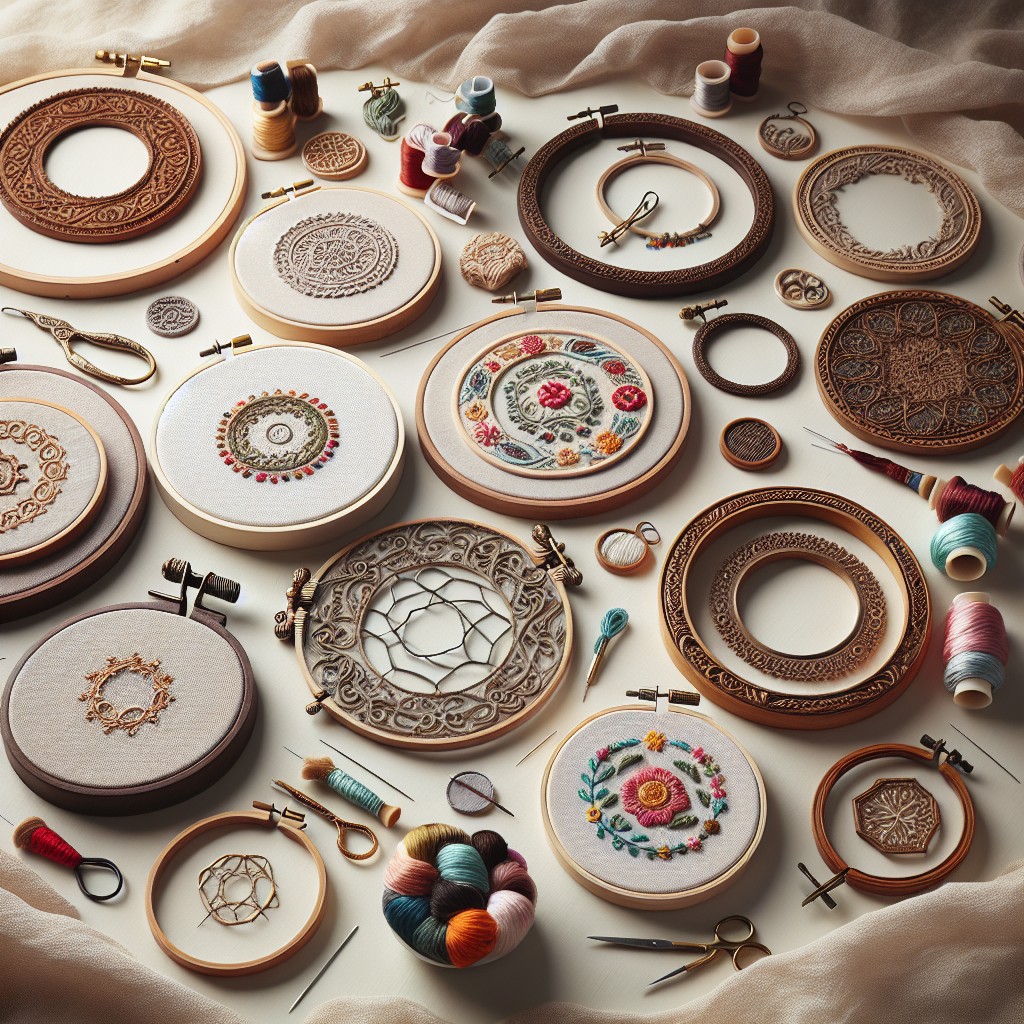
Wooden hoops are classic and widely favored for their aesthetic and ease of use. They provide a natural grip and can be tightened with a simple screw mechanism.
Plastic variants offer a lightweight alternative and often come with a lip, ensuring the fabric stays taut. Metal hoops, less common, boast durability and strength, making them suitable for heavy or layered fabrics.
Spring tension hoops, another option, feature an inner metal ring and an outer concave ring, allowing the fabric to snap in place for an extra tight hold. Embroidery enthusiasts can also find hoops with different shapes like oval or square, adding versatility to their craft.
Each type offers its own balance of functionality and comfort, emphasizing the importance of matching the hoop to both the task and the material at hand.
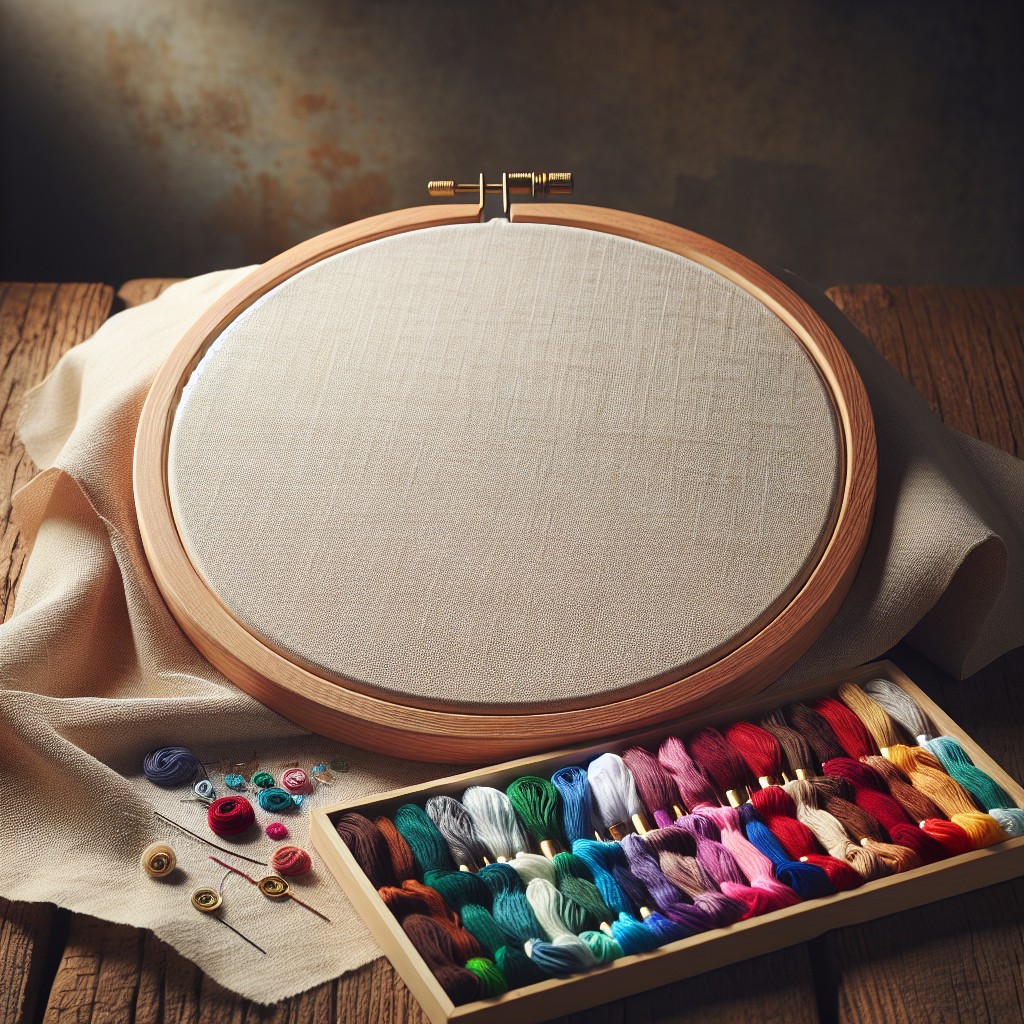
Key Features of Embroidery Rings
Embroidery hoops consist typically of two circular parts: an inner ring and an outer ring with a tightening mechanism, usually a screw. The tension created between these rings secures the fabric, providing an even surface for precise needlework.
Materials matter; wooden hoops offer a classic feel and a natural grip, while plastic variants are durable and come in various colors. The metal screw can include a flat-head, Phillips, or a wing nut design, with some hoops featuring a brass screw for rust resistance.
The size of the rings ranges widely, affecting the project’s scale, from tiny hoops for delicate work to large ones for expansive designs. Depth of the hoop also plays a role; deeper rings can hold thicker fabrics or multiple layers securely.
Beyond the basics, specialty hoops like spring tension or magnetic ones cater to specific needs, offering quick fabric changes or strong, even tension without a screw.
How to Choose the Right Embroidery Hoop Size
Selecting the proper size for an embroidery hoop directly affects the tension of your fabric and the overall ease of stitching. To ensure your project’s success, consider these points:
- Project Dimensions: The hoop should be larger than the design area you plan to embroider. Allow at least an inch of space around the entire design to provide a comfortable working area and to avoid repositioning the hoop repeatedly, which can distort the fabric.
- Hoop Variety: Have a variety of hoop sizes on hand if you regularly work on different sized projects. This offers flexibility and ensures that you always have the appropriate size for any given design.
- Tension Maintenance: A snug fit is crucial. Too small a hoop and you’ll have insufficient tension; too large, and the fabric may buckle. If the fabric can’t lay flat, it could lead to uneven stitches.
- Material Thickness: The thickness of the fabric should be considered. Thicker materials, like denim, might require a hoop that has a deeper edge or one that offers stronger tension control to hold the fabric securely.
- Handling Comfort: The size should be comfortable to hold for extended periods, especially for large or intricate work that requires more time. Too large a hoop can be unwieldy and lead to hand fatigue.
Remember that the hoop not only serves to keep your fabric taut but also acts as a guide for your hands as you stitch. Choose wisely to facilitate smoother stitching and a more enjoyable embroidery experience.
Setting Up the Embroidery Hoop
Begin by loosening the screw on the outer ring of the hoop to separate it from the inner ring. Choose a piece of fabric that extends at least 1-2 inches beyond the hoop’s diameter for secure fastening. Lay the fabric over the smaller, inner ring and then gently place the larger, adjustable ring over the top. The fabric should be sandwiched between the two rings.
Next, press down firmly to ensure the fabric is taut, akin to a drum skin. As you tighten the screw, periodically pull the edges of the fabric to maintain even tension. This step is crucial as it prevents puckering and ensures smooth embroidery.
Check the fabric’s tension by lightly tapping it. If you hear a sound similar to a softly-played drum, you have achieved the right tightness. Finally, inspect the hoop to ensure there’s no warping or bending of the fabric, which could distort your embroidery work.
Adjust the fabric as needed while you work, always aiming for a smooth, tight surface that allows the needle to pass through effortlessly, without straining the fabric or your hands.
Creative Projects Using Embroidery Hoops
Embroidery hoops can be transformed into unique pieces of wall art by stretching fabric or completed embroidery projects over them. The fabric tension created by the hoop ensures that the artwork remains flat and presentable.
Besides wall decor, hoops make excellent frames for crafting holiday ornaments or mobiles. Lace, linen, or even recycled garments can serve as the base for creating seasonal designs that can be hung from trees or ceilings.
For a practical turn, you can repurpose hoops into handy organizational tools. Fitted with fabric and featuring added pockets, they can store crafting tools, makeup, or other small items within reach.
Crafters can also use hoops to fashion original dream catchers by weaving string or yarn through the hoop’s frame, adding a personalized touch with beads, feathers, or tassels.
Finally, these versatile rings can aid in upcycling old fabric scraps into coasters. Simply secure the scraps within small hoops, and you have an instant, colorful base to set your drinks upon.
FAQ
What is the embroidery hoop called?
The embroidery hoop is also known as a tambour frame.
Do you need an embroidery ring to embroider?
The use of an embroidery hoop in embroidery depends on factors like the stitching type, the fabric used, and the embroiderer’s experience level.
What are the best embroidery hoops to use?
The best embroidery hoops to use are the Morgan Products Plastic No-Slip Hoop for a strong fabric grip and high-quality hoop, and the Mwellewn 4 Piece Embroidery Hoop Set if you plan to display your finished embroidery piece in the hoop.
How do you select the right size of an embroidery hoop for a specific project?
Select the right size of an embroidery hoop for a specific project by ensuring it’s large enough to comfortably contain the entire design plus some extra space for maneuvering, without overly stretching or distorting the fabric.
What are the differences between wooden and plastic embroidery hoops?
Wooden embroidery hoops generally provide a better grip on fabric than plastic ones, but plastic hoops can offer more durability and resistance to warping.
What is the process of preparing an embroidery hoop before starting a project?
The process of preparing an embroidery hoop before starting a project involves firmly stretching the fabric over the bottom ring and pressing the top ring down, ensuring the fabric is taut and evenly tightened.
Related Posts
 How to Embroider Large Areas: Step-by-Step Techniques for Stunning Results
 How Many Threads for Embroidery: Choosing the Right Amount for Your Project
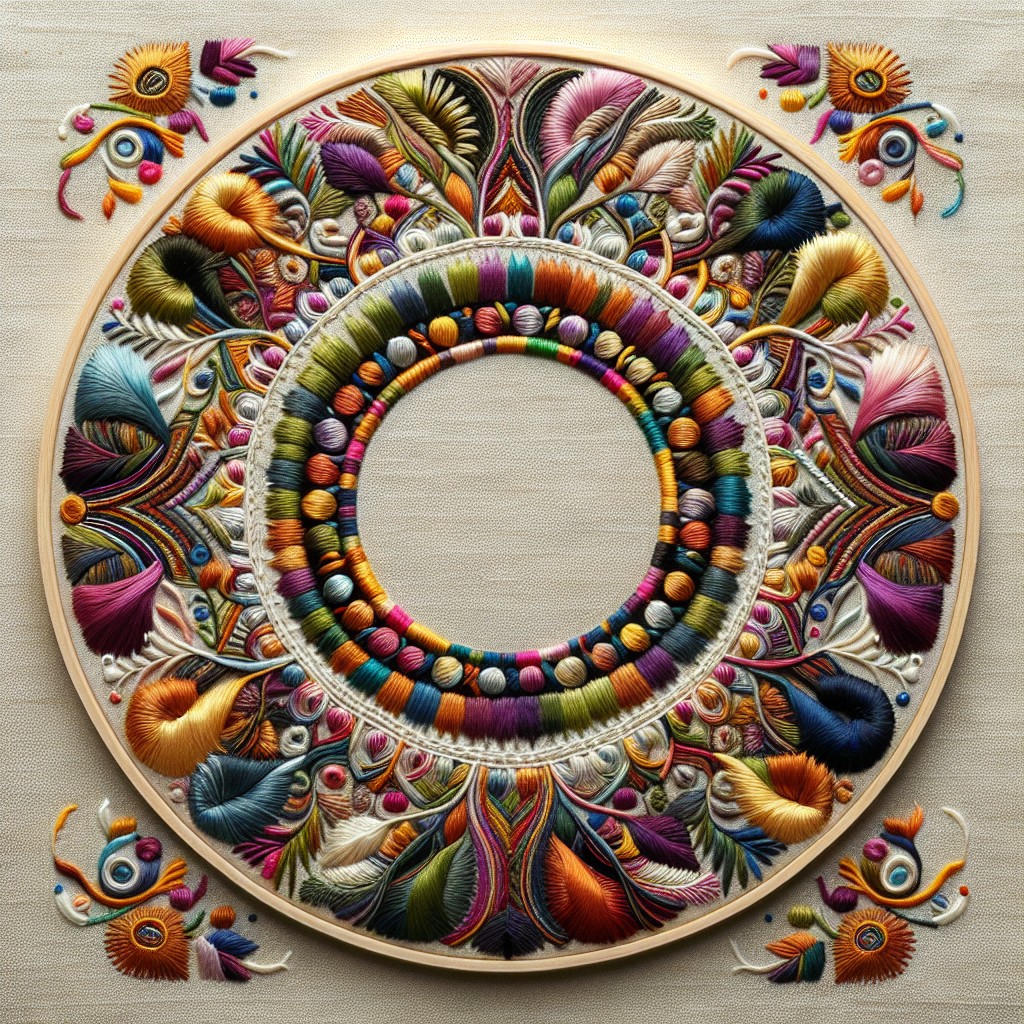 Best Embroidery Stitches for Outlining: Techniques and Tips
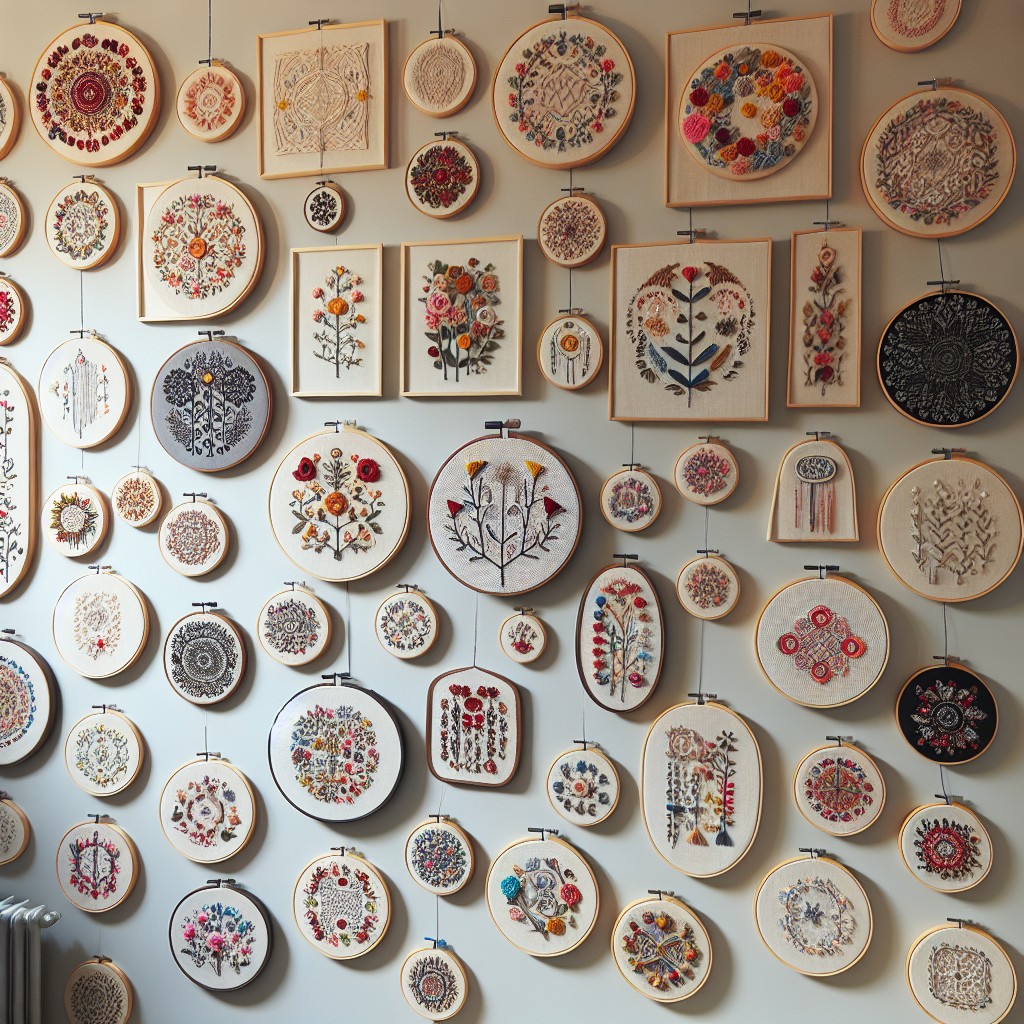 How to Display Embroidery Hoops: Creative Ideas for Your Home Decor
 How to Finish the Back of an Embroidery Hoop: Step-by-Step Instructions