Learn the simple steps to securely hang your embroidery hoop for an elegant display of your needlework.
Key takeaways:
- Securely finish the embroidery hoop for a neat display.
- Select the right hook based on weight and wall material.
- Follow proper steps to install a nail or picture hook.
- Use removable adhesive hooks for damage-free hanging.
- Create a visually appealing gallery wall with multiple hoops.
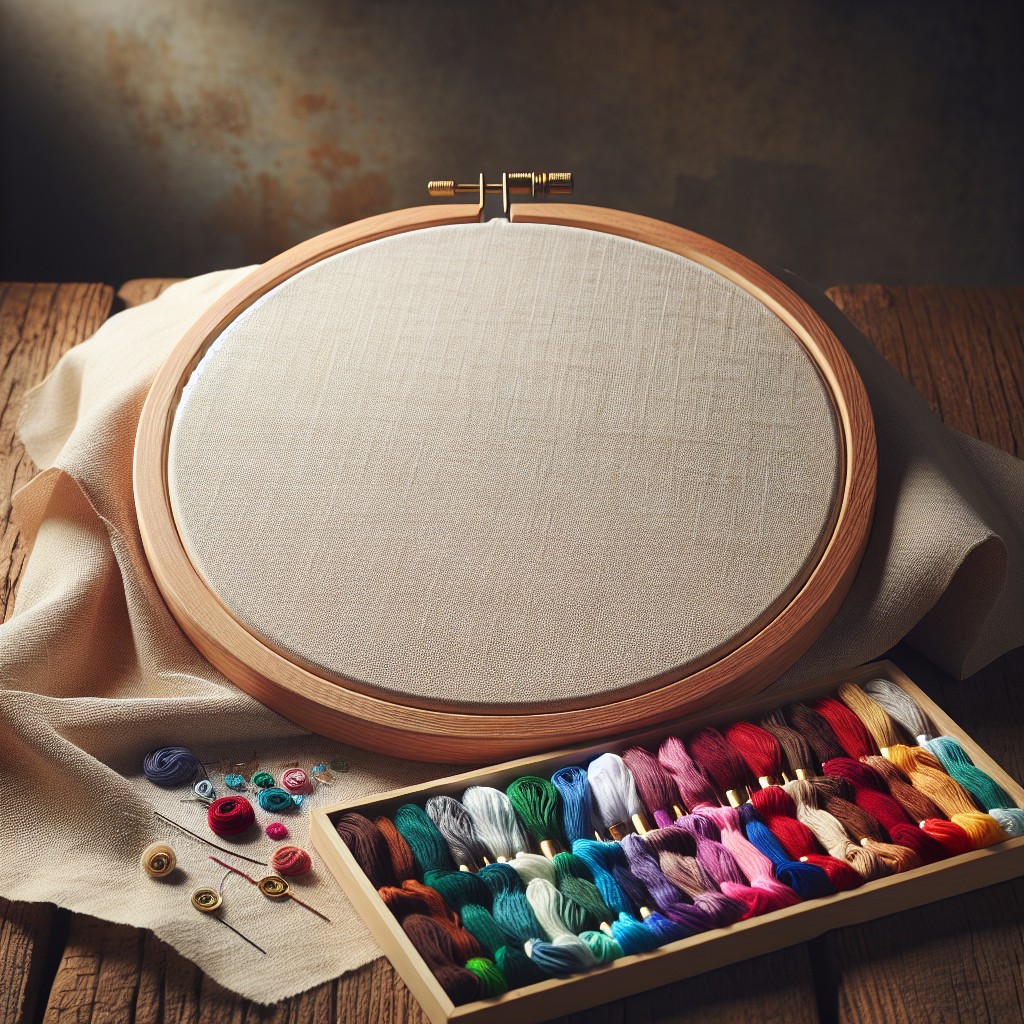
Finishing the Hoop
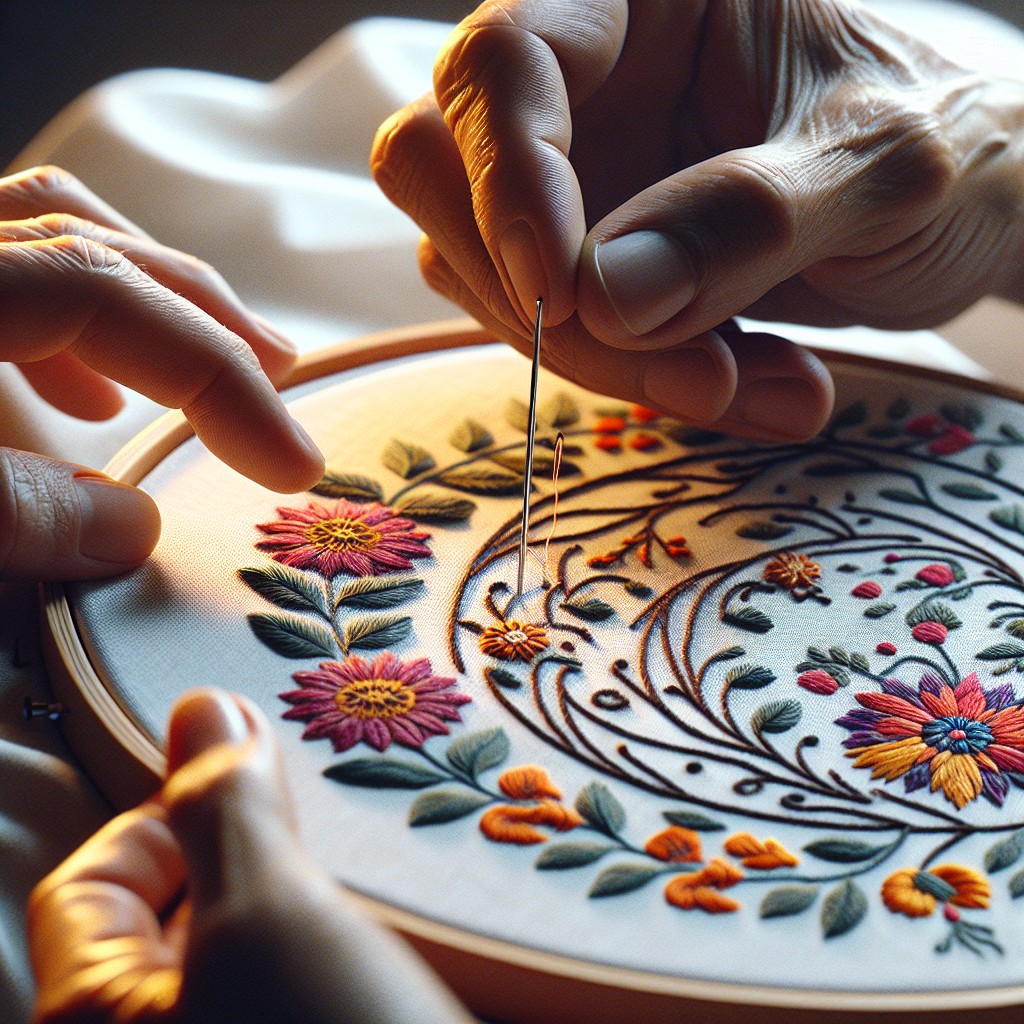
Ensure your embroidery is centered and tightly secured in the hoop; this will be its permanent frame.
Trim any excess fabric, leaving approximately an inch around the hoop.
Tuck these edges toward the back, optionally securing them with fabric glue or stitching for a neat finish.
Consider backing your work with felt or another fabric, adhering it with glue or a running stitch, to hide the tucked fabric edges and provide a clean look.
If displaying without a back cover, make sure all knots and loose threads are trimmed to maintain the piece’s aesthetic integrity.
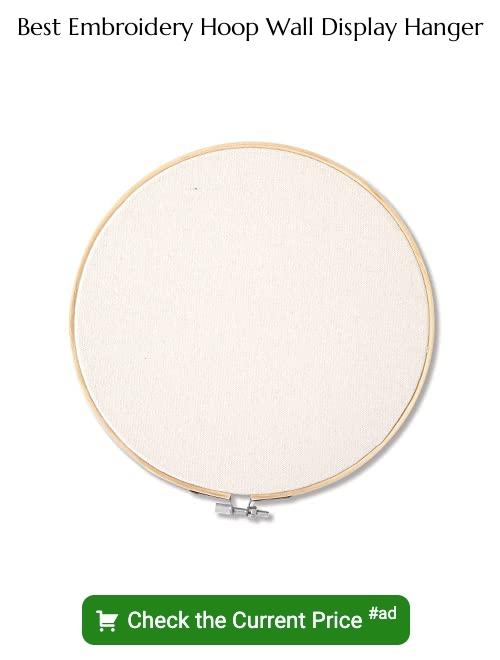
Selecting the Right Hook
The durability and size of your hook are crucial for a secure display. Lighter hoops can be supported by simple adhesive hooks, which come in a variety of sizes and can hold a couple of pounds.
For heavier embroidery art, opt for more robust nail hooks or picture hanging hooks that can manage the weight. Additionally, consider the wall material—drywall and plaster might require different hooks than brick or wood.
Choose a hook that is proportional to the hoop’s clasp to maintain a clean aesthetic without drawing attention away from your craftsmanship.
Installing a Nail or Picture Hook
Before installation, ensure you’ve selected the appropriate spot for your embroidery hoop and consider the wall material—drywall will require a different approach than brick or concrete. Gather a nail or picture hook strong enough to support the hoop’s weight, a hammer, and potentially a drill if you’re dealing with a sturdier surface.
1. Hold the hoop against the wall, and mark the spot for the nail or hook slightly above the top of the hoop. This will keep your artwork visible and unobstructed.
2. If working with drywall, position the nail at a downward angle and gently tap it into place with a hammer. For picture hooks, follow the manufacturer’s instructions, which may involve small nails or adhesive backing.
3. For a more solid wall, use a drill to create a pilot hole. Select a drill bit slightly smaller than the anchor size if an anchor is needed for additional support.
4. Insert the nail or hook, and ensure it is secure before hanging your embroidery hoop.
Remember, measure twice and install once to keep your wall and hoop in perfect condition.
Using Removable Adhesive Hooks
Removable adhesive hooks offer a damage-free hanging solution perfect for rented spaces or for those who prefer not to use tools.
Before application, ensure the wall surface is clean and dry to improve grip.
Peel off the protective backing and press the hook firmly against the wall for the amount of time specified in the product’s instructions.
Wait the recommended time frame — usually an hour — before hanging the embroidery hoop to allow the adhesive to bond properly.
When it’s time to remove or reposition, follow the manufacturer’s instructions to detach the hook cleanly without leaving residue or damaging the wall.
Always check the weight limit on the adhesive hook package to ensure it can hold your embroidery securely.
Creating a Gallery Wall With Multiple Hoops
Visualize the layout by laying your hoops on the floor, arranging them by size, color, or theme. Strive for balance, clustering varying hoop diameters to create visual interest.
Ensure proper spacing; a standard guide is 2-3 inches between each hoop. Use paper templates cut to the size of each hoop to experiment with placement on the wall.
Once satisfied, transfer the paper templates to the wall using painter’s tape, which won’t leave a residue or damage paint. Replace each template with the corresponding hoop, securing them with your chosen hanging method.
This dynamic display not only showcases your embroideries but also elevates them, turning your craft into a captivating wall feature.
Related Posts
 How to Embroider Large Areas: Step-by-Step Techniques for Stunning Results
 How Many Threads for Embroidery: Choosing the Right Amount for Your Project
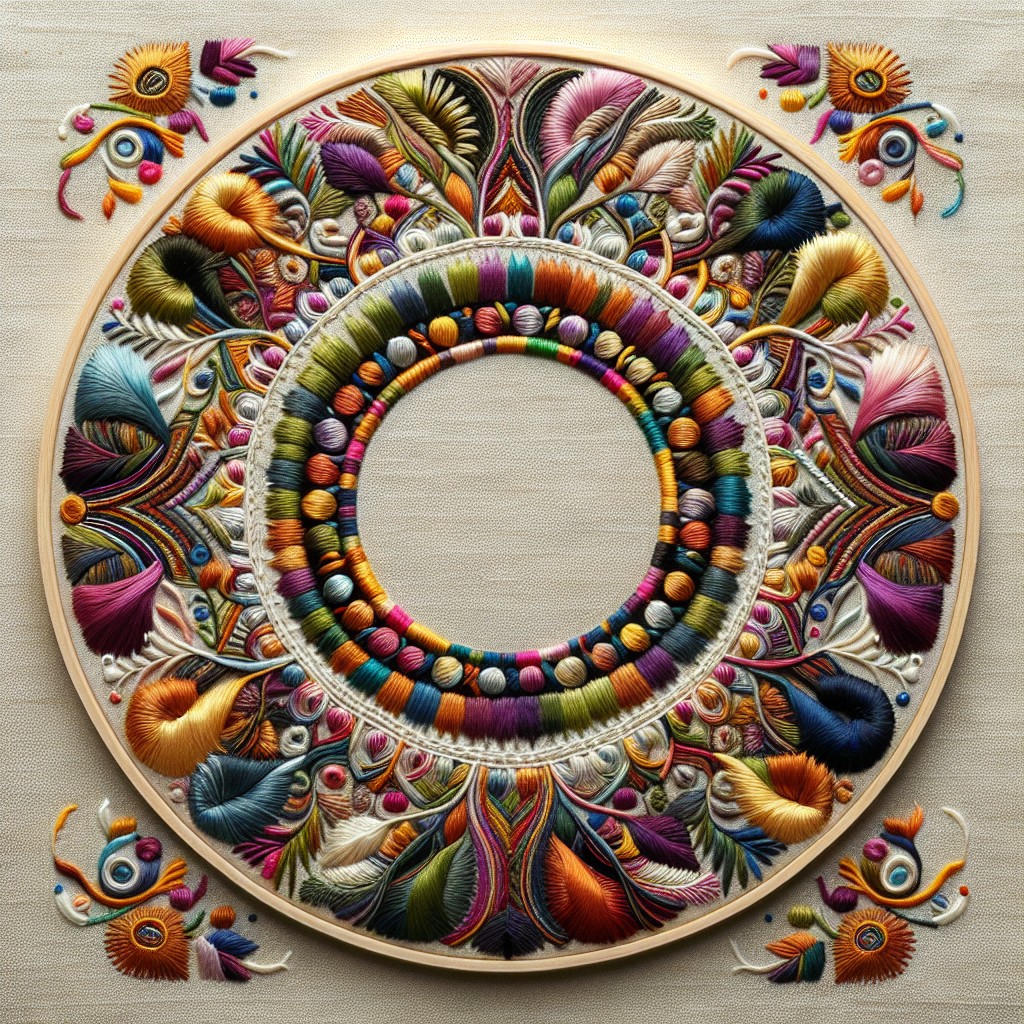 Best Embroidery Stitches for Outlining: Techniques and Tips
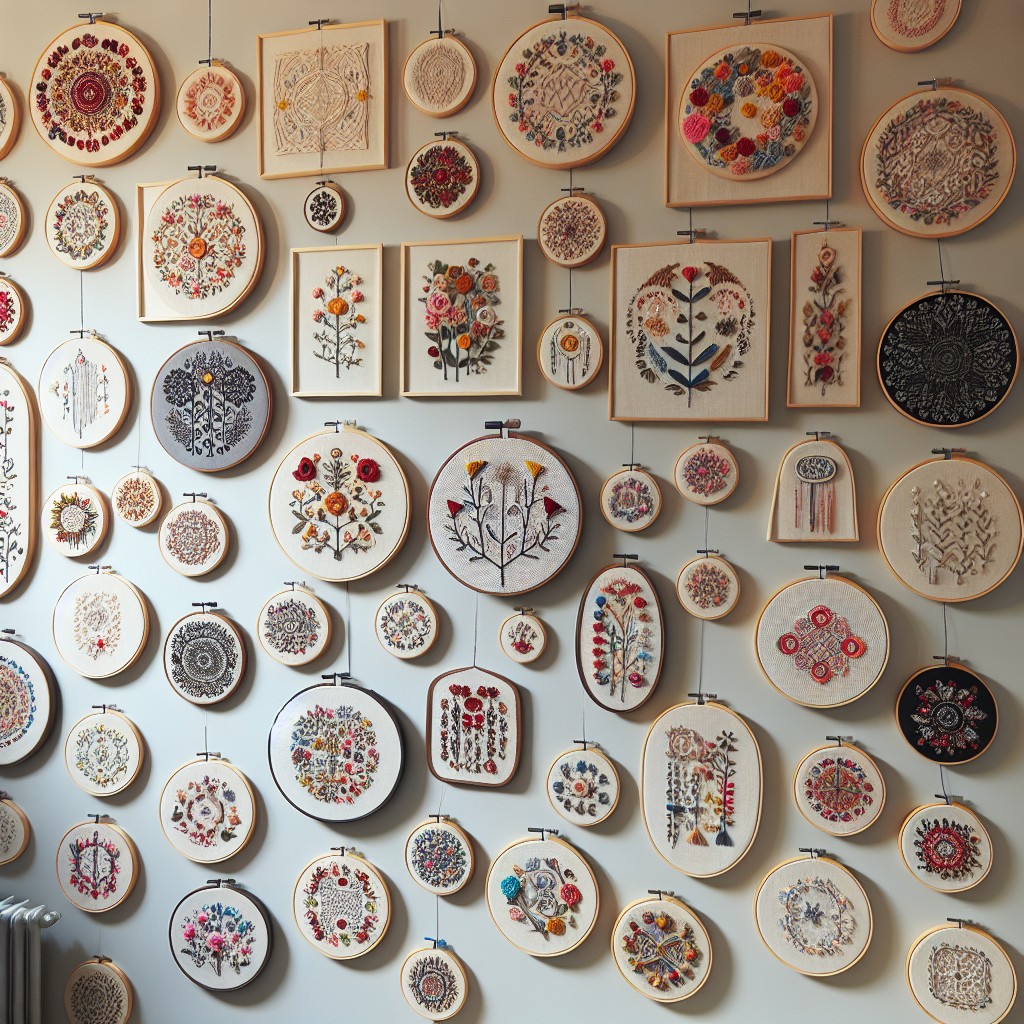 How to Display Embroidery Hoops: Creative Ideas for Your Home Decor
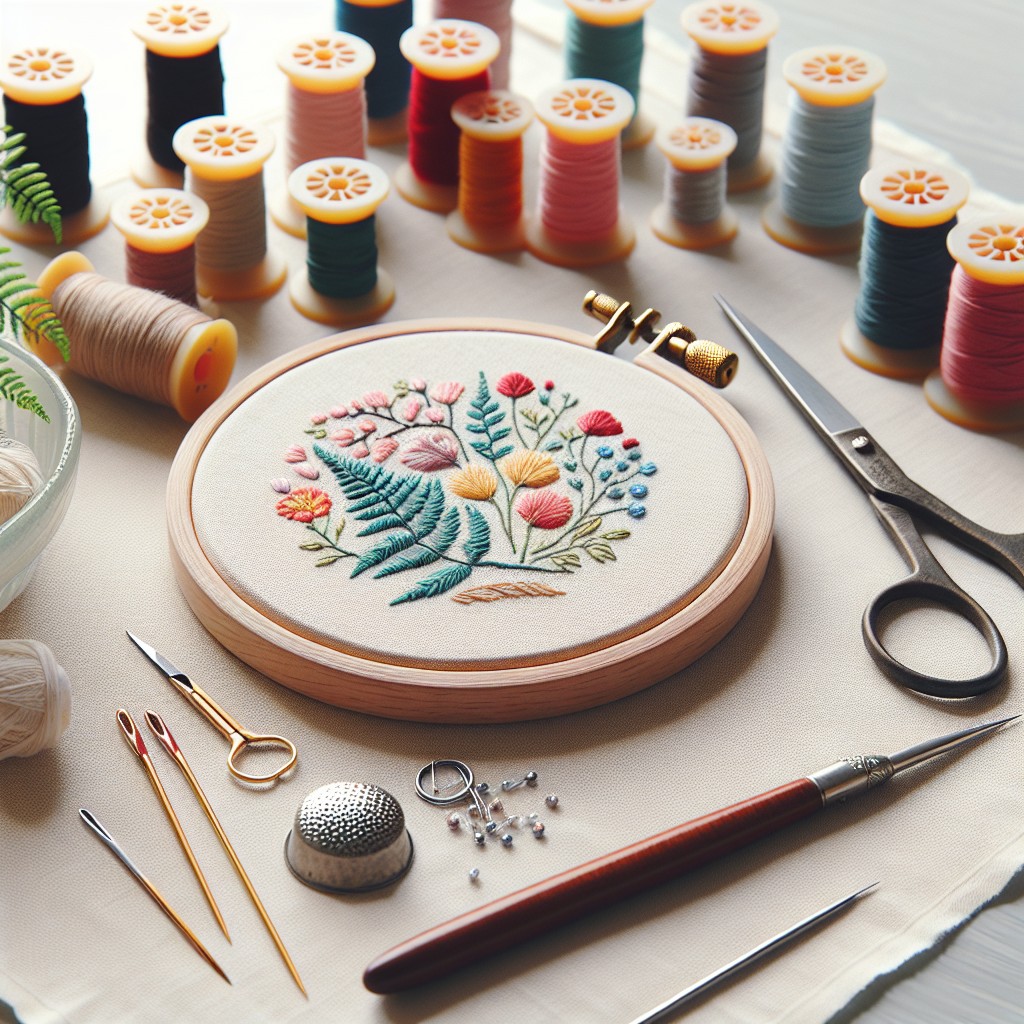 How to Finish the Back of an Embroidery Hoop: Step-by-Step Instructions