Discover the ease of braiding yarn into hair because it transforms a simple hairstyle into a vibrant, creative expression that is durable and budget-friendly.
Braiding yarn into hair is a creative and fun way to add color and texture to your hairstyle without the commitment of dyeing. Whether you’re aiming for a few accent braids or a full head of yarn braids, this guide will walk you through the process step by step. From choosing the right yarn to securing your braids, every detail will be covered to ensure a successful and stylish outcome.
So, let’s dive into the world of yarn braids and explore this unique hair styling technique.
Key takeaways:
- Choosing the right yarn: consider thickness, color, and material.
- Prepping your hair: cleanse, condition, detangle, and section.
- Braiding process: section hair, braid with yarn and hair, secure.
- Essential tools: sharp scissors, comb, braid sealer, moisturizer, oil.
- Maintenance: clean, moisturize, protect, take breaks, be gentle when removing.
Selecting the Right Yarn for Braiding
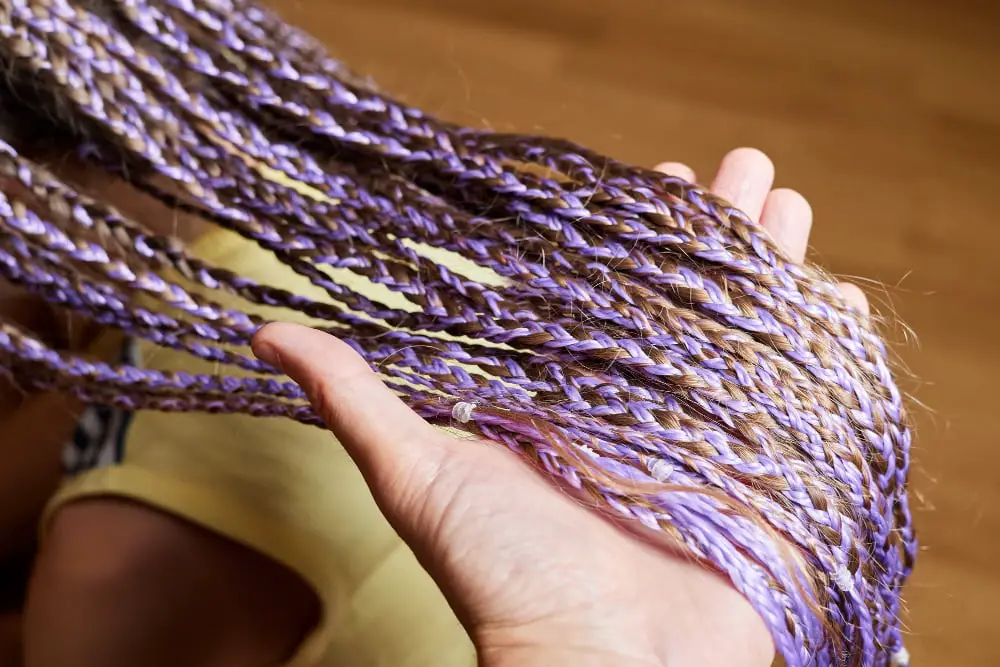
When choosing yarn for your braids, consider the thickness, color, and material. A thicker yarn will create bigger, bolder braids, while a thinner yarn will give a more subtle, delicate result. Opt for acrylic yarn for a soft, lightweight, and cost-effective choice. However, wool yarn can be a better option for those seeking a more natural, textured look.
The color of your yarn braids is entirely up to you. Be fun and playful with hues that contrast with your hair color or choose a more seamless, blended look with a yarn that matches your natural hair color. Always avoid yarn with any rough or itchy texture as this can lead to discomfort and potential damage to your scalp and hair.
Preparing Your Hair for Yarn Braids
Before incorporating yarn into your braids, it’s important to properly prep your hair to ensure optimal results and minimize any potential damage.
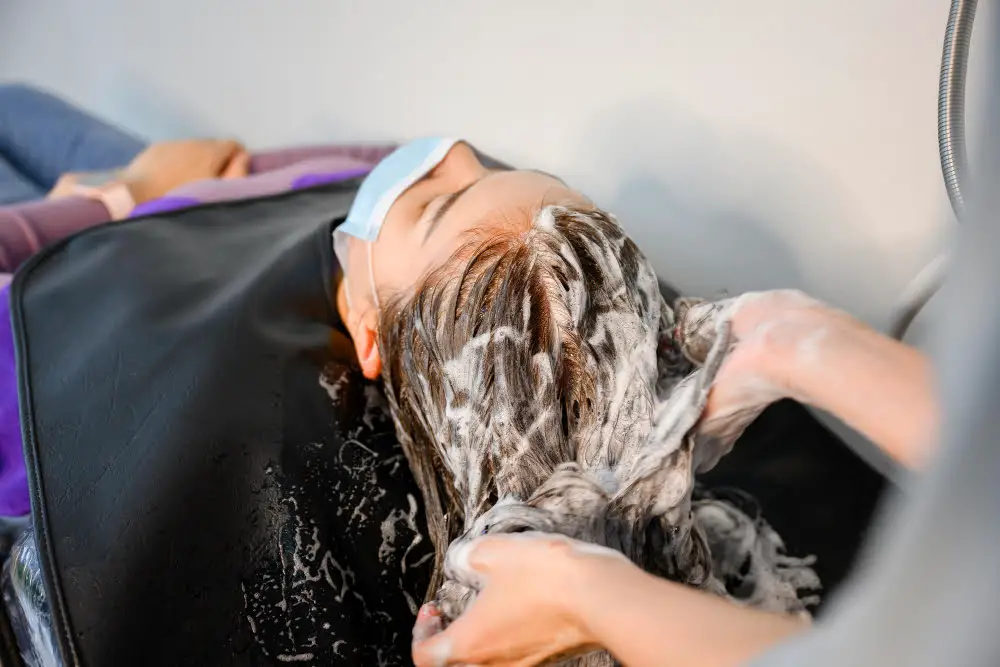
First, cleanse your hair and scalp thoroughly using a gentle, sulfate-free shampoo. This step prevents any build-up from interfering with your braiding process.
Next, follow up with a deep-conditioning treatment to nourish your strands and maintain their elasticity. Use a wide-tooth comb to gently manage any knots or tangles, working from your tips up to your roots.
Before starting with the yarn braid, make sure your hair is completely dry, as damp hair can result in mildew growth within the braids over time.
If your hair tends to be on the dryer side, consider applying a thin layer of leave-in conditioner or hair oil after the deep conditioner has been rinsed out. This ensures that your hair remains moisturized throughout the period your yarn braids are in place.
Lastly, section your hair into a pattern that aligns with your desired yarn braid style. Adequate sectioning makes the braiding process much smoother and results in an even distribution of yarn braids throughout your hair.
These careful steps of preparation are sure to give you a fruitful yarn braiding experience with sturdy, well-maintained, and stylish braids.
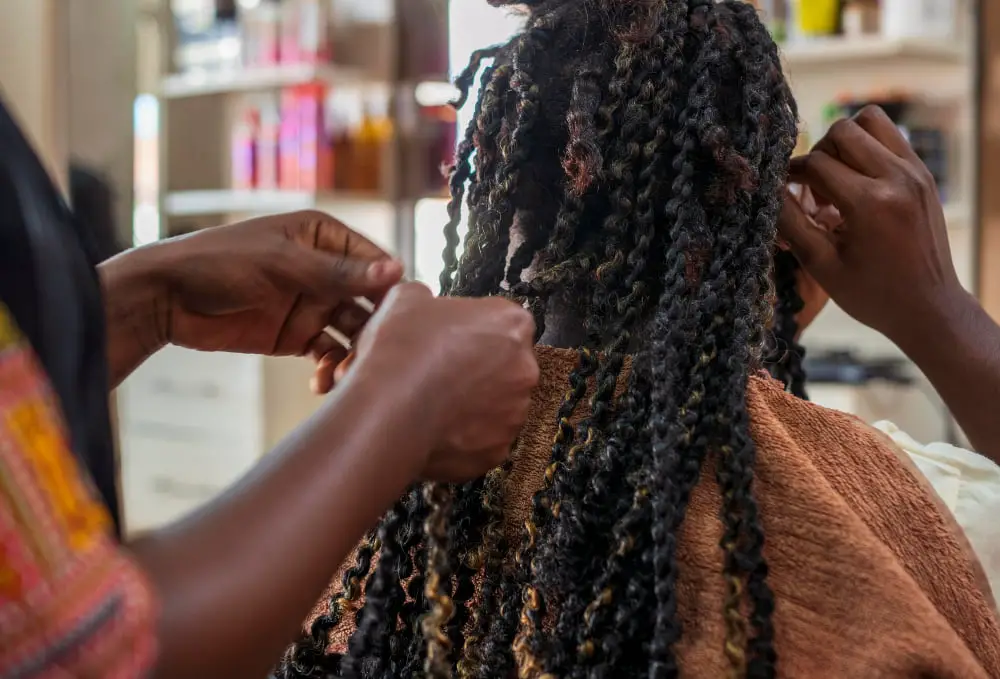
Braiding the Yarn Into Your Hair: Step-by-Step Process
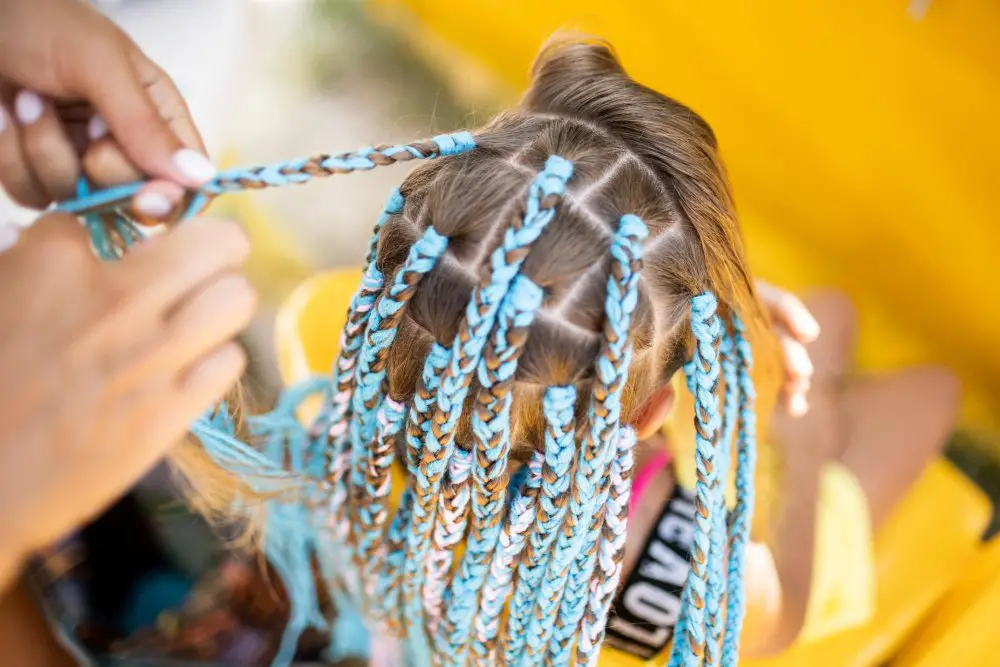
To weave your selected yarn into your natural hair, begin by sectioning off the portion of hair where the braid will be inserted. Two strands of yarn should be cut to twice the desired length of the braid. Fold the strands in half and place them against the root of the hair section.
Here on, your natural hair strand becomes the third strand to work with. From this point, execute a regular three-strand braid, with each yarn strand and your hair acting as individual strands in the braid. Continue the braiding process until you reach the end of your hair. For the yarn section protruding past your hair, continue braiding till you have about an inch of unbraided yarn left.
Tighten the end of the braid by tying a knot. Make sure the knot is tight enough to stay in place but loose enough to avoid damaging the yarn. Trim any excess yarn with a pair of sharp scissors to maintain a neat appearance. Should you wish to secure the braid even further, you can burn the tip of the braid. However, caution is advised with this step.
This process is repeated across the entirety of your hair. Take your time with the process to ensure each braid is secure and neatly done to achieve long-lasting, beautiful yarn braids. Due to the repetitive nature of the task, a lot of patience and precision goes into each braid ensuring an end result that is worth the effort!
Remember, the tighter the braid, the longer it will last. However, avoid pulling too hard to prevent any potential damage to your natural hair or scalp. Following these steps will get you closer to the finished look of a full head of yarn braids!
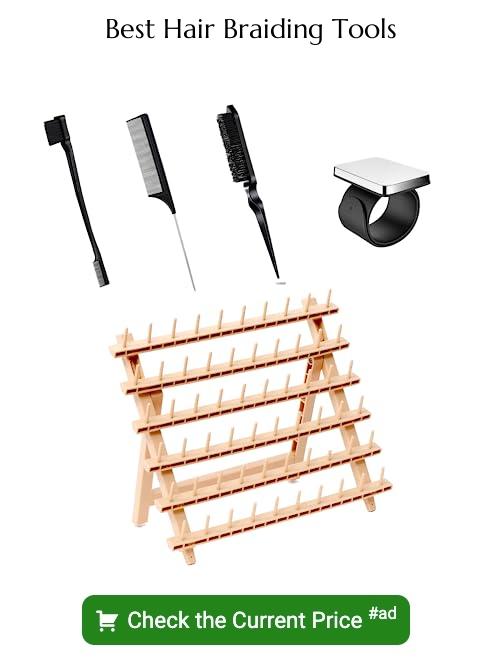
Tools Required for Yarn Braiding
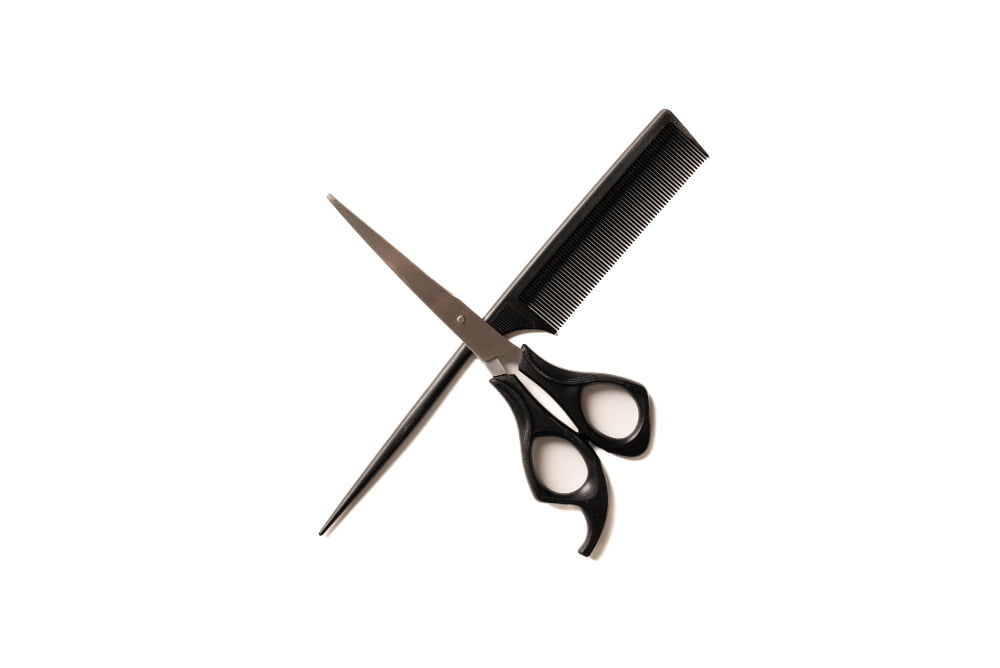
To carry out this process efficiently, certain essential tools are crucial. Good quality yarn, as mentioned previously, sets the foundation. Various textures and colors are available in the market for you to choose from as per your preference. Beyond this, a pair of sharp scissors ensures precise cuts of yarn to desired lengths, ensuring uniformity.
A comb, preferably a rat-tail comb, proves helpful in sectioning the hair neatly before braiding. An optional tool is a braid sealer. This useful gadget seals the ends of the braided yarn and prevents them from unraveling. However, if you don’t have a braid sealer, a lighter can serve the purpose. Remember to handle it carefully to avoid burns.
Finally, a hair moisturizer and oil keeps the hair healthy during the process. The moisturizer maintains the hydration level of the scalp, while the oil retains the hair’s natural sheen and prevents it from getting dry or brittle. It’s crucial to ensure that these products don’t interfere or react negatively with the chosen yarn.
These tools play an essential role in making the braiding process smooth, efficient and, most important of all, a fun and creative experience.
Yarn Braid Styles and Inspiration

Delve into the creative world of yarn braids with varied styles. Popular options include Bob Marley Twists, a style featuring large, chunky braids for a bold look. Alternatively, enjoy the elegant simplicity of Box Braids, a classic design where yarn braids fall evenly down in a sleek, symmetrical pattern. The Yarn Twists style is for those wanting their braids tightly coiled, resulting in a defined, stylish look while the Yarn Faux Locs emulate dreadlocks using yarn, offering an edgy aesthetic.
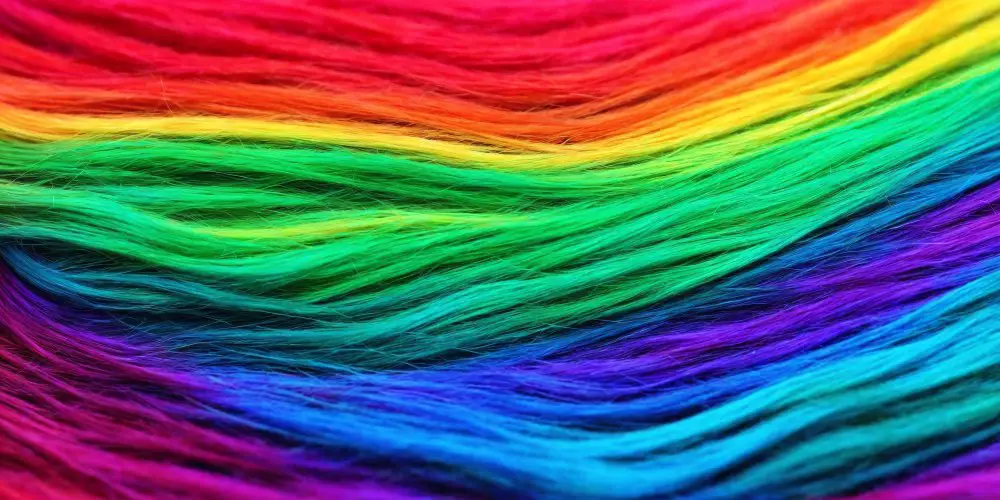
Venturing into color can transform your braid style. Consider incorporating two or more colors of yarn for magnificent Multicolored Braids or go for Ombre Braids that smoothly transition from one color at the roots to another at the tips.
Remember, your yarn braids are your canvas – YouTube and Pinterest are full of tutorials and inspiration for finding the perfect yarn braid style. Express your personality and creativity through your choice of yarn braid styles because, undoubtedly, it is more than just a hairstyle, but a form of artistic expression.
Maintaining Yarn Braids
When it comes to the care of yarn braids, make sure to delicately clean them every week using a mild shampoo to retain a fresh look. In order to keep the braids from drying out, using a leave-in conditioner or braid spray on a regular basis is essential.
Remember to wrap your hair in a scarf or wear a sleeping cap at night, as this can help reduce friction that leads to frizz and tangling. Wearing protective styles, such as updos, can also help lengthen the braids’ lifespan.
Finally, even with proper maintenance, it’s beneficial to give your hair a break from any type of braids after six to eight weeks. Simply put, this allows for your natural hair to recover and reduces the risk of damaging your hair.
Removing Yarn Braids Safely
After enjoying your yarn braids for a while, the time will eventually come to take them out. Patience is your best friend here, as rushing can lead to unnecessary hair breakage.
Here are a few points to keep in mind:
- Ensure you have plenty of time and patience. Your hair, natural or synthetic, has been bundled tightly with the braids and removing them needs careful handling.
- Always start from the bottom of the braid and work your way up to the root. It allows the hair to naturally free itself without tugging or tearing.
- Use scissors to cut the synthetic yarn, but be extremely cautious not to snip your actual hair. It’s safest to cut at the spot where your natural hair ends within the braid.
- Use a comb to untangle your hair after successfully removing each braid. Start combing from tip to root to avoid unnecessary knots and hair breakage.
- Finally, moisturize your hair liberally. Yarn can absorb the natural oils of your hair, which could leave it somewhat dry once the braids are removed. Use a comfortable amount of leave-in conditioner or hair oils to reintroduce hydration to your strands.
FAQ
Is it OK to braid yarn into hair?
Yes, it’s perfectly acceptable to braid yarn into hair, a technique often employed by natural hair stylists globally due to its elegance and versatility.
What types of yarn are best suited for braiding into hair?
Synthetic yarns such as acrylic and nylon are ideal for braiding into hair due to their durability, affordability, and wide range of colors.
How can you maintain the quality and look of yarn braids over time?
To maintain the quality and look of yarn braids over time, periodically wash them with a mild shampoo, keep them moisturized with natural oils, and wrap them in a silk scarf before sleeping to minimize frizz.
What are the potential risks or challenges involved in braiding yarn into hair?
The potential risks of braiding yarn into hair include hair damage due to pulling or tension, potential allergic reactions to the yarn material, and challenges in maintaining the hygiene and cleanliness of the hairstyle.


