Discover the simplicity and convenience of using a yarn winder to create neat balls of yarn in no time.
A yarn winder is a fantastic tool that can turn your skeins or hanks of yarn into neat, organized cakes. Using a yarn winder is a simple process that makes your knitting or crocheting projects more manageable and enjoyable.
Start by securing the yarn winder to a flat surface, then thread the yarn through the metal guide and onto the bobbin. Begin to crank the handle slowly, allowing the yarn to wind onto the bobbin evenly. Continue this process until all the yarn is neatly wound.
This article will guide you through these steps in detail, ensuring you can use a yarn winder effectively every time.
Key takeaways:
- Use a yarn winder to create neat balls of yarn.
- Secure the winder, thread the yarn, and crank the handle.
- Understand yarn winder types and their benefits.
- Consider size, mechanism, material, and price when buying.
- Properly attach the winder to the table and thread the yarn through the feeder.
Understanding Yarn Winders
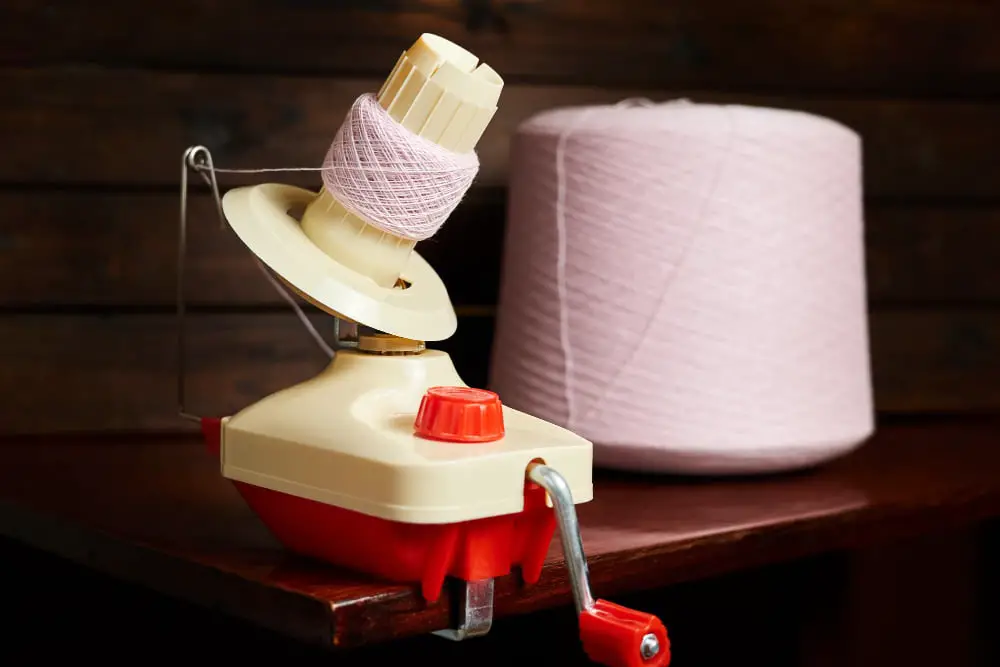
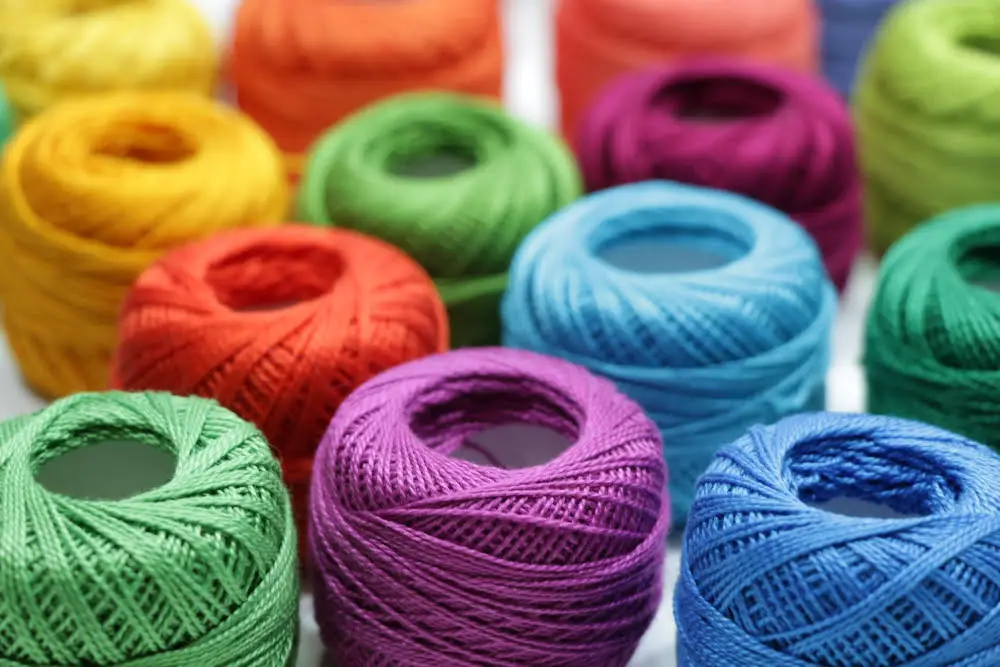
A yarn winder serves to transform hanks or skeins of yarn into clean, organized stacks, referred to as “cakes”, easy for knitting or crocheting. With varying capacities, yarn winders can accommodate small to large amounts of yarn. Manual and electric types provide winders for different preference and budget levels.
In utilizing a yarn winder, the yarn is first threaded through the feeder. This guide ensures the yarn is wound at a controlled pace and angle, avoiding tangles or tension issues.
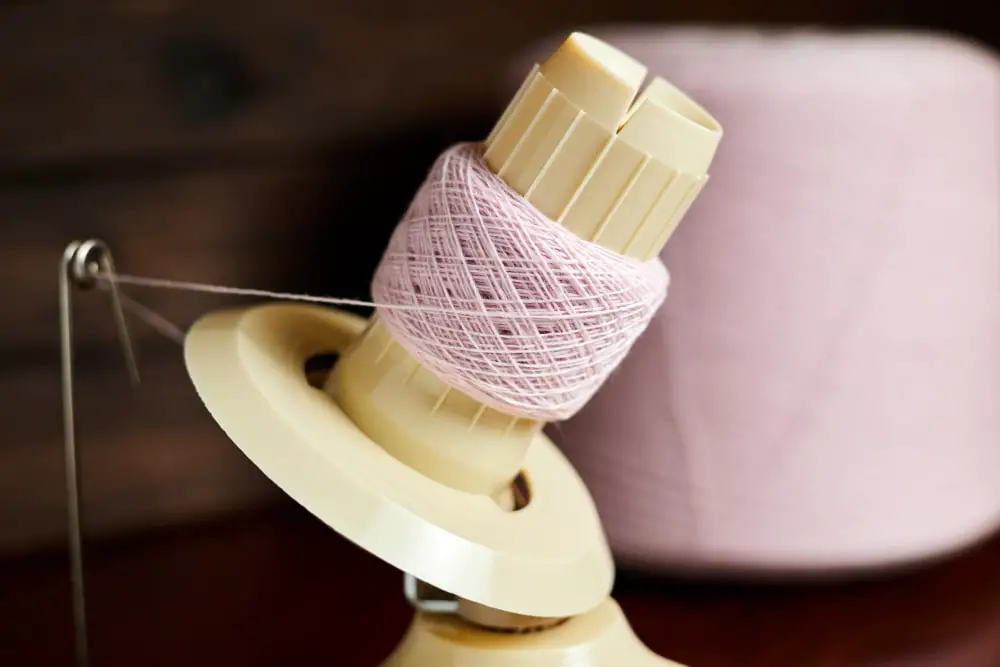
Next, the yarn end is affixed to the top of the winder. This is usually accomplished using a slot or notch located at the top of the winding core. Once in place, manually turning the crank or engaging the electric control winds the yarn into a neat and uniform yarn cake.
An optional companion tool to yarn winders, yarn swift, alleviates strain. Depending on preference and project size, horizontal or umbrella swifts are handy for holding yarn hanks in place.
Crucially, yarn winders ease knitting and crocheting projects. They prevent tangling, promote uniform tension, and provide neat storage. Recognizing these benefits, will guide shoppers in selecting the best yarn winder for their needs.
Selecting the Right Yarn Winder

When choosing a yarn winder, consider these crucial factors:
Size: Think about the amount of yarn you typically work with. Mini yarn winders often hold up to 4 oz. of yarn, while larger ones can hold up to 16 oz. or more.
Mechanism: Manual yarn winders are operated with a hand crank, offering great control. On the other hand, electric yarn winders work at the press of a button, providing more speed but slightly less precision.
Material: Durability is critical, therefore, opt for yarn winders made of strong materials such as metal or high-quality plastic.
Ease of assembly: The winder should be easy to set up and dismantle, especially if you move between crafting locations.
Efficiency: Check how evenly and tightly it winds yarn. The desired result is a neat, compact yarn cake that pulls easily from the center without tangling.
Reviews: Look at online reviews and feedback from other users to ensure the product’s functionality and durability meet your standards.
Price: Although more expensive doesn’t always mean better, do remember that an investment in a higher-quality tool can save you money on replacements in the long run. Ensure the cost aligns with your budget and frequency of use.
These considerations will guide you in finding a yarn winder that best suits your crafting needs.
How to Securely Attach the Winder to the Table
Begin by selecting a table or sturdy flat surface of appropriate height for your convenience. Ensure the area is clear of clutter for optimal operation.
Position the yarn winder at the edge of the table, aligning the base with the side. The clamp should hang over the edge, ready to secure.
Turn the clamp, either by hand or with a provided tool, depending on your winder’s model, until it tightens sufficiently. It should be secure but be careful not to over-tighten to avoid damage.
Confirm the winder is stable by gently giving it a wiggle. It should remain firmly in place without sliding or tilting.
Ensure the winding handle is easily reachable and that the yarn feeder arm can swing without obstruction.
Remember to have enough space around the winder for the yarn swift if you are using one, ideally in front to allow for linear flow of yarn to the winder.
Now you are ready to start winding. The winder should be secure, stable, and ready to transform your skeins or hanks into tidy, easy-to-use yarn balls.
Working the Yarn Through the Feeder: A Step-by-Step Guide

First, ensure the winder is securely attached to your desired surface and that the yarn is free from kinks and knots. Once this is established, you shall thread the yarn through the feeder. In most designs, this contraption is a loop or hook, typically positioned close to the base of the unit.
Next, direct your yarn towards the bobbin or spindle, which is the central component that actually winds the yarn. Wrap it around this section a few times, taking care to maintain tension, but avoid excessive tightness.
Now, with the yarn firmly atop the bobbin, you’re ready to begin winding. As you rotate your winding handle, the bobbin should spin, smoothly coiling the yarn as it goes. Continue winding, ensuring a consistent rhythm, and stop only to fix any problems like snags or kinks.
Remember, fluidity is key to proper winding. Avoid hasty or jerky movements, which can result in an uneven yarn ball. Instead, strive for a steady, even pace. This will help achieve a tightly-wound ball that feeds smoothly when you’re ready to start your crafting project.
Despite the apparent simplicity, perfection comes with practice. Don’t become discouraged if your first attempts don’t turn out as expected. Troublesome tangles or uneven winding are common beginner hurdles. It won’t be long before you are proficient in using a yarn winder.
Best Techniques for Attaching the Yarn to the Winder
Start the winding process by first ensuring the yarn winder is clamped securely on a table. The stability of the yarn winder is fundamental to successful winding.
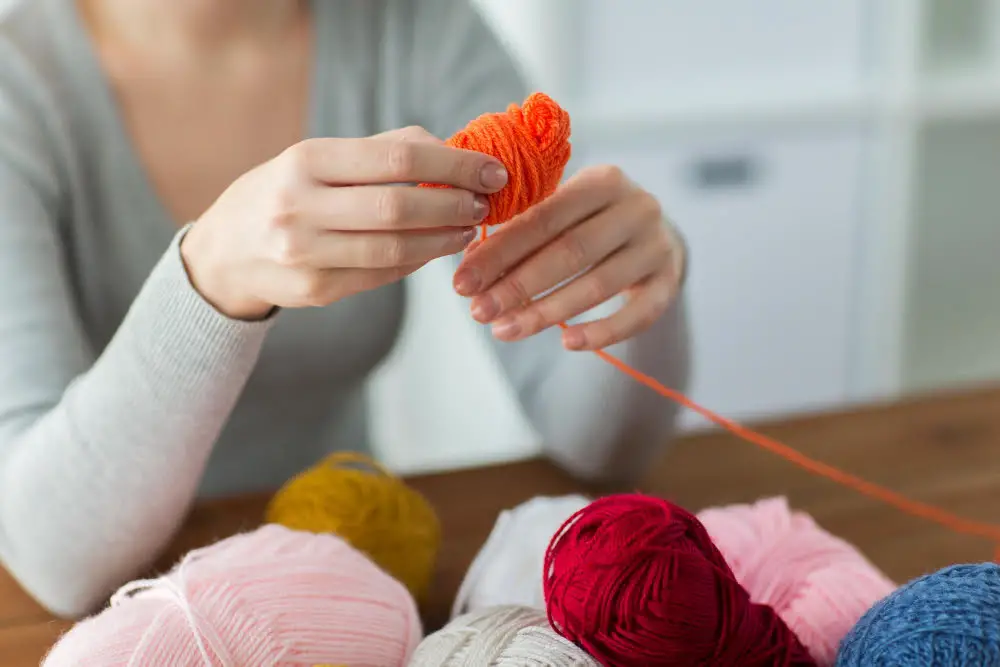
Identify the yarn end. Most yarns, especially skeins, provide an easy to find end. If unsure, look for the part of the yarn designed to be the inside end, it’s frequently tucked into one side.
Feed the yarn from the inside end, threading it through the metal yarn guide, often in the shape of a loop or a hook. The yarn should follow the path marked out on your specific yarn winder model.
Find the notch on the top of the winder, sometimes known as the bobbin or spindle. This is where the end of the yarn will go. Simply lay the yarn into the slot, then turn the crank slightly to hold it in place.
Begin winding slowly, maintaining a steady pace. This helps you observe the yarn, spotting any knots or abnormalities before they become wound into the ball.
Make sure the tension remains consistent throughout the winding process. Too loose, the yarn could slip off; too tight, it could stretch or break.
To keep the winder from overloading, don’t fill the yarn winder to full capacity. Safety margins are designed into the winder to cover accidental overwinding.
Throughout the process, remember to maintain a smooth, steady pace. Rushing may lead to uneven winding or potential tangles.
Executing a Successful Center Pull Ball With a Yarn Winder
To create a center pull ball, follow these steps:
Start by securing the yarn on the spindle, with the end that will form the center of the ball. Engage the yarn in the feeder mechanism, making sure the path of the yarn follows the correct threading route of your specific winder model.
Put tension on the yarn. This can typically be achieved by threading the yarn through the tension guide of the winder if available. If there is no tension guide, maintain a gentle manual tension by keeping the yarn slightly taut as it feeds into the winder.
Begin turning the handle, winding the yarn onto the spindle. Start with a few slow turns, then move to a regular winding speed. Ensure that the yarn builds evenly across the spindle.
Once the first few layers of yarn are on the spindle, check the winding process. If the yarn is building up too much in the middle or at the ends, try adjusting the angle at which you are feeding the yarn into the winder.
Continue winding until you have the desired amount of yarn on the spindle. Remember to stop winding when you have reached roughly 90% of the winder’s capacity. This is crucial to avoid straining the mechanism.
To remove the yarn ball, disengage the yarn from the feeder and carefully slide the ball off the spindle. The end of the yarn that was attached to the spindle should slide out from the center, providing you with the perfect center pull ball.
During this process, make sure not to wind too tightly. While the yarn does need to stay in place and keep its shape, a ball that’s wound too tight can stretch the yarn and potentially damage the fibers. Keep a firm but gentle tension throughout winding to prevent this.
Crucial Roles of Yarn Winders and Swifts
Yarn winders and swifts each serve important functions in the yarn crafting process, working together to ensure a smooth and efficient experience.
A yarn winder is a device that transforms yarn hanks into compact, center-pull balls that are easily manageable, helping prevent knots and tangles. It operates by gathering the yarn in a consistent manner, creating a yarn cake which feeds from the middle.
On the other hand, a yarn swift holds the hanks of yarn, which are too large and unwieldy to be worked with directly. The swift spins to let out yarn at a consistent rate, preventing knots and snarls.
When using both devices together, the yarn swift holds the hank while the winder steadily pulls yarn, transforming it into a neat ball. This combination not only saves time but also safeguards the condition of the yarn, making yarn winders and swifts essential tools for crochet and knitting enthusiasts.
Plan your work surroundings. You should have adequate room for the swift to spin freely and the winder to operate without obstruction. Also, consider your storage options post-use, while both tools are generally collapsible, ensure their dimensions suit your space.
Engage equipment gently. The function of both a winder and swift necessitates careful handling to prevent damaging your yarn or the equipment itself. Ensure the yarn is feeding onto the winder smoothly without too much tension or slack.
Pay attention to the yarn direction. The yarn should be feeding from the outside of the hank onto the winder. If you attempt to feed the yarn from the inside, it could potentially lead to tangles or knots.
Familiarize yourself with maintenance and troubleshooting for both your winder and swift. Knowing how to address minor issues can save you from frustration during your crafting session.
Resource availability is also a crucial factor. Due to their specific functionality, yarn winders and swifts aren’t typically available in general craft stores. However, they easily can be purchased from specialized knitting or crochet shops, or online.
Justifying the Need for a Yarn Winder and Swift
A yarn winder and swift are instrumental crafting tools that offer substantial help in organizing your yarn. They transition yarn from hanks (or skeins) to easily usable and untangled balls and cakes, thus saving considerable time and effort.
Saving Time: The combined use of a winder and swift facilitates quick and efficient transformation of yarn skeins into neat balls. This leaves you more time for your knitting or crocheting projects as opposed to spending hours manually winding yarn.
Minimizing Tangles: Unwinding yarn hanks can lead to frustrating knots and tangles, which are skillfully avoided by the smooth operation of a yarn swift and winder.
Space Organization: The compact balls or cakes that yarn winders produce take up less space than a conventionally wound skein, allowing for optimal organization and storage of yarn stashes.
Preserving Yarn Quality: By using a winder and swift, there’s less handling of the yarn, thus lessening the risk of fraying, splitting, or compromising yarn integrity.
Stress Reduction: Using these tools eliminates the need for another person to hold the hank while you wind the yarn, and also bypasses potential tugging and stretching of the yarn, thus providing a more relaxed crafting experience.
Swifts and Winders are tools that enhance your crafting session by providing you incredible convenience and efficiency. Its importance is further highlighted if you purchase your yarn in hanks or have substantial quantities to manage. So, it’s not just about justifying the need, but appreciating the multitude of benefits these tools bring to your yarn crafting endeavours.
Crucial Tips for Buying a Yarn Winder and Swift
Consider these elements to make a sound decision when buying a yarn winder and swift:
The Material: Opt for a yarn winder and swift made of durable materials like wood or plastic; these materials are known for their longevity.
Size: Factor in the amount of yarn used regularly. Small winders are perfect for occasional users while larger ones can handle more substantial amounts.
Ease of Use: Look for models that are easy to assemble and take apart. In addition, it should be user-friendly, especially if it’s your first time using one.
Adjustability: An adjustable arm width on a yarn swift can accommodate different hank sizes, making it a practical option over a fixed arm swift.
Collapsible Swift: This feature enables easy storage and offers portability, essential for those with limited space or who travel often.
Mechanism: Hand-crank yarn winders give total control over speed, whereas electric yarn winders may provide more efficiency. Choosing between manual and automatic depends on your preferences.
Reviews and Ratings: Make sure to check product reviews and ratings from users. They offer on-the-ground insights that may not be apparent from the product description.
Price: Set a budget before starting your hunt. More expensive does not always mean better; analyze the cost against the features, durability, and practicality of the winder and swift.
Brand Reputation: Purchase from a reputable brand. Companies with a good track record often produce reliable and quality products.
By keeping these tips in mind, you’ll be sure that your investment in a yarn winder and swift will be well worth it.
Effective Solutions for Keeping the Feeder Standing Up
For a smooth and efficient winding process, it’s crucial to ensure the feeder (also referred to as the yarn guide) remains erect. Adjusting the spring tension should do the trick.
a. Locate the spring attached to the feeder; it’s typically found at its base.
b. Carefully adjust the spring by increasing or decreasing the tension. The goal is to make the feeder firm enough to hold its position perpendicular to the table or surface.
c. For yarn winders without an adjustable spring, consider using a small piece of tape to secure the feeder upright temporarily. Tape should be applied carefully to avoid adhesive residue on the yarn.
d. Always make sure the yarn is properly guided through the feeder before winding begins, ensuring that it moves smoothly without tangling or slacking.
e. Check the positioning and tension of the feeder periodically during the winding process. Readjust as needed to maintain an upright position.
These easy to implement adjustments can improve the stability of the feeder, contributing to an easier and more productive yarn winding session.
How to Prevent Yarn From Winding Around the Base
When using a yarn winder, it is quite common for yarn to accidentally wind around the base of the unit. To avoid this predicament and ensure smooth operation, consider the following points:
- Guide the yarn properly: The path which the yarn takes to the winder should be as direct and straight as possible. This reduces the chance of it dropping low and catching onto the base.
- Sufficiently tension your yarn: An appropriate tension will ensure the yarn does not sag, thereby reducing the chances of it winding around the base.
- Use the yarn feeder correctly: Make sure that the yarn passes through the feeder. This keeps it high enough to prevent it from tangling at the base.
- Cross-check placement: A misalignment of the winder can place too much strain on the yarn, causing it to wind incorrectly.
- Swift positioning: If you’re using a swift, position it at an equal level with your winder. This will level out the tension, helping the yarn to wind straight onto the bobbin.
These preventative measures can improve your experience with a yarn winder, aiding in crafting beautifully wound yarn cakes for your crafting projects.
Troubleshooting Guide: Common Yarn Winder Problems
Some common issues which may occur with yarn winders include the yarn wrapping around the base, feeder arm sagging, and the winder not making the center-pull ball. Let’s address these issues and provide effective solutions.
When the yarn loops around the base of the winder, it’s usually because the swift isn’t aligned properly with the winder. Make sure the winder and swift are at the same level, with the yarn passing straight from swift to winder.
Feeder arm sagging can be a result of the weight of the yarn that’s looped on it. The best way to alleviate this issue is to guide and support the yarn with your hands, controlling the tension as it winds onto the spindle.
Difficulty creating a center-pull ball often happens if the yarn isn’t placed correctly on the spindle before winding. Therefore, it’s vital to secure the yarn through the feeder and onto the spindle properly.
In case the winder becomes loose during operation, check on how firmly it’s clamped to the table. Use a surface that accommodates the clamp securely and wind at a steady, controlled speed.
Lastly, if the winder jams or becomes hard to turn, refrain from forcing it. Instead, take the time to inspect the gears beneath the spindle. Yarn bits can get stuck there, causing the mechanism to become stiff. Simply remove any obstructions using tweezers.
Having these solutions at hand helps one avoid untimely interruptions and keeps the winding process as smooth and enjoyable as possible.
Efficient Usage of a Yarn Ball Winder: Essential Tips and Tricks
Properly securing the yarn winder base to the surface will prevent it from moving while winding. Use a flat, sturdy table for best results.
The feeder arm should always be extended to its fullest length. This will keep the yarn flowing smoothly and prevent unnecessary tangles.
Make sure to guide the yarn through the metal yarn guide and tension spring before looping it onto the winder spindle. This ensures a consistent tension throughout the winding process.
Start winding slowly to prevent the yarn from slipping off the winder cone. As you get comfortable, you can gradually increase your speed.
For best results, wind yarn from a skein or hank that has been placed on a yarn swift. This prevents tangles and helps the yarn flow easily.
Avoid winding the yarn too tightly. This can stretch the yarn and change its nature.
Periodically check the cone to ensure the yarn isn’t getting wound closer to the base. If it is, stop and adjust the winder.
Remember to cut the yarn from its source once the winding is completed. Leaving it attached can lead to tension issues in your finished ball.
Monitor the size of your yarn ball. If the ball becomes too large, it can potentially topple off the winder or become too heavy to handle.
Never leave a winding session halfway through. Yarn left on winders can become tangled if not managed properly.
Maintain and clean your winder regularly. Dust and yarn fibers can build up over time, potentially causing functional issues.
FAQ
Can you use a yarn winder with a skein of yarn?
Yes, a yarn winder can be used with a skein of yarn to transform it into a tidy center pull ball.
Can you use a yarn winder without a swift?
Yes, a yarn winder can be used without a swift if the yarn is in a center-pull skein, but a swift is necessary when winding a hank of yarn to prevent tangling.
What are the main factors to consider when buying a yarn winder?
When buying a yarn winder, consider factors such as its capacity, durability, ease of use, price, and the compatibility with various yarn thicknesses.
How should one properly maintain their yarn winder?
To properly maintain your yarn winder, consistently dust it off, refrain from overloading it, keep its gears lubricated, and replace any parts that appear worn out.
Are there differences between a manual and electric yarn winder?
Yes, manual yarn winders are operated by hand using a crank, while electric yarn winders run on a motor for automated winding and typically offer adjustable speed settings.


