Learn to crochet a charming heart with this step-by-step guide perfect for adding a touch of warmth to any craft project.
Key takeaways:
- Start with a magic ring for a closed center
- Use the right yarn and hook size for desired size and texture
- Follow the pattern instructions step-by-step for symmetry
- Finish with weaving in ends and blocking for a polished look
- Consistency and practice are key to perfecting crochet hearts
Crochet Heart Pattern
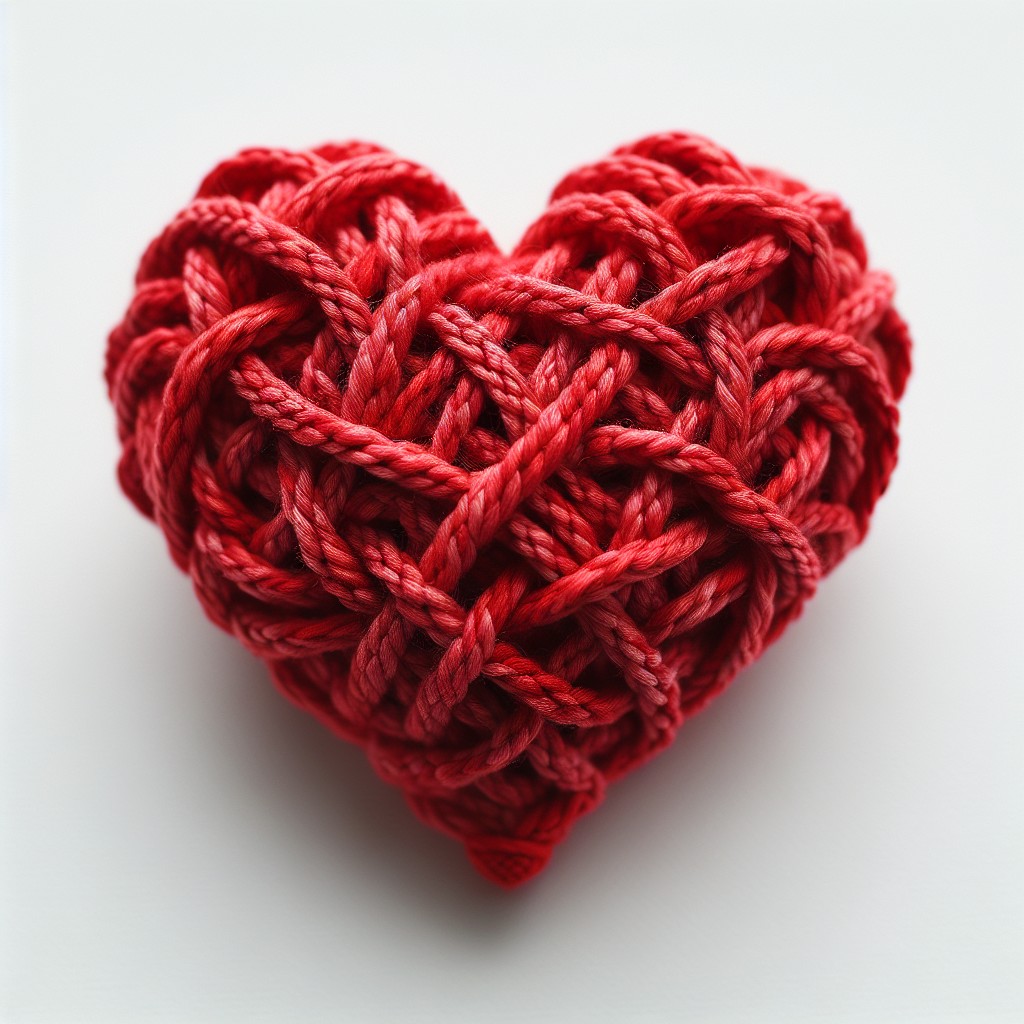
Starting with a magic ring gives your heart a tightly closed center, avoiding any unsightly gaps. Begin your project with a series of chain stitches and double crochets; these form the first mound of the heart. Transition into treble crochets to elevate the mound, creating a fuller, more pronounced shape. Half treble crochets bridge the gap smoothly to the point at the bottom. Symmetry is key; replicate the stitch pattern on the opposite side to mirror your progress. Connect both mounds and tighten the magic ring to define the heart’s curves. Remember, consistent tension keeps the edges neat and the shape defined.
Materials and Tools
Diving right in, you’ll need some yarn, and the weight of the yarn will determine the size of your heart. If you’re going for something small and delicate, a lightweight or fingering yarn is your best friend. Want something a bit more cuddle-sized? Grab a worsted weight yarn.
The crochet hook you choose should be a good match for your yarn. A general guideline is to check the yarn label for the recommended hook size. A smaller hook will give you tighter stitches, which is ideal for a firmer heart, but if you’re after something soft and squishy, go a size or two larger.
Scissors and a yarn needle are your sidekicks. You’ll need the scissors for snipping your yarn, and the yarn needle will help you weave in those tails for a neat finish. A stitch marker might come in handy to mark the beginning or end of a round, especially if you’re a beginner or if your yarn is particularly dark and it’s like trying to spot a black cat on a moonless night.
Pattern Instructions
To begin, create a magic ring. This foundation technique allows you to pull the ring tightly closed, avoiding any gaps at the center of your heart.
Round 1: Work 3 chain stitches to count as your first double crochet. Add 2 more double crochet stitches into the ring, which together will form the first hump of your heart. Then, chain 1. Next, stitch a triple crochet into the ring for the heart’s point. Chain 1 again. For the second hump, make 3 double crochet stitches into the ring, followed by 2 chain stitches. Finally, slip stitch into the ring.
Round 2: Start by chaining 3. Make 2 double crochets into the first stitch. Then, double crochet into the next stitch. In the chain-1 space from Round 1, do 3 double crochets, chain 1, and 1 triple crochet. Stay in the same chain-1 space and crochet 3 more double crochets. Double crochet into the next stitch. Finish this round with 3 double crochets in the last stitch and chain 2, then slip stitch into the center of the ring.
Close the magic ring tightly to shape your heart with a neat center. Fasten off your yarn, leaving a tail for sewing or attaching your heart, depending on your project’s final application.
Remember to count your stitches as you go to maintain symmetry in your heart. If your edges are uneven, don’t fret. A bit of shaping and smoothing during the finishing touches can work wonders.
Finishing Techniques
Once your heart shape is crocheted, taking a few extra steps can really make it shine. Weave in the loose ends with a tapestry needle to keep your work looking neat. If you’ve worked in different colors, pay extra attention to securing those color transition points, so they don’t creep out and spoil the party.
Blocking is your friend here, especially for gifts or decorations. Simply pin the heart to a blocking board, spritz it with water, and let it dry into a crisp shape. This technique irons out any uneven stitches, letting your heart truly spread its wings.
Lastly, you might consider adding a bit of starch or fabric stiffener for a firmer heart. Perfect for ornaments or garlands, it helps your heart hold up, not just in spirit but in form too. Just remember, a little goes a long way – unless you want a heart that’s stiff as a board!
Tips for Perfect Hearts
Tackling the challenge of crocheting hearts, consistency is your best friend. Achieving symmetrical sides often rests on maintaining an even tension throughout your project. If your loops are tighter than a drum, your heart might look a tad squeezed. Alternatively, if they’re looser than a goose, you could end up with something rather floppy.
Choosing the right yarn can make or break the shape. For clarity in stitches, a smooth, medium-weight yarn does wonders. It’s like the difference between writing with a fine-point pen versus a chunky marker; details pop with the right materials.
Also, remember granny’s advice about practice making perfect? Well, she wasn’t pulling your leg. Crocheting several hearts helps fine-tune your technique, and before you know it, you’ll be churning out hearts like a love-struck cupid.
Lastly, blocking can be the fairy godmother for your crochet hearts. A quick steam or a spritz of water and a gentle shaping can transform a scruffy heart into a charmer with crisp edges. Sometimes, a little TLC after the crochet hook is down is all it takes to go from homemade to handcrafted genius.
Related Stories
- How to Crochet a Magic Circle – Step-by-Step Tutorial for Beginners
- How to Make a Magic Ring: Step-by-Step Tutorial for Beginners
- How to Crochet a Hat: Step-by-Step Instructions for Beginners
- How to Make Magic Ring Crochet: Step-by-Step Tutorial for Beginners
- How to Crochet a Flower: Step-by-Step Tutorial for Beginners