Learn to crochet a scarf with this step-by-step guide, perfect for beginners looking to create a cozy accessory.
Key takeaways:
- Use a medium-weight yarn for beginners.
- Select the appropriate hook size for your yarn.
- Start with a slip knot to begin crocheting.
- Learn the single crochet stitch for your foundation row.
- Measure the length of your scarf to match your vision.
Materials
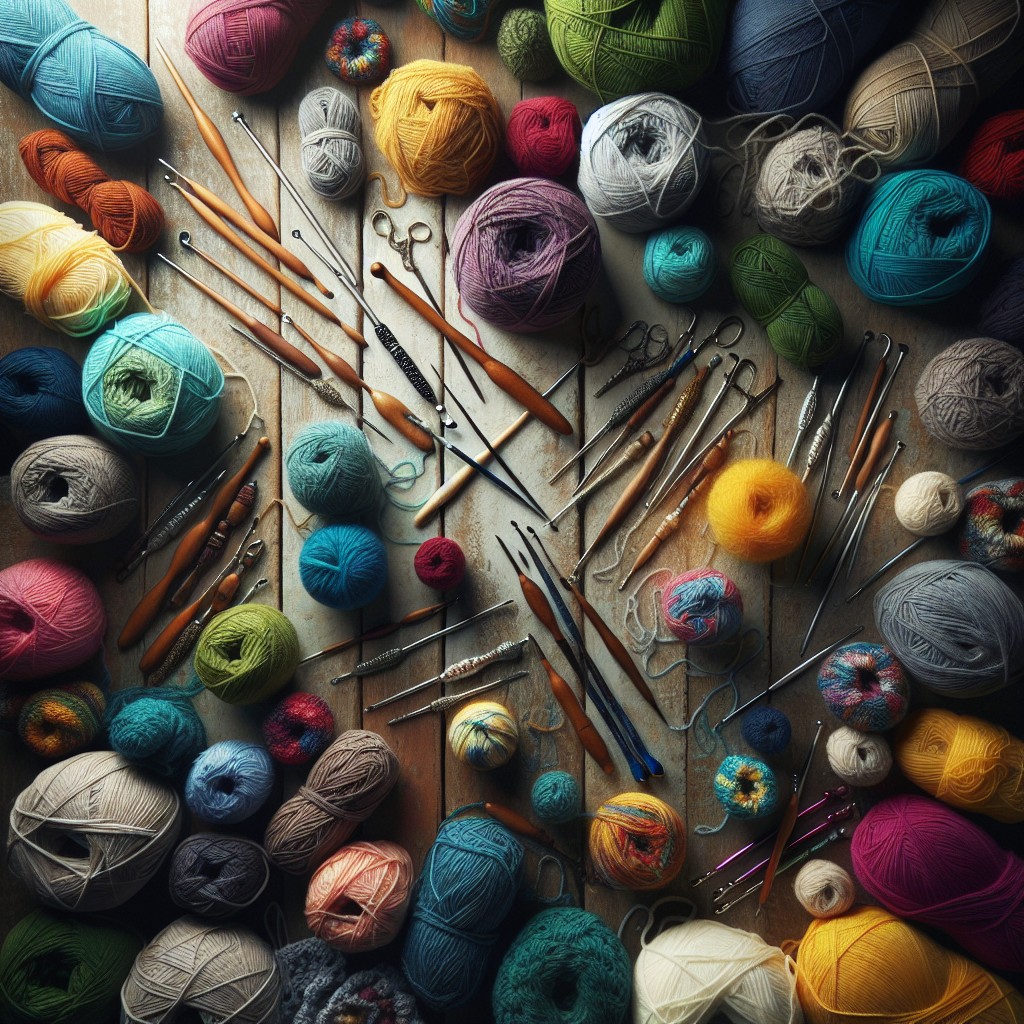
Diving into your scarf project, you need to gather the essentials. Yarn is your main ingredient here. For beginners, a medium-weight yarn is ideal as it’s easy to work with and shows stitches clearly. Wool or acrylic? Wool is warm and soft, yet acrylic is budget-friendly and washes well. Pick your poison; both make great scarves.
Now, let’s talk hooks. The yarn label is like a cheat sheet—it tells you the hook size you need. Too small a hook makes it tighter than a fresh jar of pickles. Too big, and your scarf might look too loosey-goosey. Usually, for medium yarn, think about using a size H-8 (5mm) crochet hook.
Lastly, scissors and a yarn needle should be on standby. Snip your yarn ends and weave them in with the needle for a tidy finished look. These tools are small but mighty when putting those final touches on your creation.
Starting With a Slip Knot
Imagine your yarn as a playful kitten, now you’re going to gently tame it into a slip knot. Place the yarn tail over the working yarn to create a loop. Ensure that the tail is long enough to weave in later, about 6 inches will do. Reach through the loop and pull up a bit of the working yarn, securing it, but not too tight; your crochet hook should slip in comfortably. Think of the slip knot as the first warm hello from your yarn, ready to lead you into the delightful dance of stitches that will become your scarf.
Row 1: Single Crochet
With your foundation chain ready, insert the hook into the second chain from the hook — remember, the loop on the hook doesn’t count as a chain. Yarn over (hook the yarn with your hook) and pull it through the chain. You’ll have two loops on the hook now. Next, yarn over again and pull through both loops on the hook. Congrats — you’ve just made your first single crochet stitch!
Continue this process in each chain across your foundation row. Keep your tension consistent for an even fabric texture. If your stitches are too tight, the scarf may curl; too loose, and the scarf won’t hold its shape well.
As you reach the end of the row, remember not to let that last chain play hide-and-seek. It might look a bit different from the rest, but give it a single crochet too. Once you’ve conquered the first row, give yourself a pat on the back — the foundation of your scarf is underway!
Measuring the Length
As your scarf grows, you’ll want to keep an eye on its length to match your vision. Picture wrapping the finished piece around your neck or holding it against another scarf you own as a reference. Whip out your trusty tape measure often—habits form quickly, and regular checks avoid surprises.
Remember, length is personal and functional. Planning a snug neck-warmer? Shorter is sweeter—a cozy fit without the dangle. Dreaming of a dramatic, flowy statement scarf? Go long, letting the ends cascade for flair.
Some yarns are stretchy, others not. This stretchiness affects the finished length post-crochet, more so after a few wears. Take this into consideration—if you’re using a stretchy yarn, your scarf might lengthen over time.
Seasoned crocheters know your tension affects final measurements. Tight stitches may need extra rows for added length, loose stitches less so. Keep even tension for consistent results, and adjust your strategy as you crochet to achieve the perfect length.
Aim for your ideal size, but remember, a scarf is forgiving. A few extra inches? It only adds to the cozy factor. Too short? Add a fringe or edging to sneak in extra length. Crochet is flexible—literally and figuratively!
Finishing the Scarf
You’ve crocheted until your scarf spans the length of a sasquatch’s arm—a proud moment indeed. Now, it’s time to tie up loose ends, quite literally. Cast off by working a slip stitch through the first stitch of your last row. Continue slip stitching across; this gives your scarf a neat edge, like brushing the hair of a yeti—smooth and refined.
Snip your yarn, leaving a tail long enough to weave in with a yarn needle. This bit’s like tucking in a shirt—it keeps everything tidy. Thread the tail through the eye of the needle and dodge in and out of nearby stitches. Keep your motions subtle; you’re a yarn ninja now.
If your scarf is looking a bit like it just rolled out of bed—fear not. Blocking is to crochet as ironing is to a crumpled shirt. You’re going to gently wash your scarf, lay it flat on a towel, and coax it into its best possible shape. Pin it down gently if necessary; treat it like a butterfly under glass—secure but not skewered. Allow it to air dry.
Voila! Your scarf is now dressed to impress, ready to warm necks and turn heads. Give that beauty a final once-over; smooth any wayward fibers and pat yourself on the back. You’ve transformed a simple skein into a snuggle-worthy masterpiece.
Related Stories
- How to Crochet a Square: Simple Steps for Beginners
- How to Crochet a Hat: Step-by-Step Instructions for Beginners
- How to Start a New Row Crochet: Step-by-Step Instructions for Beginners
- How to Make a Magic Ring: Step-by-Step Tutorial for Beginners
- How to Crochet a Beanie: Step-by-Step Instructions for Beginners