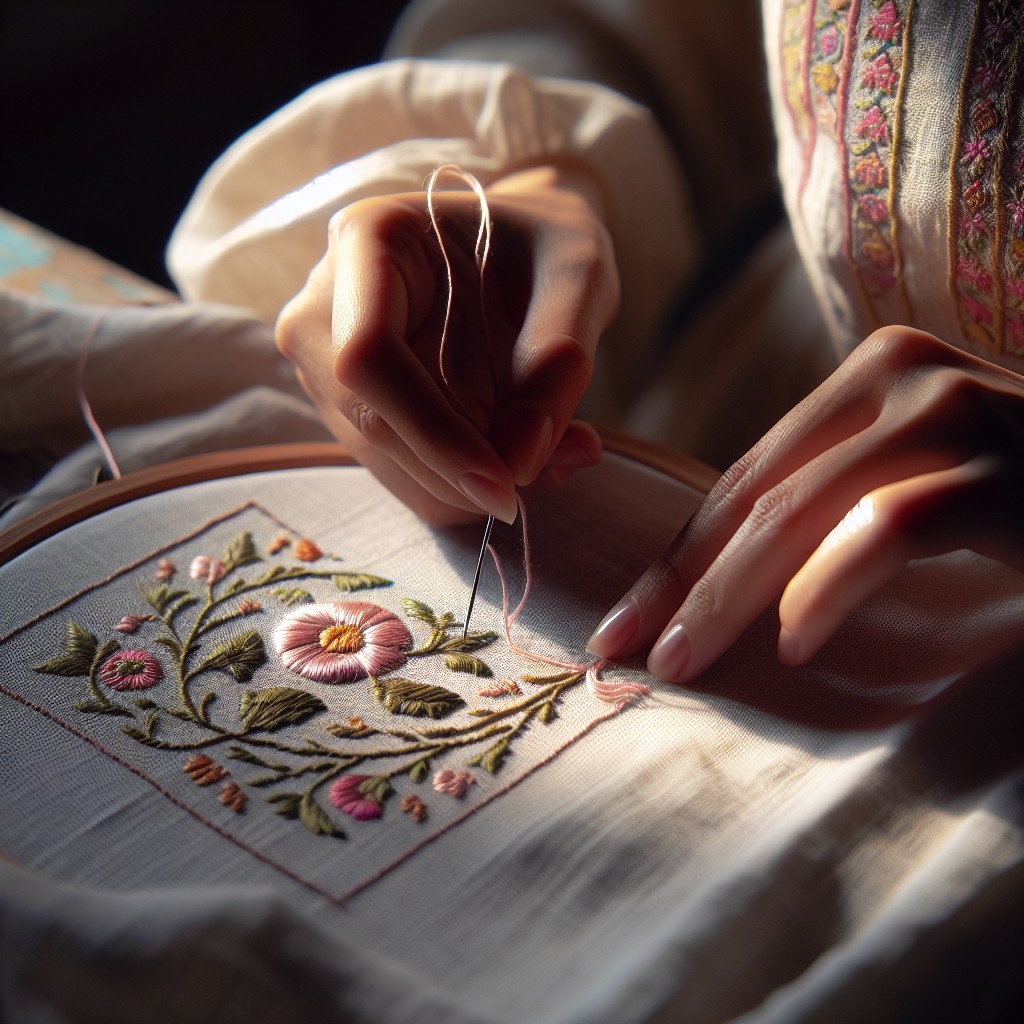
This article thoroughly explains the different types of embroidery fill stitches, their uses, and how to effectively create them in your own embroidery projects.
Key takeaways:
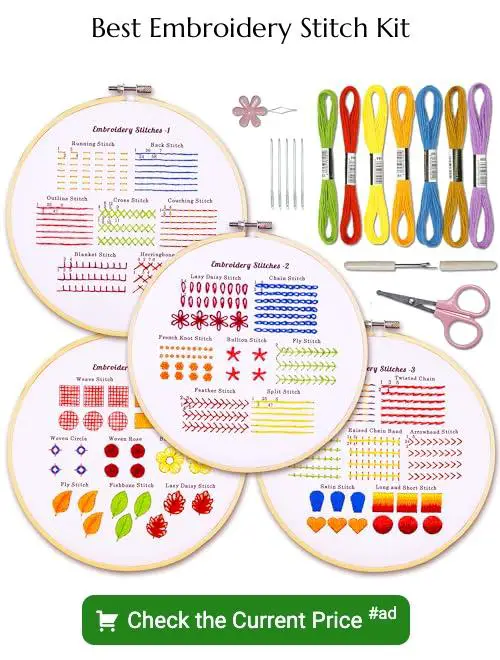
- Satin stitch: Achieve a smooth finish with evenly spaced stitches.
- Long and Short Stitch: Create gradients and shading with alternating stitches.
- Chain Stitch: Versatile and adaptable for filling both large and small areas.
- Seed Stitch: Adds texture and scattered effect with small disconnected stitches.
- Leaf Stitch: Ideal for textured, veined appearances on foliage motifs.
Satin Stitch for a Smooth Surface
Achieving a smooth finish with a satin stitch involves evenly spacing your threads and maintaining consistent tension.
Tightly packed stitches without overlapping prevent gaps and create a flat, lustrous surface.
Ideal for small spaces, each stitch should run straight across the shape you’re filling, with start and end points neatly on the outlined edge.
Patience is key—work slowly to ensure your stitches lie flat against the fabric.
For larger areas, consider a split-backstitch outline to contain the satin stitch and prevent it from puffing or pulling.
Regularly check the back of your work to keep your thread from tangling, which can affect the smoothness of the front.
Remember that satin stitch is thread-heavy; selecting the right type of thread for the fabric and design size will contribute to a more polished result.
Long and Short Stitch for Filling Large Areas
Ideal for creating gradients and shading, the Long and Short Stitch is a versatile filling method that allows for color blending and a realistic look in embroidery. To achieve the best results with this stitch:
1. Start with a row of long stitches across the shape you are filling.
2. Insert short stitches between the long ones in the following row.
3. Continue alternating between long and short stitches in each row.
4. Vary the stitch length and colors to mimic natural shading.
5. Overlap the stitches slightly to prevent gaps and create a seamless finish.
This stitch requires some practice to perfect the technique, but the textural and visual effects are well worth the effort for large areas.
Chain Stitch As an Allrounder for Filling Large and Small Areas
Executed in a looped manner akin to the links of a chain, chain stitch is both versatile and simple to practice. It’s a standout when tasked with filling either expansive areas or more confined shapes due to its adaptability in width and curve-friendliness.
To accomplish an even, textured fill:
- Start with a row of chain stitches across your outline’s edge.
- Parallel to the initial row, add subsequent rows, ensuring your loops interlink for a cohesive surface.
- Adjust the tension to prevent puckering; a looser stitch creates a softer fill, tighter stitches result in a denser fill.
- Experiment with variegated threads or blend colors to add dimension or gradation effects.
Chain stitch is forgiving, allowing for corrections or additions with ease; an important consideration when working on intricate or freeform embroidery designs.
Seed Stitch for a Sprinkle of Threads
Ideal for adding texture and a scattered effect, the seed stitch involves creating small, disconnected stitches across your fabric. This method is most effective when using contrasting colors or as a fill within the contours of a design.
- Vary the length and direction of each stitch to mimic the randomness of seeds scattered by the wind.
- To maintain evenness throughout, keep the spacing consistent although the stitches themselves are irregular.
- For an enhanced texture, consider using varying shades of the same color.
- Since it’s a filler stitch, ensure that your base fabric isn’t too densely woven; this allows the needle to pass through easily without forcing the threads.
- Start from one end of the area to be filled and work across to avoid any gaps or overly dense sections.
Leaf Stitch
This technique is ideal for creating textured, veined appearances on foliage motifs. The approach usually starts from the base of the leaf, working toward the tip with stitches that parallel the central vein. Each stitch begins and ends along the outline of the leaf, ensuring the shape remains defined. To maintain an organic look, vary the length and angle of your stitches slightly. It’s important not to pull the thread too tightly, as this can cause the fabric to pucker. For added dimension, consider using threads in varying shades of green or blending colors to mimic natural gradations.
Leaf stitch can be combined with other stitches, such as the French knot, to add detail and complexity to the leaf design.
FAQ
Which stitch is used for filling the design?
The satin stitch is used for filling the design.
What does fill mean in embroidery?
In embroidery, fill refers to a technique where repeated run stitches are used back-and-forth in rows to cover a large area.
What materials can significantly enhance the visual impact of fill stitches in embroidery?
Vibrant threads, beads, sequins, and metallic embroidery floss can notably enhance the visual impact of fill stitches in embroidery.
How does thread count influence the choice of filling stitches in embroidery projects?
The thread count of the fabric significantly influences the choice of filling stitches in embroidery projects as a higher thread count provides a finer surface for detailed stitches, while lower thread counts are more suitable for heavier, thicker stitches.
How can the proper tension and precise stitching affect the quality and appearance of embroidery fill stitches?
Proper tension and precise stitching in embroidery fill stitches ensure even, smooth, and consistent results, thereby enhancing the overall quality and appearance of the finished product.
Related Posts
 How to Embroider Large Areas: Step-by-Step Techniques for Stunning Results
 How Many Threads for Embroidery: Choosing the Right Amount for Your Project
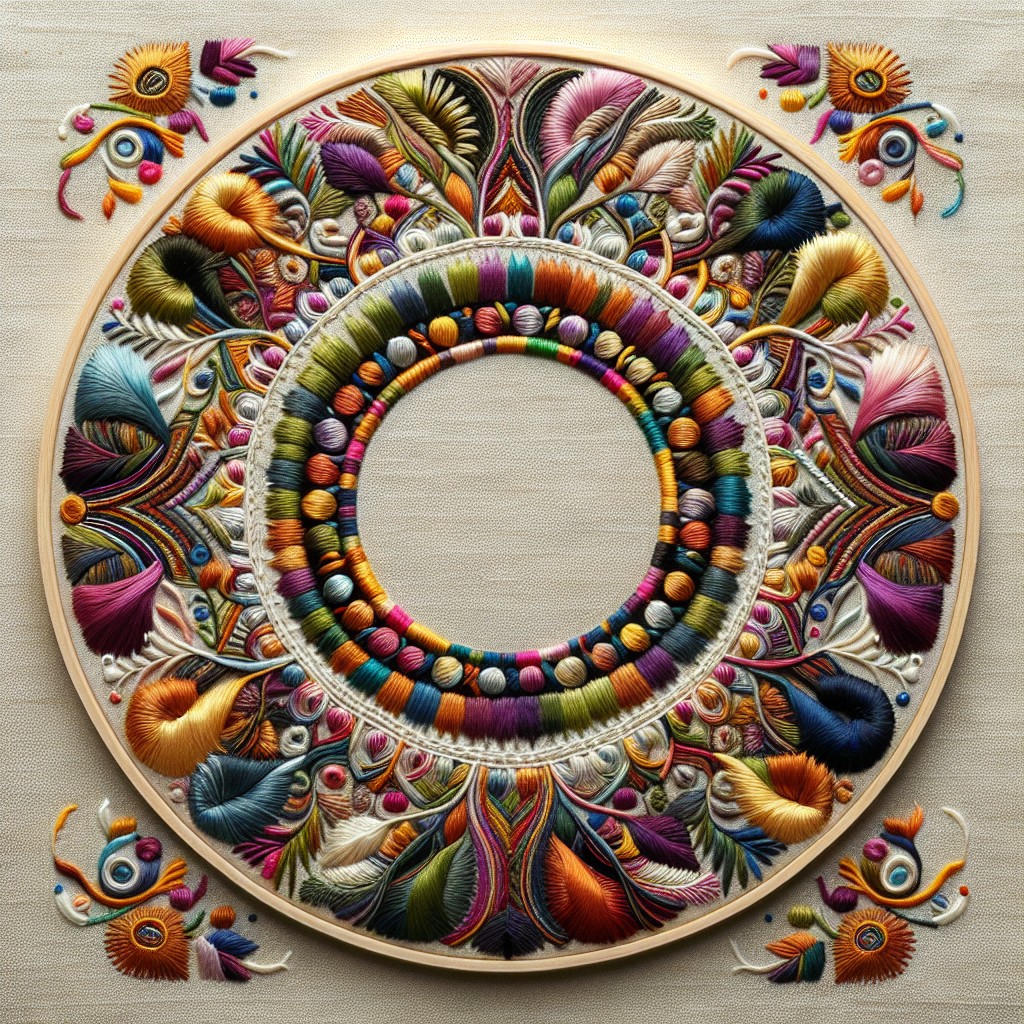 Best Embroidery Stitches for Outlining: Techniques and Tips
 How to Display Embroidery Hoops: Creative Ideas for Your Home Decor
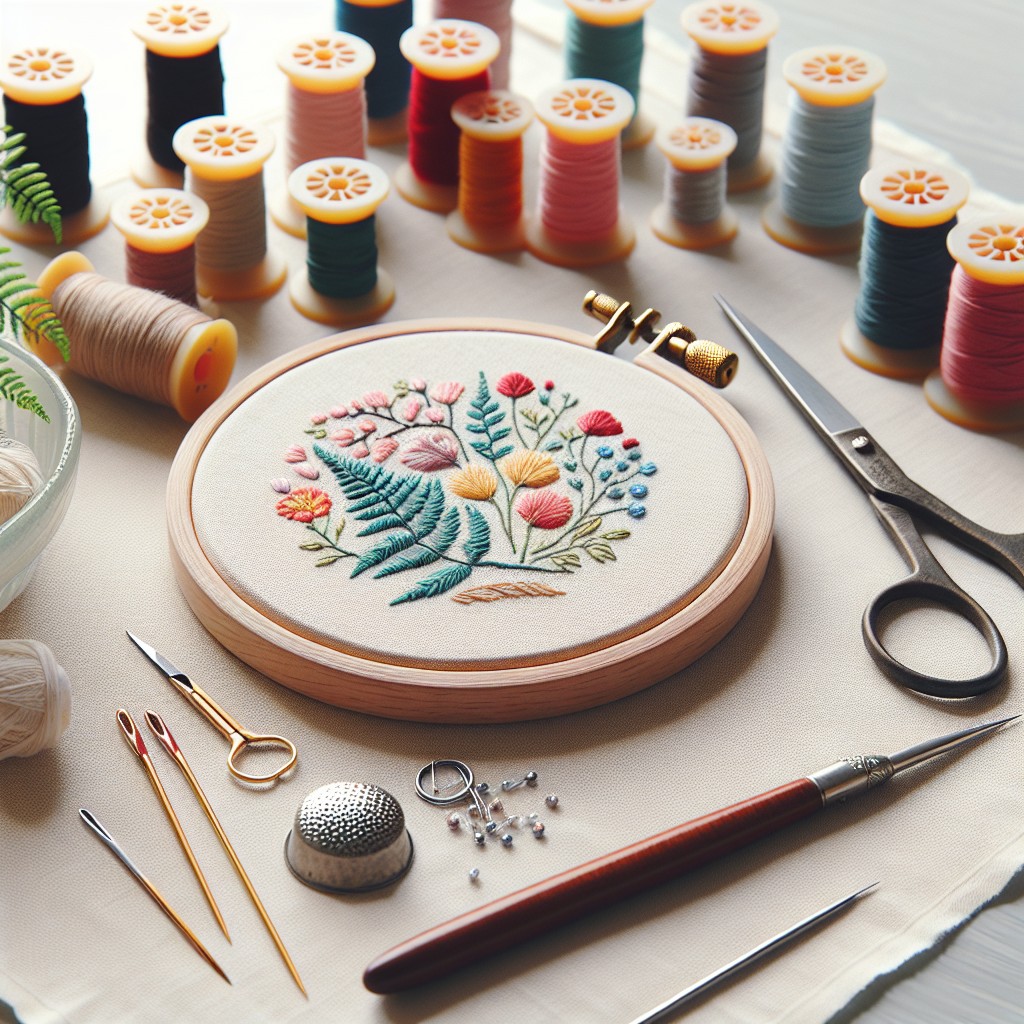 How to Finish the Back of an Embroidery Hoop: Step-by-Step Instructions