In this article, we’ll delve into the step-by-step process of connecting yarn when crocheting to ensure a seamless and sturdy result.
In the world of crocheting, connecting a new skein of yarn is an inevitable part of the process, whether you’re running out of your current skein or changing colors for a new pattern. The technique is straightforward and requires no additional tools other than your crochet hook and your hands.
One popular method is the “Russian Join,” which creates a seamless and knotless join, perfect for projects where you want a smooth finish.
In this article, we’ll walk you through this technique, as well as a few others, to ensure you have a variety of methods in your crocheting arsenal. From simple to more advanced methods, you’ll find all the details you need to master the art of connecting yarn when crocheting.
Key takeaways:
- Knotless method: Weave in loose ends for a seamless join.
- Wet/spit splice: Overlap yarn ends and rub together to felt.
- Russian join: Thread yarn through itself for a secure join.
- Magic knot: Slide knots together for a robust connection.
- Joining with last yarn over: Smooth transition with new yarn.
Understanding Different Methods of Joining Yarn
When connecting yarn, it’s crucial to understand that there are several techniques depending on the project, yarn type, and personal preference.
The knotless method involves weaving the new thread into your project. You start crocheting with the new yarn and leave the ends flapping, which you then weave back into the work later. This method offers a seamless transition but leaves loose ends that need to be carefully secured.
In a wet splice or spit splice, you overlap the yarn ends and rub them together with water or saliva as this prompts the yarn’s fibers to felt together. However, bear in mind that this technique only works with animal fiber yarns.
The Russian join method utilizes a threaded needle. You loop the yarn through itself, creating a secure, seamless, and knotless join, somewhat similar to the spit splice but without the moisture.
Then there’s the magic knot method, which allows you to connect two yarn pieces by forming two knots that slide together to create a robust join. This firm and well-fixed knot is unlikely to come undone with wear.
The choice of joining method will depend on the nature of your project, your expertise, and of course, the type of yarn you’re working with. Each method has its benefits, and you may find that one technique works better for you than the others.
Mastering the Russian Join in Crocheting
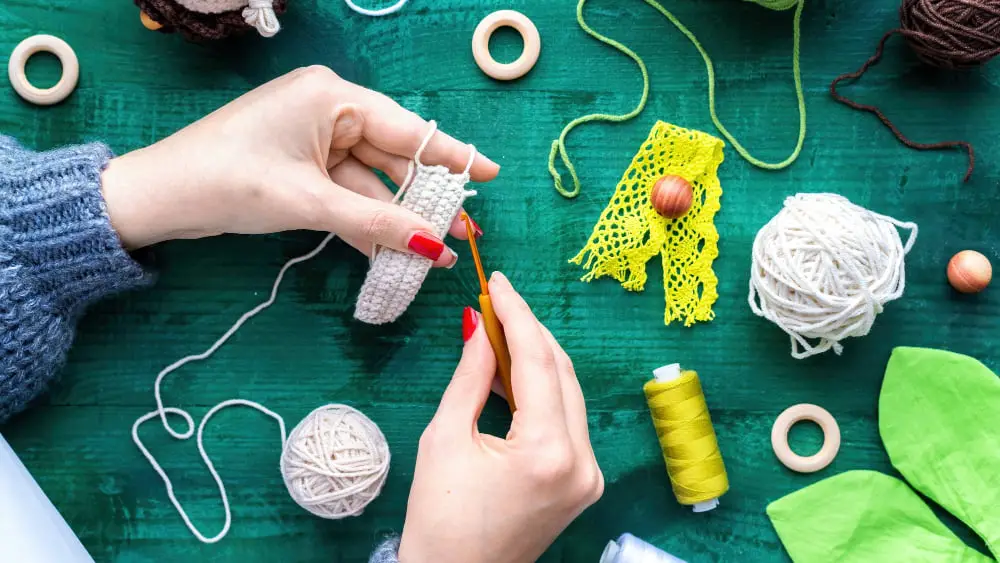
The Russian join technique provides a seamless and knot-free method for adding new skeins of yarn. This method eliminates the need to weave in loose ends.
Begin by threading the tail end of your current yarn piece through a yarn needle. Slide the needle through the yarn itself for a few inches, forming a loop.
Next, thread the start of your new yarn piece through the loop you’ve just made. Repeat the same process of threading the needle through the yarn. Gently pull both ends to tighten the join.
Finally, clip off any excess yarn, leaving a small tail to avoid unraveling. Verify the join’s strength by tugging on it slightly. This method can be particularly useful when working with smooth or slippery yarn types.
Remember, practice will enhance your skill at creating the Russian join, making it a go-to technique in your crochet work. Try this method out on different yarn textures for a better grasp.
Exploring the Magic Knot Technique for Yarn Connection
Creating a magic knot involves several precise, yet straightforward steps that ensure a secure connection between two lengths of yarn.
Start by pairing the ends of your yarns, ensuring they overlap. Make a loop with the first yarn over the second, then pull the end through to make a knot.
Repeat this with the second yarn over the first, effectively knotting both yarns together.
Pull both ends of the yarn to let the knots meet in the middle. Do this gently, but with just enough force to secure them.
Trim the ends closely, until only a tiny bit is visible. The beauty of the magic knot is that once it’s tightened and trimmed, it’s virtually invisible and won’t come undone.
Always remember that practicing this technique will help you become adept at efficiently joining yarns. With time, you’ll enjoy seamless crocheting with the magic knot.
Procedure for Creating a Felted Join in Crochet
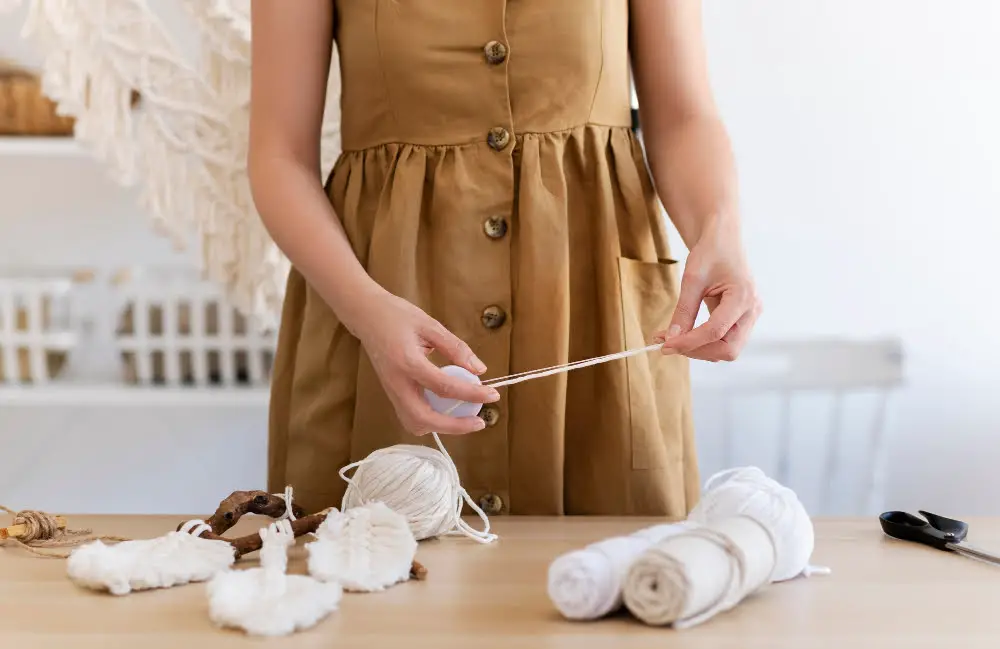
To execute a felted join, you’ll need a feltable yarn such as one of pure wool, comfortably warm soapy water, and your hands.
Begin by untwisting the end of the old yarn. This should expose the individual fibers within, making them ready for felting. Following this, take the end of the new yarn and repeat the untwisting to reveal its fibers too.
Next, join the two yarn ends by overlapping them, ensuring that the fibers intermingle. This merging of the fibers would lead to stronger bonding after felting.
Dip the intermingled yarn ends into your prepared soapy water. Your water temperature should be warm but not scalding to assist the felting process.
Now for the felting process, vigorously rub the wet yarn ends between your palms. The combined heat, soap, and friction will cause the yarns to felt together, thus securing the join.
Dry the felted join fully before you continue crocheting with it. This is to ensure the join is sufficiently strong, preventing it from coming undone during your crochet work.
Remember to always test your yarn’s suitability for felting beforehand as not all wools will felt well. Some may and some may not provide a strong enough join for your crochet project. If unsure, always opt for a knot method or a method where the yarn ends are worked into your crochet stitches.
Joining Yarn With the Last Yarn Over of a Stitch
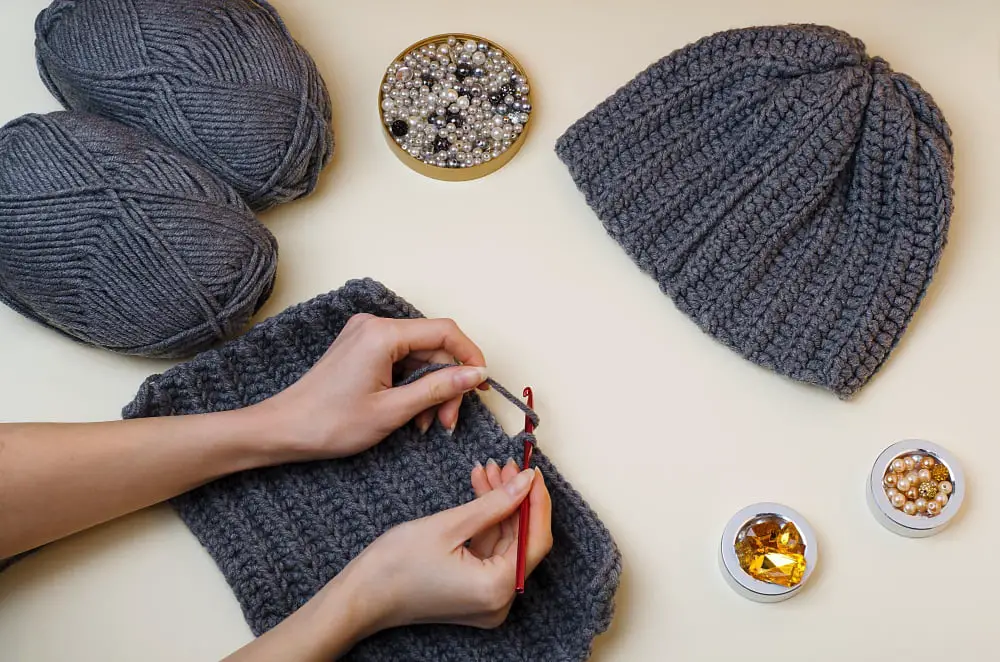
This method of joining yarn fits seamlessly into many types of crochet projects and allows a smooth transition between yarns.
The process begins when you get to the last step of the stitch before you want to join the new yarn. Usually, this is the final ‘yarn over and pull through.’
Firstly, set the old yarn aside and pick up the new yarn. Leave a tail of about 6 inches to ensure a secure join. This tail should be later woven in for a more polished look.
Instead of completing the last stitch with the old yarn, you do the final ‘yarn over’ with the new yarn. Turn the hook downwards to catch the new yarn and pull it through the loops on the hook.
The stitch is now complete with the new yarn, and you have joined the new yarn into your project. The remaining old yarn can be cut leaving a tail for weaving in.
It’s important to keep in mind that the tension of the stitches around the join area needs to be consistent with the rest of the project.
This is an unobtrusive method of joining yarn that can be employed in many crocheting projects with a successful outcome. Stitch markers may be used to remember where the yarn was joined if needed.
Ensure to always weave in the ends securely into the fabric, so the join is safe from unravelling.
Preventing Common Mistakes When Joining Yarn in Crocheting
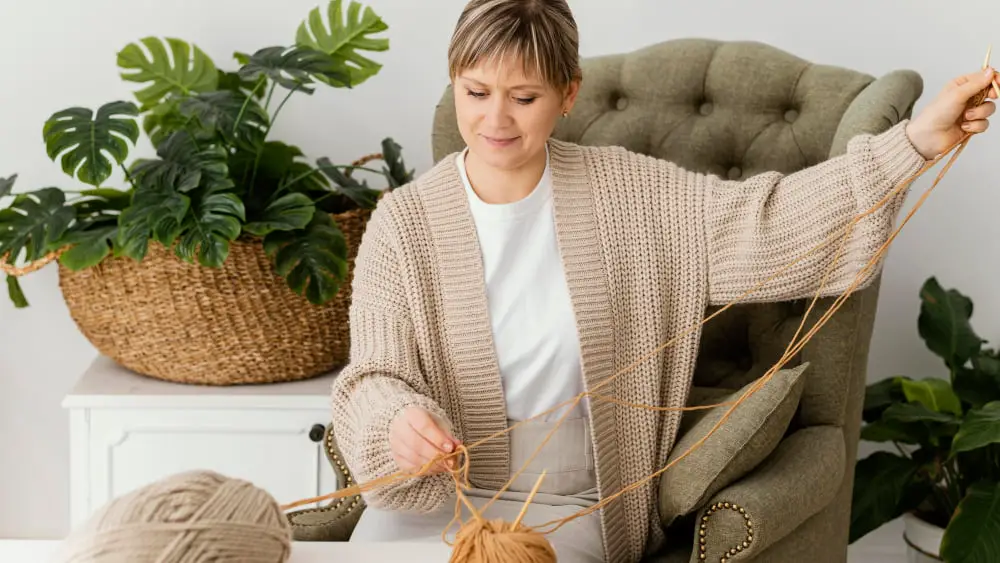
Avoid connecting yarn at the beginning or the end of a row, as these spots might make the join noticeable and disrupt your crocheting flow. Instead, aim for the middle where it blends more effortlessly.
When you are to join the new yarn, ensure that you leave a generous tail on both the old and new yarn. Anything less than 6 inches may be hard to weave in securely, leading to unraveling over time.
Avoid pulling the new yarn too tight at the join, this can lead to a stiff, uncomfortable section in the final product. Maintain an even tension as this will ensure the join blends into the rest of the work properly.
Remember to weave in the ends securely. If not tightly secured, the ends can come loose over time, affecting the finished project’s durability and aesthetics. Include this step in your project, taking your time to securely weave in all ends once finished.
Consider employing different techniques for different yarn types, as some methods suit certain yarn materials better than others. For instance, a felted join works best for 100% wool yarn, while a magic knot or Russian join may be preferable for slippery, synthetic yarns.
When possible, choose a joining method that will work well with the type of stitch you’re using. Some joins may be more noticeable with certain stitches, so test a few options on a sample swatch before committing to a technique.
Maintaining Pattern Consistency When Connecting Yarn in Crochet

While working with different colors in a crochet pattern, joining the yarn without disturbing the pattern flow is crucial. Here are some strategic ways to maintain consistency:
Consider the Pattern: If your work involves a pattern where color changes after every few stitches, prepare smaller balls of yarn for each segment. This way, you connect the yarn at the start of the segment, ensuring the color changes are consistent with the pattern.
Select the Right Stitch: When changing colors, ideally do it at the last yarn over of the last stitch in the old color. This makes the stitch in the new color solid and does not disrupt the pattern look.
Leave Enough Yarn: Always leave a reasonable tail at both ends, which you can later weave into the stitches seamlessly. It would help if you avoid abrupt yarn terminations, as they can influence the pattern’s uniform look.
Avoid Knots in Visible Areas: If you’re joining a new strand of yarn, even when using the same color, avoid placing the knot in conspicuous areas of your pattern design. Knots can distort the look of your crochet project. Therefore, plan ahead to position your joins in the least noticeable parts of your object.
Keep Tension Consistent: Ensuring the yarn’s tension remains constant is necessary when joining a new strand. Uneven tension can result in loose or overly tight stitches, which can affect the pattern’s overall look.
FAQ
How do you join crochet yarn?
To join crochet yarn, simply lay the new thread over the current row or round, stitch a few loops over it, then grasp the new string at the base of your stitch and move forward while interlacing over the former yarn for several loops, with the possibility of incorporating the tail ends as you proceed or stitching them in later.
What are the best techniques to change yarn colours in crochet?
The best techniques to change yarn colors in crochet are “fastening off”, where you cut the old yarn and start crocheting with the new color, and “carrying colors”, where the new color is introduced while the old one is carried along and hidden inside the stitches.
How can you avoid knots when joining a new ball of yarn in crocheting?
To avoid knots when joining a new ball of yarn in crocheting, use techniques such as the Russian join, the magic knot, or simply weaving in the ends to connect new yarn seamlessly.
What is the ideal method to weave in yarn ends after joining in crochet?
The ideal method to weave in yarn ends after joining in crochet is by using a yarn needle to thread the end through the stitches of the piece, back and forth a few times, to ensure it’s secured and hidden within the work.
