Discover the simple art of creating vibrant, versatile yarn tassels to add a whimsical touch to your knitting and crocheting projects.
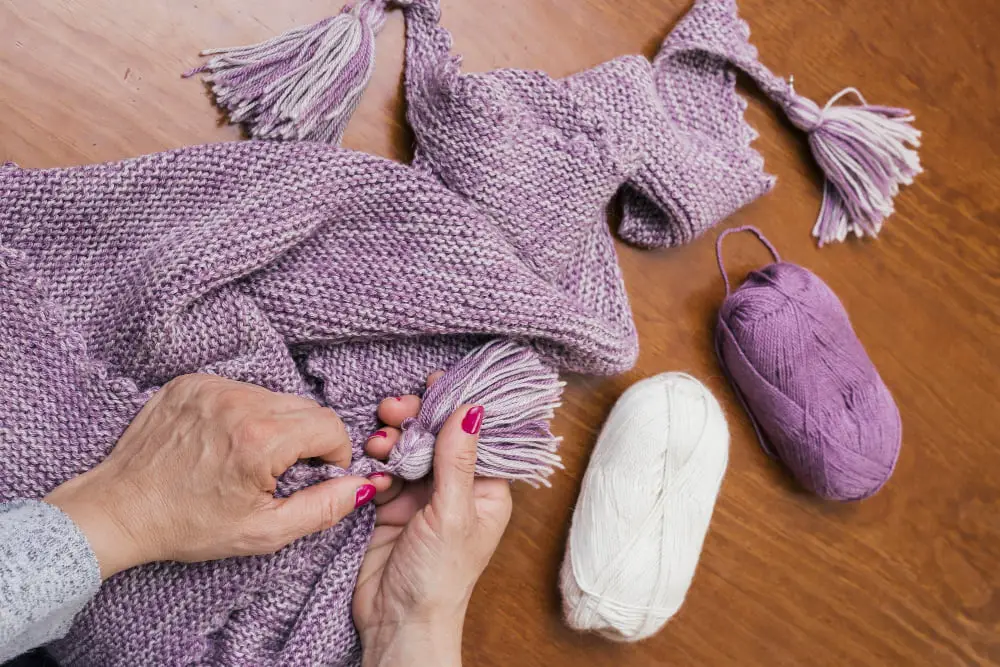
Creating yarn tassels is a fun and easy project that can be used to embellish various items such as scarves, blankets, and home decor.
In this article, you’ll find a simple step-by-step guide to making your own yarn tassels.
We’ll cover everything from choosing the right yarn, cutting it to the correct length, tying it off, and trimming it to create a neat and attractive finish.
Follow along to learn how to add a touch of creativity to your projects with these charming accents.
Key takeaways:
- Choose the right yarn for your tassels (wool, cotton, acrylic)
- Create a tassel template for uniformity
- Cut yarn for tassel formation (body, head, wrapping)
- Knot and secure the tassel top
- Trim the tassel for a clean, polished look
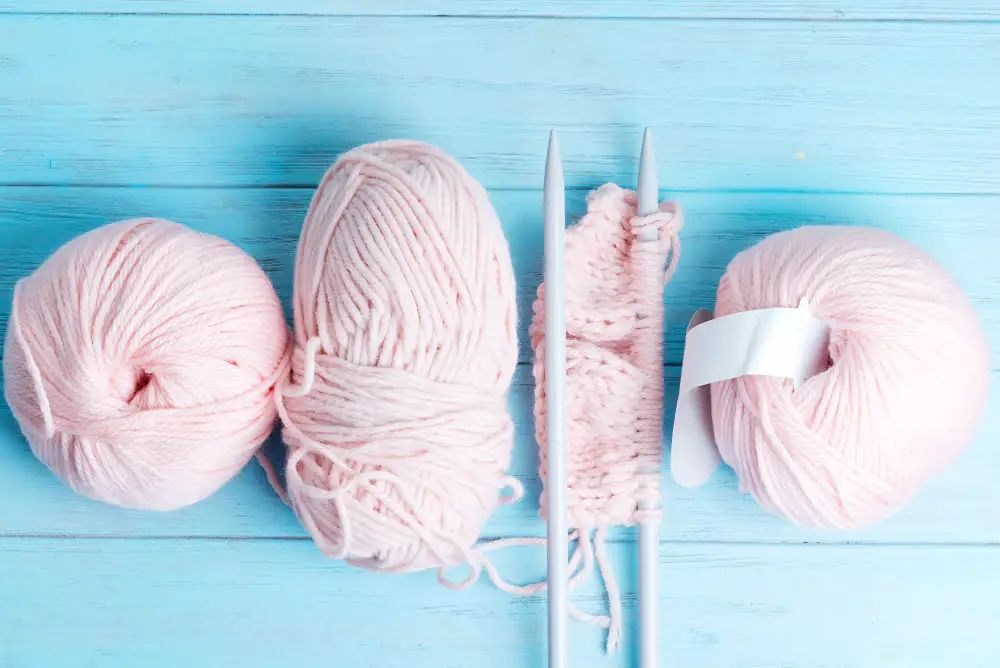
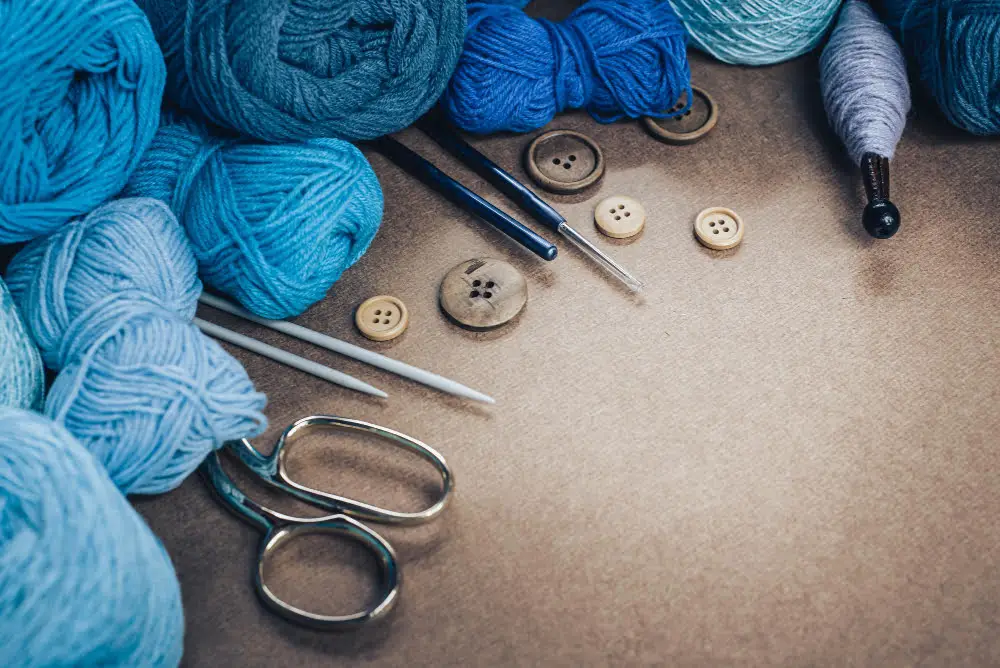
Supplies Needed for Yarn Tassels
To start creating exquisite yarn tassels, having the right supplies ensures ease and quality. Foremost, quality yarn in a chosen color is essential. Look for something durable and easy to knot. The size and type are subjective, depending on the intended use.
A tassel template might be beneficial, especially for first-time tassel crafters; however, a sturdy piece of cardboard can alternatively serve this purpose.
Scissors are necessary for cutting yarn and shaping the tassel. Ideally, choose sharp, craft-dedicated scissors for neat edges.
Lastly, a tapestry needle or yarn needle aids in making firm top knots and hiding loose ends, providing an elegant finish.
Bear in mind, a flat work surface and a well-lit environment contribute significantly to the quality of the final product.
Creating a Tassel Template
A suitable tassel template is essential to create uniform and well-sized tassels. Constructing a straightforward template isn’t difficult.
Find a piece of cardboard or firm paper and cut it to the desired tassel length. For instance, a 5-inch piece yields a tassel approximately 5 inches long. A smartphone or a small book can also act as a template if they match the intended tassel size.
Keep the height and width of the tassel top in mind before making the template, as oversized tops can look unsuitable for smaller tassels.
Once the template is ready, it’s usable for multiple tassels, ensuring uniformity in your crafting project.
Selection of Yarn for Tassels
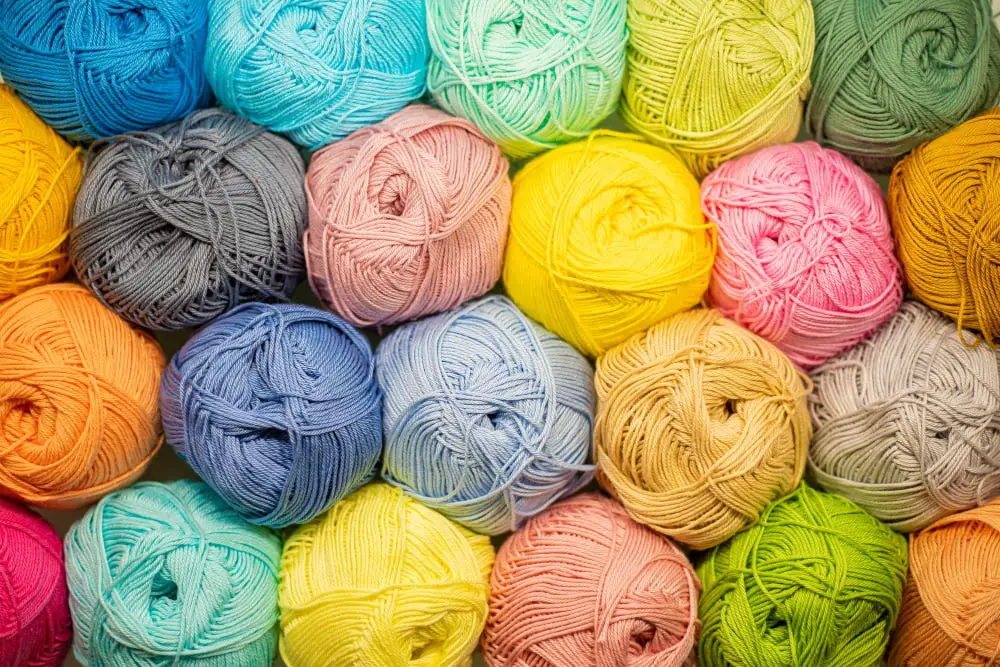
Consider the type and color of the yarn for your tassels, which plays a crucial role in the look and feel of the finished piece.
- Wool yarn is a versatile choice, offering a wide range of colors and great durability. It creates soft yet sturdy tassels.
- Cotton yarn yields stiffer tassels that maintain their shape over time.
- Acrylic yarn produces lightweight tassels and is available in many hues. It is also cost-effective.
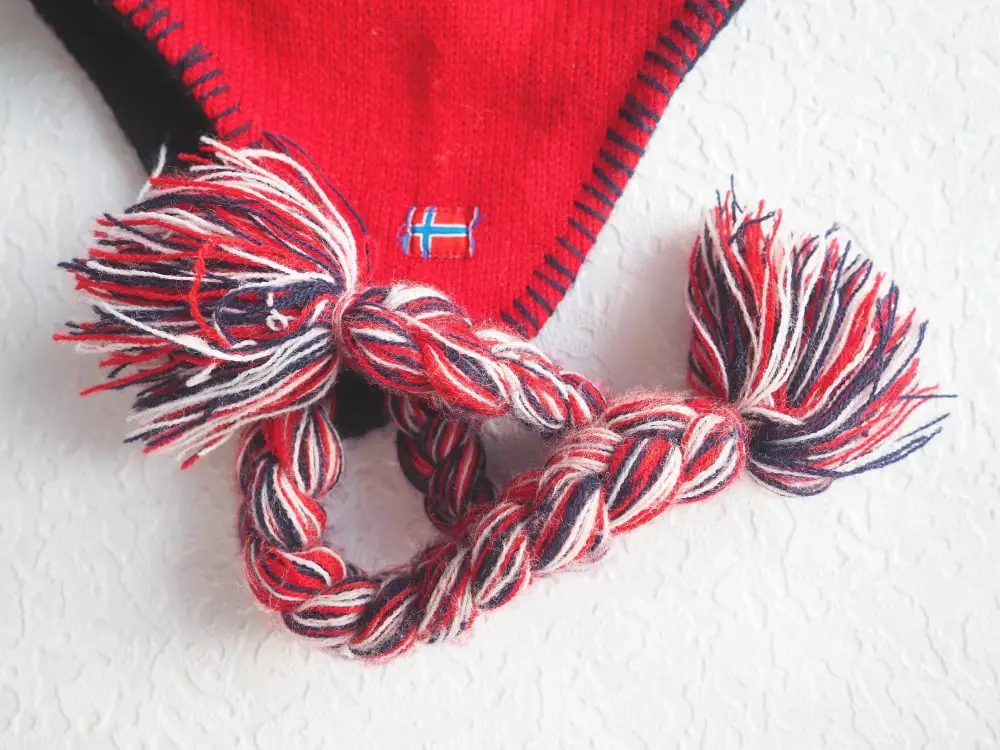
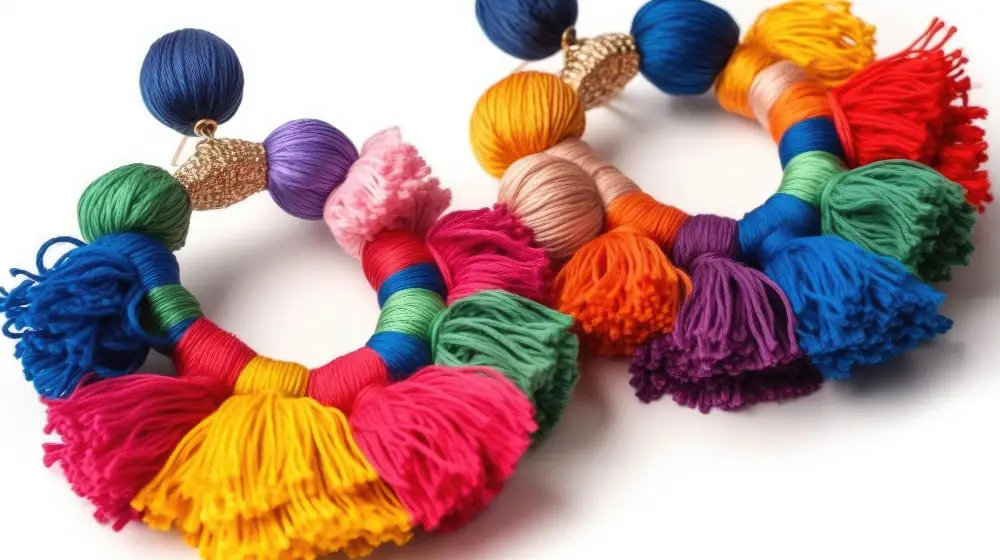
- Finally, the color of the yarn sets the tone of your design. A monochromatic color scheme can create a streamlined, elegant look, while multicolored or variegated yarn adds a playful, eclectic vibe.
- Always ensure you have enough yarn on hand to complete the project. A standard-sized tassel usually requires about 20 yards of yarn.
By understanding and comparing yarn characteristics, you can choose the type that best suits your desired tassel aesthetics and texture.
Process of Winding the Yarn
Start with a piece of yarn and tightly around your tassel template. Ensure this winding is even and dense for the best tassel appearance.
Make certain to hold one end of the yarn down so it remains secure through the winding process. Wind until your tassel achieves its desired thickness.
Once satisfied, cut the yarn from the skein, keeping one long piece aside for later steps. Remember, the thickness of the winding will directly influence the tassel’s fullness.
Avoid winding too loose or too tight; a firm and even wind leads to a fuller, more uniform tassel. Exercise patience for the best results.
Cutting the Yarn for Tassel Formation
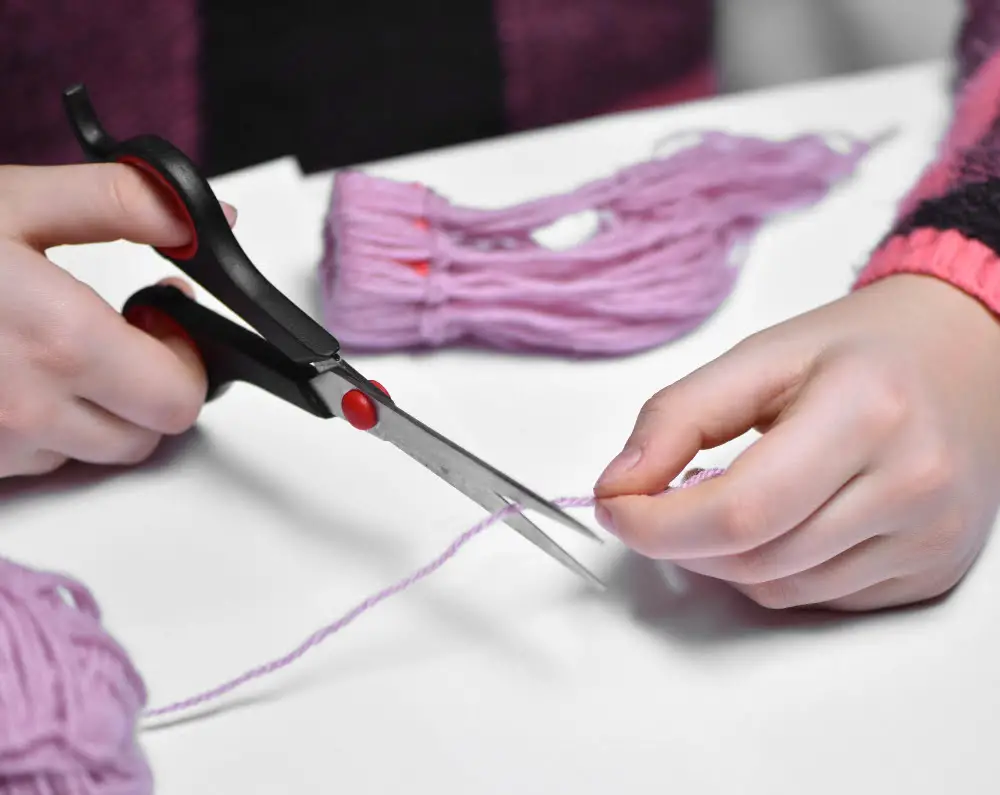
After you’ve effectively wound your yarn around your template, hold one end of the yarn in place and use your scissors to carefully cut along the opposite end of your template. This will result in multiple lengths of yarn all of the same size. These lengths of yarn will form the main body of your tassel. It is important to do this in a precise and cautious manner to ensure the yarn pieces are of uniform size.
To create the head of the tassel, cut a separate piece of yarn. This should be around 12 inches long to allow for comfortable handling. This will be used later to knot and secure the top of your tassel during the assembly process.
Lastly, for the part that wraps around the top of the tassel, cut another piece of yarn. This should be about 24 inches long to provide plenty of material to securely wrap and finish the tassel. Ensuring enough length for this piece will make the process easier and more secure.
Before moving on to the next step, check that you have three separate elements: multiple lengths of evenly cut yarn for the body, a longer piece for the head, and the longest piece for wrapping the tassel top. This will simplify your tassel making process.
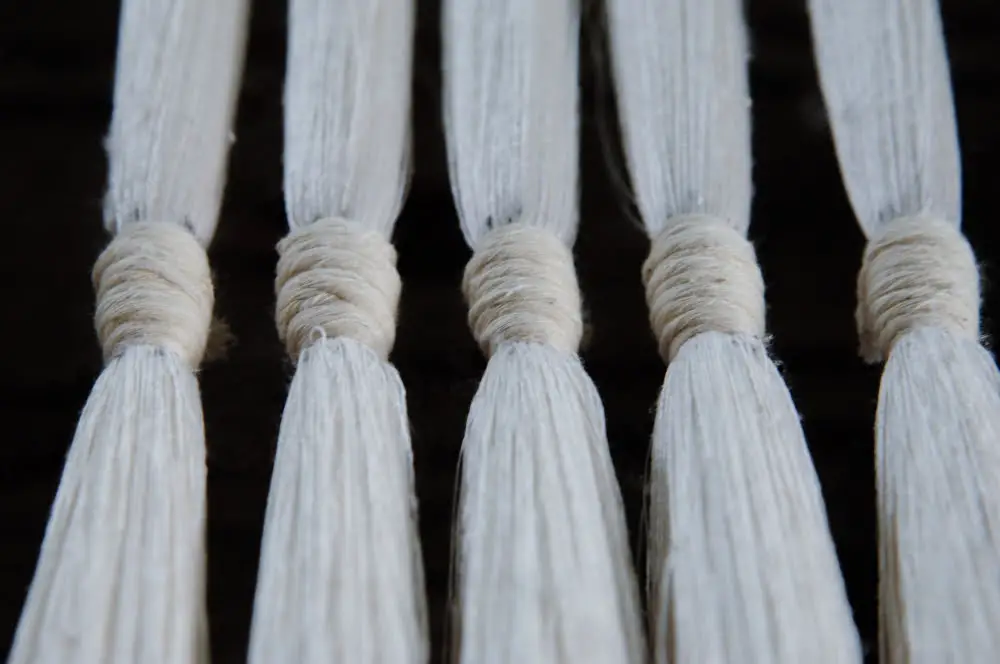
Technique for Knotting the Tassel Top
After winding the yarn onto your template, carefully cut it along one end, maintaining a firm hold on the opposite side. Prepare a separate piece of yarn long enough to form a secure head for your tassel. At this stage, you might find it useful to have an extra set of hands, but it’s also possible to accomplish on your own.
Once you’re ready, tie the separate string tightly around the top of the bundled yarn close to the end that remains uncut. This forms the tassel’s head. Be sure to use a strong knot – a surgeon’s or square knot works very well for this step.
Next, you’ll want to securely position the long end of the string you just tied, ensuring it’s nestled within the rest of the yarn bundle. This will keep the tassel’s head in place, add to its overall durability, and make it easier to attach to your crafted piece.
Then, finally, verify your knot is secure and the string has been embedded in the bundle. Your aim here is to create a neat tassel head that forms a good base for the following step: wrapping and knotting the tassel.
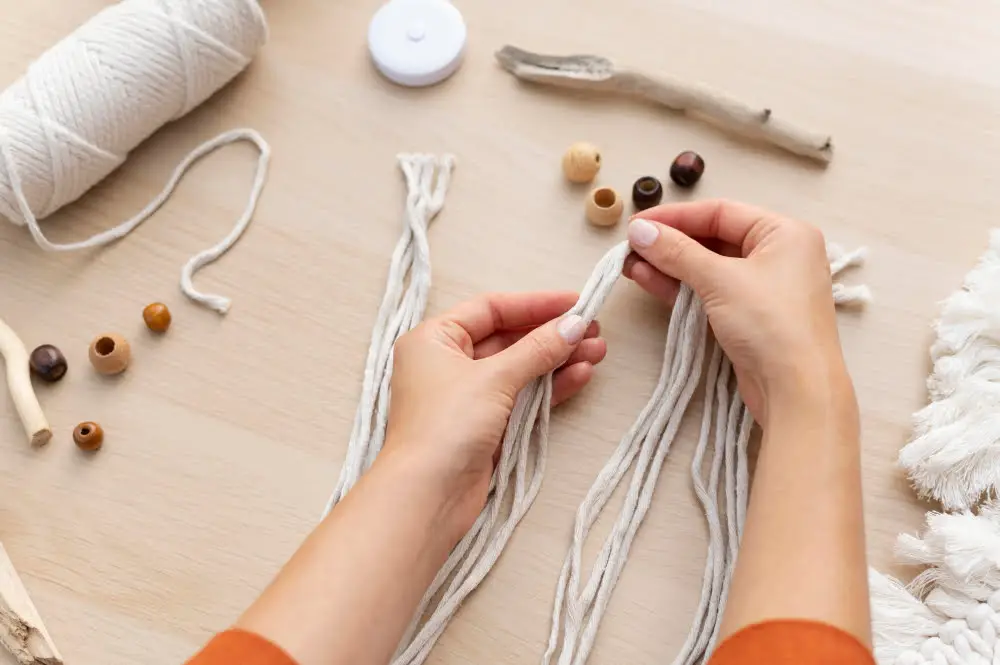
Steps to Wrap and Knot the Tassel
Begin with a long piece of yarn, roughly 12 inches. This will serve as the tie for your tassel. Position this yarn at about the midpoint along the top of your wrapped yarn bundle. Tie a tight knot and ensure it is secure.
With the tassel top secured, you can now cut the loops at the bottom of your bundle. Ensure to keep your cuts even, this will help create a more uniform tassel.
Once your tassel has been cut free from the bundle, spread out the yarn ends. In the center of these ends, tie another piece of yarn to create the “head” of the tassel. Wrap this yarn around multiple times, again, make sure it is tight and secure.
Lastly, weave in any ends from your tying yarn. You can use a large eye needle for this step. The thread that went around the tassel head gets tucked neatly into the body of the tassel, keeping all aspects securely fastened.
Methods to Hide the Ends of Tassel
Once you have wrapped and knotted, there will be loose ends that will require tucking for a neat finish.
Take the longer end of the yarn that was used to wrap and knot the tassel’s top. Thread this end into a yarn needle or a similarly usable device to guide the yarn.
Slide the needle down into the center of the tassel’s bulk. Ensure that it comes out near the bottom of the tassel, then pull the thread tightly.
Repeat this step with the shorter yarn thread. However, ensure it exits at a different level within the tassel to disperse the threads evenly and keep them hidden.
Finally, snip off any extra lengths protruding from the bottom of the tassel to blend with the rest. If done correctly, these ends should stay hidden within the tassel, giving it a clean, polished look.
Remember, neatness and precision are vital to produce a high-quality yarn tassel.
Techniques for Trimming the Tassel
Maintaining an even cut for the tassel’s end enhances its overall aesthetic appeal. This can be achieved with a few easy steps.
To begin with, lay the tassel flat on a table with the loose ends fanned out. Use sharp crafting scissors for precision to ensure a straight cut. Snipping slowly and deliberately is vital to avoid removing too much yarn at once.
Now that the tassel is laying evenly, begin using the scissors along the edge of the tassel to create a straight line.
It is often helpful to rotate the tassel after the initial cut, this enables viewing from different angles, ensuring even roundness.
Finally, as an optional step, you can introduce a gradient effect by snipping the yarn ends at an angle. This adds an element of sophistication and style, accentuating the overall shape of the tassel.
Just remember, practice makes perfect, and in time, trimming tassels will become second nature to your yarn craft endeavours.
Choosing Appropriate Yarn for Tassels
Before embarking on tassel creation, the first critical decision rests on the selection of yarn. It’s a determinant of the tassel’s final look, feel, and longevity.
Consider the yarn’s fiber content. Natural fibers like cotton, wool, or silk offer a distinct, luxurious touch. These materials can be more challenging to work with but deliver a high-end finish. They’re excellent for home décor or fashion accessories.
Acrylic or blended yarns, on the other hand, are a more affordable and user-friendly option. They’re typically easier to manipulate, making them suitable for beginners or for crafting numerous tassels for large-scale projects.
Remember, yarn thickness affects the tassel’s volume. Thin yarn will result in a slender, delicate tassel, while thicker hanks will produce a bold, full-bodied tassel.
The yarn’s texture is an element not to bypass. Smooth yarn will provide a sleek, uniform tassel, while textured or variegated yarn can produce more unique, visually interesting tassels.
Lastly, consider the color. Solid colors are classic and versatile, but don’t shy away from color-changing yarns or bright, contrasting hues, especially if you’re aiming for a vibrant or playful look.
In this stage, it’s important to allot ample time for deliberation as each factor contributes to how your tassel turns out. Be mindful of the project’s needs, your skill level, and your personal preferences in making the most appropriate yarn choice.
FAQ
How do you make a string tassel?
To make a string tassel, cut a winding board from heavy card stock, wind the thread around the board in taut loops until the desired fullness is reached, keeping in mind the tassel will be twice as full as the loop around the board.
How do you tie a yarn tassel?
To tie a yarn tassel, loop yarn several times around a piece of cardboard, knot a separate yarn piece at the top and another at the neck of the loop, then evenly trim the lower end of the tassel.
What are the best types of yarn for creating tassels?
For creating tassels, the best types of yarn are medium to thick weight yarns, such as worsted, aran, or bulky, known for their durability and ability to hold shape well.
How can you incorporate tassels into your knitting projects?
Tassels can be incorporated into knitting projects by attaching them to the ends of a scarf, the corners of a blanket, or the tops of a knitting bookmark.
What are some creative color combinations for yarn tassels?
Blue and yellow, red and gold, turquoise and brown, or pastels like baby pink and mint green can make creative color combinations for yarn tassels.


