Discover the simple steps to adding yarn seamlessly while crocheting to ensure your project remains smooth and even.
Adding yarn when crocheting is a common need, especially when working on larger projects or when you run out of your current skein. The process is simple and seamless, ensuring that your crochet work remains neat and consistent.
This article will guide you through the steps of adding yarn to your crochet project, from choosing the right moment to make the addition, to securing the new yarn and continuing with your pattern.
This comprehensive guide ensures that the transition between skeins is invisible in the finished product, maintaining the overall aesthetic of your crochet piece.
Key takeaways:
- Select new yarn color or texture
- Crochet until six inches of current yarn remain
- Lay new yarn over hook and pull through to create loop
- Continue crocheting with new yarn, ensuring ends are secure
- Weave in ends properly for a neat and secure finish
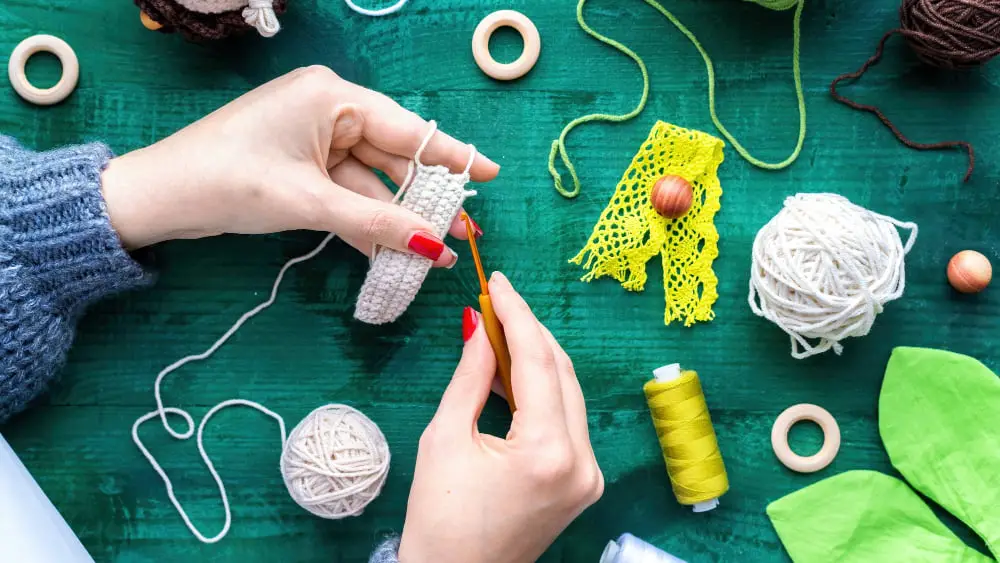
Adding New Yarn in Crochet
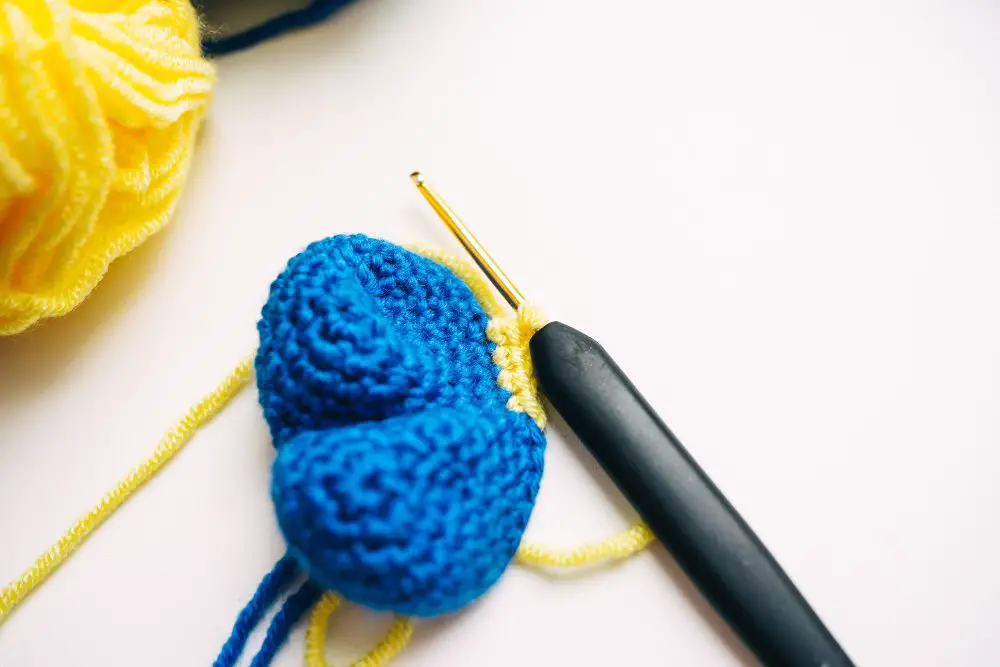
Adding new yarn during crocheting is relatively straightforward:
1. Select the new yarn color or texture you wish to incorporate into your project;
2. Crochet until you have approximately six inches of your current yarn left, this will allow room for tying and weaving in ends;
3. Lay the new yarn over the top of your hook, leaving a six inches tail. Pull through the new yarn to create a loop on the hook – this is the first loop with your new yarn;
4. Continue crocheting as normal with the new yarn. Pay careful attention during the next few stitches, as it can be a little tricky to keep the yarn ends secure;
5. Once you have crocheted a few stitches with the new yarn, stop and check that the ends are still secure. If necessary, tug on the ends gently to tighten them.
This is a simple technique but following this approach will ensure that your yarn change is secure and will not unravel in your finished project.
Step-by-step Guide for Adding Yarn Using the Magic Knot Method
Begin with two yarns, the working yarn and the new yarn you wish to add. Place the ends of these two yarns together, parallel to each other going in opposite directions.
On the working yarn end, create a loop around the new yarn, ensuring the end of the working yarn goes underneath the new yarn.
Proceed by passing the working yarn end through the loop you’ve created, effectively forming a knot around the new yarn. Make sure to slide this knot towards the end of the new yarn, leaving just a small tail.
Repeat this process with the new yarn’s end, forming a similar knot around the working yarn.
Firmly hold both yarn ends and pull until the two knots touch, creating a secure and unnoticeable join.
Upon completion, trim the short ends left from each knot to finalize the magic knot join.
To integrate the new yarn into your crochet work, simply continue crocheting as normal, treating the magic knot as part of the working yarn.
This particular method is valuable as it does not unravel easily and provides an almost invisible join in your crochet project.
Implementing the Russian Join Technique in Crochet
To begin the Russian Join, ensure you have your two pieces of yarn ready – the one you’re currently working with and the new one you’re adding. Follow these simple steps:
- First, thread a loop of the old yarn through a yarn needle, leaving a tail of about 6 inches.
- Next, insert the needle back into the loop, going in the same direction to entwine the yarn onto itself.
- Pull the yarn through, leaving a small loop on one end.
- Thread the new yarn through the needle, and then pass it through the loop you just made. Make sure you leave a similar 6-inch tail.
- Repeat the process of entwining the new yarn onto itself, just like you did with the old yarn.
- Now, pull the new yarn through, closing the loop of the old yarn. This should create a join between the two yarns.
- Lastly, continue crocheting with the new yarn.
You will need to trim the excess yarn ends, but leave enough to weave into your work later with a yarn needle. Forestalling the trim allows the yarn ends to secure well after some rounds of crocheting.
This technique is incredibly secure and saves the step of having to weave in ends later, making it popular among many crocheters. Furthermore, this method is unnoticeable in the final piece, hence maintaining the aesthetic appeal of your crochet item.
Understanding the Felted Yarn Join Process in Crochet
To start the felted yarn join process, ensure that both yarns are 100% wool. This method won’t be effective with synthetic yarns. Ravel about 2–3 inches from the end of each yarn; you’ll get a fluffy end.
Soak these ends in warm water to dampen them. Rub the damp ends together in the palms of your hand. The heat, moisture, and friction create a felting effect that sticks the ends together.
Behold the magic of the felted join: There’s no knot, just an area slightly thicker than the rest of the yarn. As you continue your crochet work, this section blends in seamlessly, almost unnoticeable.
Keep in mind that this join might not hold up to heavy wear or machine washing. It’s a fantastic join to use on work that will be framed or not subject to heavy use. Always perform a couple of trial joins to ensure they hold up to your satisfaction before progressing with the finished item.
Effective Methods to Secure the Join in Crochet
First, it’s crucial to grasp that the key to a secure join is having a firm knot, regardless of the method used. When joining new yarn, ensure that the old and new ends are fastened together securely. This way, they won’t unravel or loosen as continued work in the project.
In most instances, a simple overhand knot is found to be effective. Make sure the new yarn overlaps with the old yarn by at least a few inches, then tie them together. This method is quite straightforward, yet it provides considerable security and simplicity.
You may also choose to use a slip knot for added security. This involves creating a loop with the new yarn, sliding it onto the crochet hook, then pulling it through the last loop of the old yarn. This not only secures the new yarn but also keeps your work seamless and smooth.
An alternative method is the invisible join, ideal for preparing for a color change. To implement this, cut the old yarn, leaving a long tail, and thread it onto a tapestry needle. Pass the needle under the top two loops of the next stitch and pull through. Then insert it back into the center of the last stitch worked and pull tight until the stitch mirrors the height of the others.
Whichever method you use to secure the join, always remember to neatly weave in the loose ends. This ensures a polished result without loose threads popping out.
Weaving in Ends Appropriately When Adding Yarn in Crochet
Weaving in ends properly is a crucial part of adding new yarn to your crochet project. It ensures that your work is secure and neat.
Start with using a yarn needle. Thread the yarn tail on this needle before you start weaving.
Aim for weaving the yarn in multiple directions. This means going one way and then doubling back to create a secure finish.
Utilize the stitches available. Weave the yarn through the stitches on the backside of the work. To create a more secure finish, thread the yarn under both loops of the stitches.
Ensure your woven ends are invisible. Always weave the yarn on the wrong side of your work to keep it from showing.
To prevent any pull, gently stretch your crochet work after weaving in the ends. This relaxes the fabric and helps hide the yarn tail.
Avoid cutting the yarn right where you finish weaving it in. Leave some of it visible – a small tail will be absorbed into the work over time, or you can trim it after a few uses or washes.
By weaving in ends in this manner, you enjoy a nearly seamless transition from an old ball of yarn to a new one, minus the unsightly knots usually associated with adding new yarn. This helps in maintaining the overall appearance of your crochet work.
Addressing Common Challenges in Adding Yarn in Crochet and Solutions
One challenge often faced is yarn ends popping out after a few wears or washes. This can be mitigated by leaving a longer tail end when changing yarn and weaving it in multiple directions through the stitches. This way, the tail end is less likely to work itself loose.
Another issue is the inconsistency in tension at the join point. To avoid this, do not pull the new yarn too tightly. Ensure there’s enough slack so the new yarn’s stitches match the tension of the previous yarn’s.
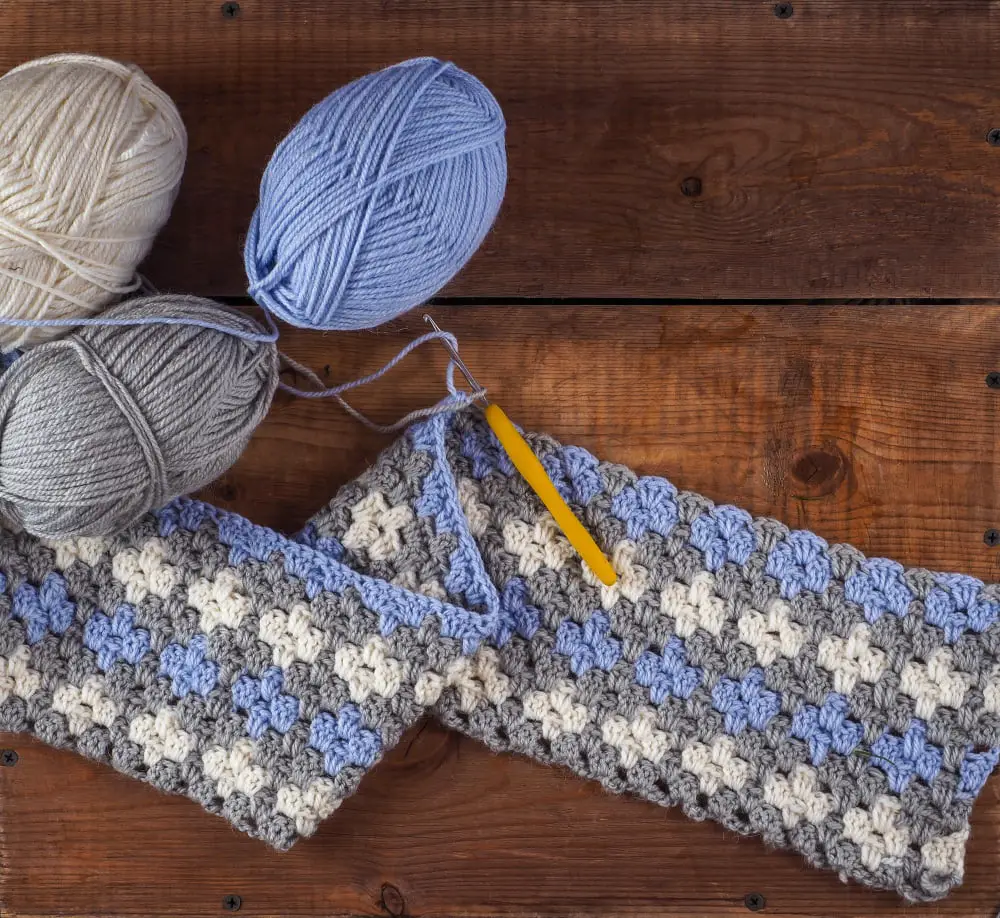
Color transitions can also pose a challenge. To ensure a smooth transition, consider changing the yarn at the end of a row or round, rather than in the middle.
A smaller but equally bothersome problem is having too many ends to weave in. One solution is to work over the yarn ends as you crochet. This can be done by holding the yarn ends along the top of the row or round and crocheting over them.
Last but not least, knotting the new yarn to the old one might create an unsightly bulge, especially in finer crochet projects. Techniques like the magic knot or the Russian join help to minimize this issue. Both methods create more secure and less visible joins — they require some skill but are worth learning.
FAQ
How do you join yarn in the middle of a row in crochet?
Joining yarn in the middle of a crochet row involves continuing to work with the old yarn until only about 36 inches remain, stitching over the end of the new yarn, and then changing to the new yarn within the stitch.
What are the different techniques to add a new color yarn in crochet?
In crochet, you can add a new color yarn through techniques like the Russian join, the magic knot, the braided join, simply tying the two ends together, or by crocheting over the new yarn.
How do you secure ends when joining a new yarn in crochet?
To secure ends when joining a new yarn in crochet, simply tie the new strand and the old strand together in a tight knot, continue crocheting with the new yarn, and weave in the loose ends later.
What steps should you follow to prevent yarn knots when adding new yarn in a crochet project?
To prevent yarn knots when adding new yarn in a crochet project, join the new yarn to the old one by interlocking loops or by using a Russian join, ensuring that the knot is secure but not overly bulky, and then continue your crochet pattern as usual.
Related Posts
 Easy Crochet Gnome Pattern Free: Transform Yarn into Whimsical Friends
 Crochet Star Blanket: A Stellar DIY Guide
 How to Crochet Slippers for Beginners Step by Step with Pictures: Cozy Feet Awaits
 Adjustable Ring Crochet: Master the Magic Circle
 How to Crochet Without a Hook: Hands-On Creativity