Immerse yourself in the world of yarn crafts by learning how to create unique and interesting voodoo dolls using simple crochet techniques.
Creating yarn voodoo dolls can be a fun and creative project that combines the artistry of doll-making with the craft of yarn manipulation. This guide will walk you through the process, starting from selecting the right yarn, creating the doll’s structure, wrapping the yarn, to adding distinctive features.
Whether you’re a seasoned yarn crafter or a beginner, you’ll find the steps easy to follow. By the end of this article, you’ll have all the information you need to create your own unique yarn voodoo doll.
Key takeaways:
- Gather essential materials for yarn voodoo doll creation.
- Create the skeleton using wire and yarn.
- Wrap the doll tightly with yarn, ensuring even coverage.
- Use glue to secure the yarn and add decorative elements.
- Design and add clothing and accessories to personalize the doll.
Required Materials for Yarn Voodoo Doll Creation
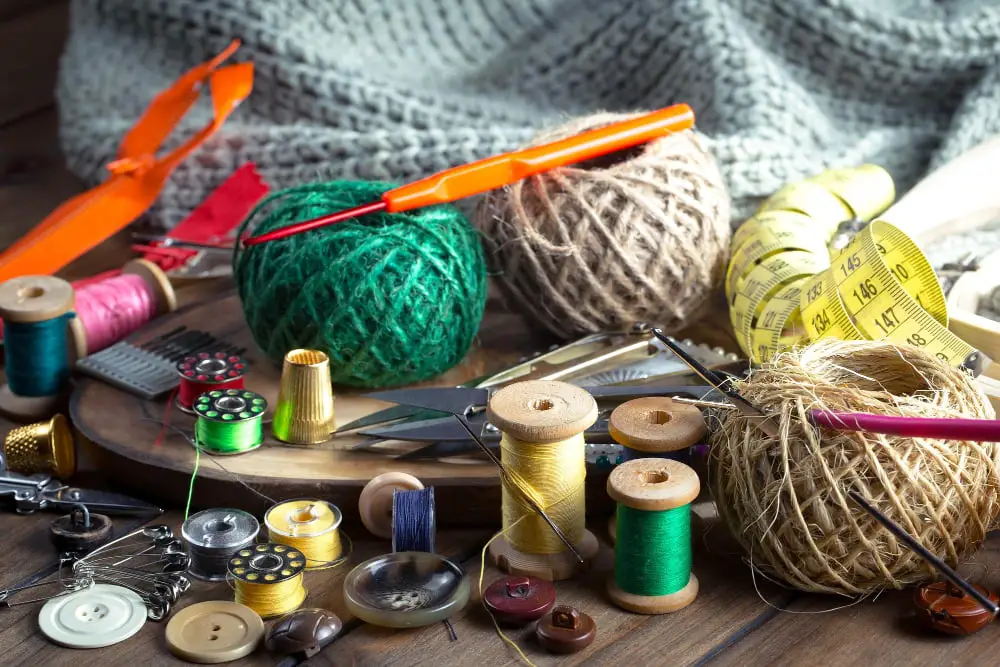
To begin making a yarn voodoo doll, it is crucial to gather all the essential materials required:
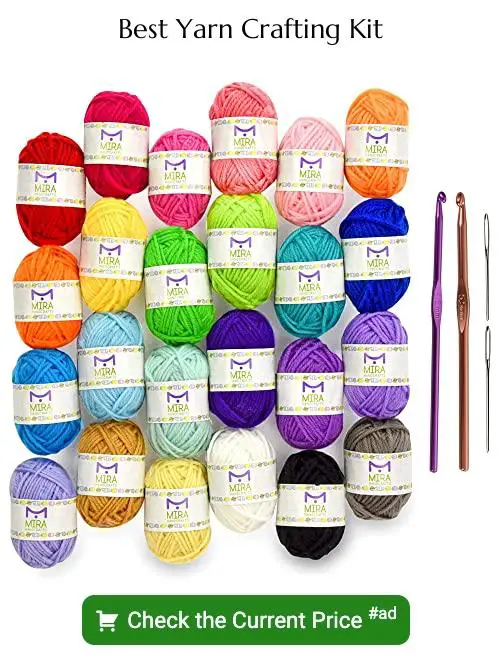
Yarn – A skein of yarn is the cornerstone of this project. Opt for a comfortable texture in a color that appeals most.
Stiff Wire – The wire forms the framework or skeleton of the yarn voodoo doll, providing the needed rigidity.
Craft Glue – This is used to secure the yarn wraps and any added decorations firmly.
Scissors – A good pair of sharp scissors is critical for cutting the yarn and wire.
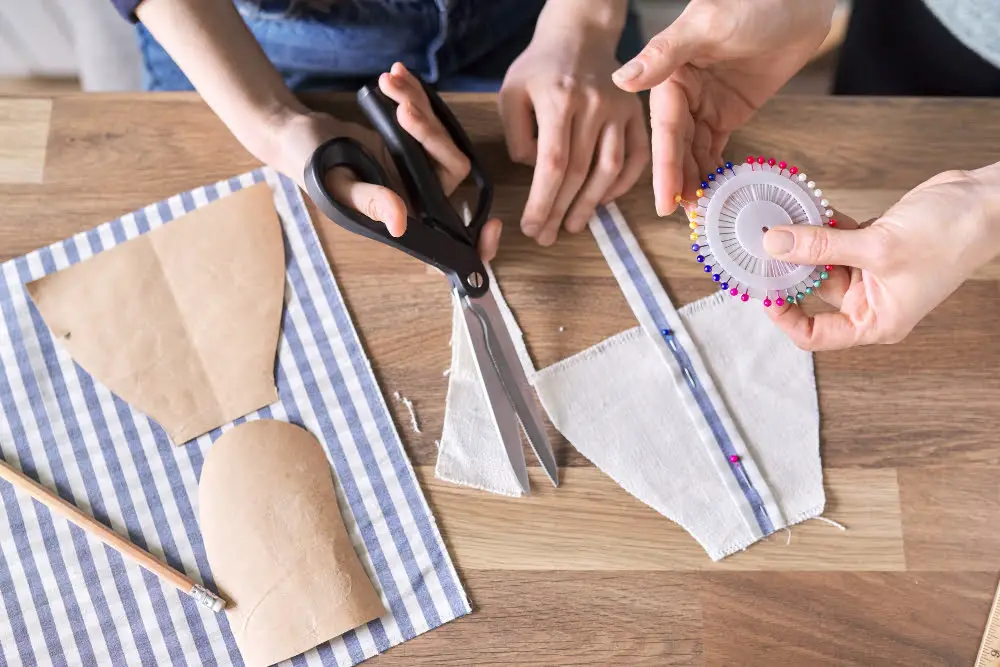
Cloth Material – This will be used to dress the voodoo doll.
Decorative Items – These are key to personalizing each doll. Options can include beads, buttons, ribbons, and other small craft items.
Needle and Thread – This is essential for sewing the cloth onto the doll for its attire.
Remember, it’s important to use high-quality supplies for a durable and good-looking yarn voodoo doll.
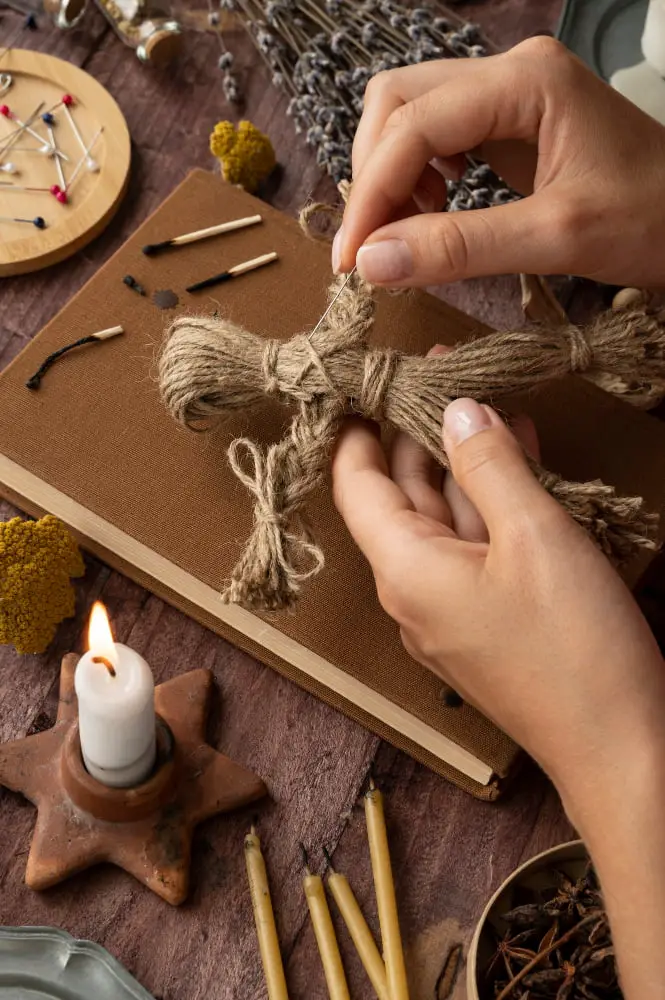
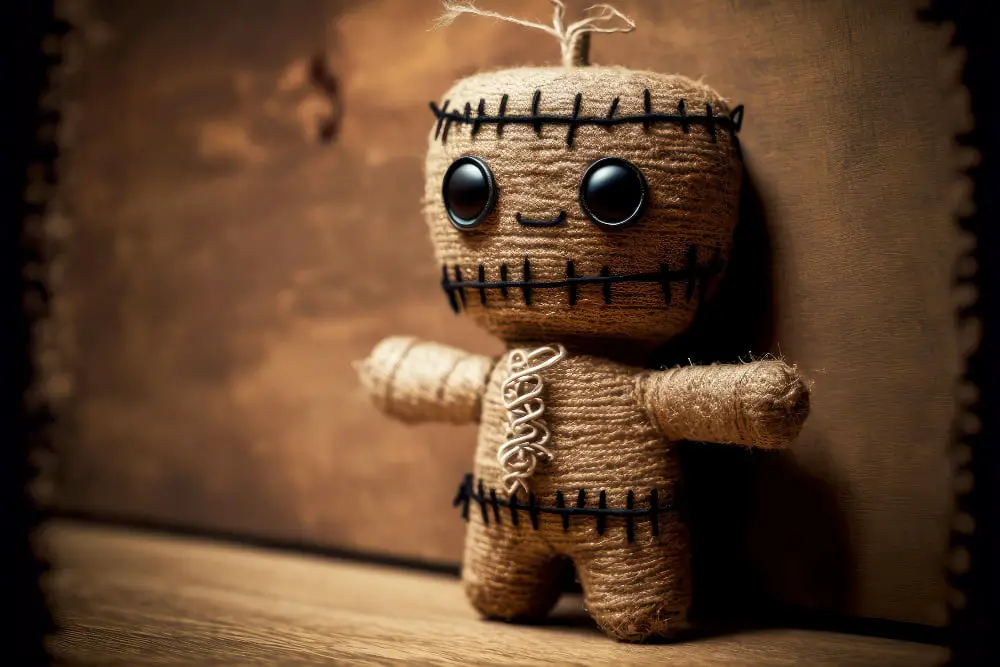
Creating the Skeleton for Your Yarn Voodoo Doll
Start with two equally-sized pieces of wire, ideally not too thick. They should be flexible enough for you to mold without too much strain, but sturdy enough to hold the shape. Bend each wire piece into a U shape, these will be the arms and legs.
For the head and body, roll a small amount of wool into a ball for the head, and a slightly larger one for the body. Attach these to the wire limbs using more wire or string, making sure they’re secure.
Remember, the skeleton doesn’t have to be perfect. Its purpose is to provide shape and a base to your doll. Adjustments can be made until you’re satisfied with your skeleton’s shape, just ensure it is secure enough to withstand the following steps of wrapping and decorating.
Process of Wrapping or ‘Mummifying’ Your Voodoo Doll
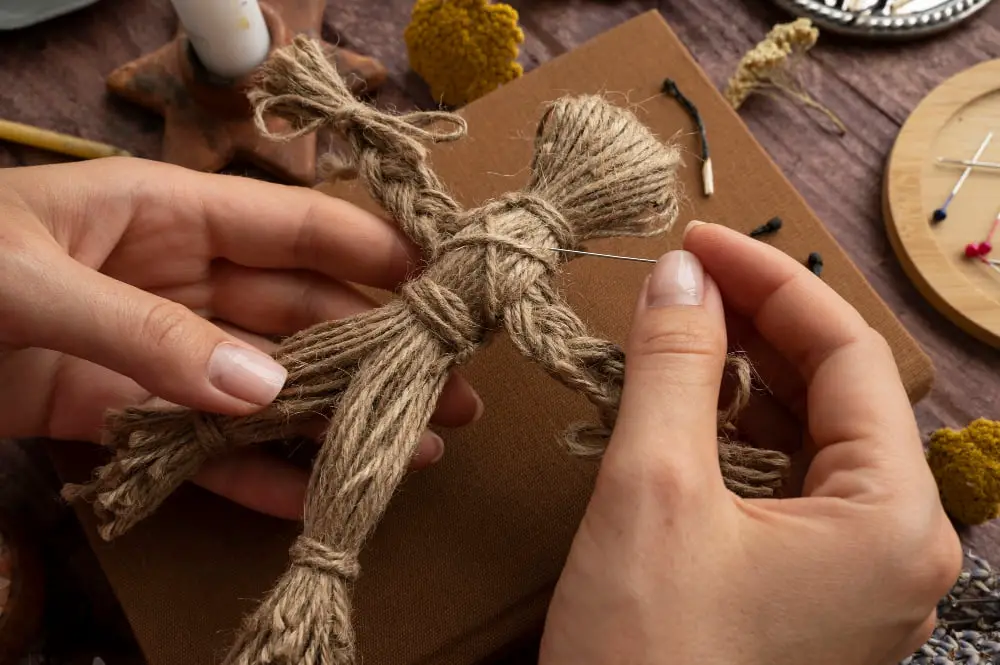
Begin the wrapping process at the legs, tightly winding the yarn around the pipe cleaner base. This creates the core form of the doll, resembling a mummification process. It’s advised to utilize smaller lengths of yarn, around one yard each, to prevent tangling during this procedure.
Ensure to overlap the yarn during wrapping to secure it in place, and hence establish a solid base for the doll proportions. Cross the yarn on the back and front of the doll for an even coverage.
The torso is next, starting from the waist and moving up. Wrapping should end just underneath the ‘neck’ of the doll. The yarn can be fastened off by threading it through the wrapped yarn on the doll’s back. Repeat the process for the arms starting from the shoulder down to the fingertips.
For the head, carry on the mummifying process by wrapping it in a circular pattern until a satisfactory size is achieved. To finish off, hide the ending of the yarn inside the head wrapping, making sure it’s secure to prevent unravelling.
Remember, consistency in wrapping is crucial for an aesthetically pleasing voodoo doll. Firmly wrapped yarn also ensures longevity of the doll. Keep the wrapping tight and evenly spaced to maintain the shape and size of the doll. Lastly, it’s always a good idea to have extra yarn on hand in case of any mishaps.
Using Glue in the Yarn Voodoo Doll Creation Process
During the creation process, glue plays a pivotal role, not just for decoration but indeed the doll’s stability.
Firstly, it’s crucial to choose a strong adhesive, particularly a fabric or craft glue, resistant to wear and tear. This ensures longevity of your doll.
The initial application of glue comes in when securing the yarn skeleton. Apply a thin line of glue along the last wrap of yarn, pressing it lightly to ensure firm holding.
The technique known as ‘mummifying’ your doll, involves wrapping the skeleton with multiple layers of yarn. Here, you intermittently apply small drops of glue as you overlap the yarn layers, enhancing the doll’s durability.
During the decoration phase, glue is used to attach elements like clothing or accessories. This adds personality and a unique touch to your piece.
Remember not to overuse glue, as it may make your doll stiff or may seep through the yarn, spoiling the appearance. Always give ample drying time between each glue application.
Designing and Adding Clothes to Your Yarn Voodoo Doll
Begin by choosing the type of clothing desired for the doll, it can range from dresses to shirts and trousers. Think about the persona the doll may embody and design accordingly. Different colored yarns or different types of yarns (like complementary cotton and woolen yarns) come in handy here.
Cut out appropriate lengths of yarn to serve as clothes for the doll. For making a shirt, use shorter lengths than for a dress. Join these lengths to the doll by weaving around its upper body. Ensure this is done securely.
For a more detailed look, smaller pieces of yarn can be used to create accessories like vests or hats. Crochet or knit these separately before attaching them to the doll.
Use a needle and thread to add embellishments such as small beads or sequins to the clothes. This gives the voodoo doll an individualistic look and intensifies the overall aesthetic appeal.
Keep in mind that the clothing should be tightly wound and secure, but be careful not to restrict the core structure of the voodoo doll.
Remember, there’s no right or wrong when it comes to designing clothes for voodoo dolls. The key is to let your creativity flow.
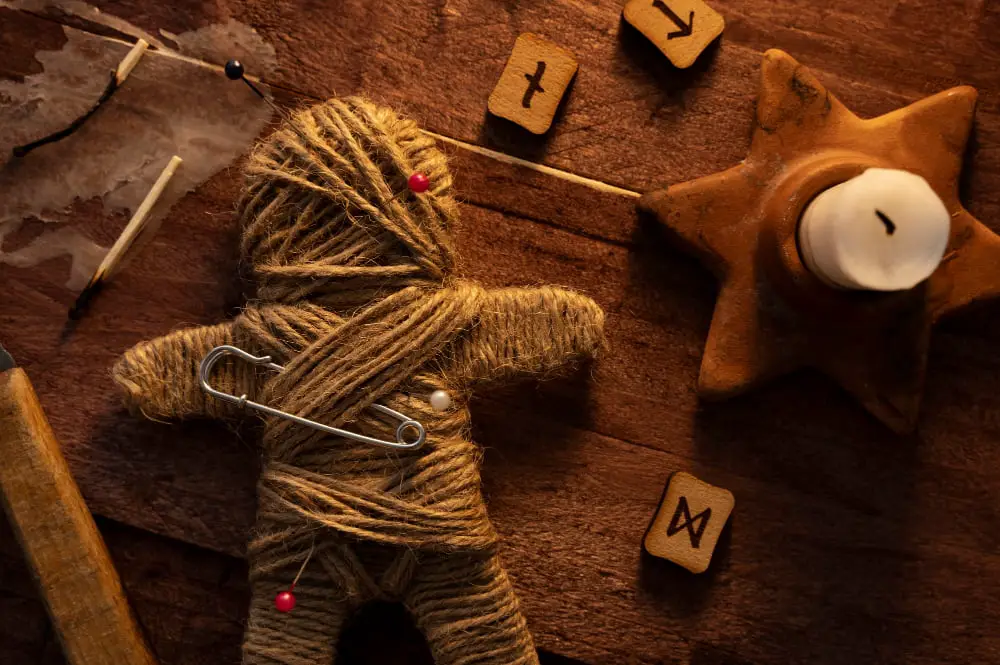
Decorating Your Yarn Voodoo Doll
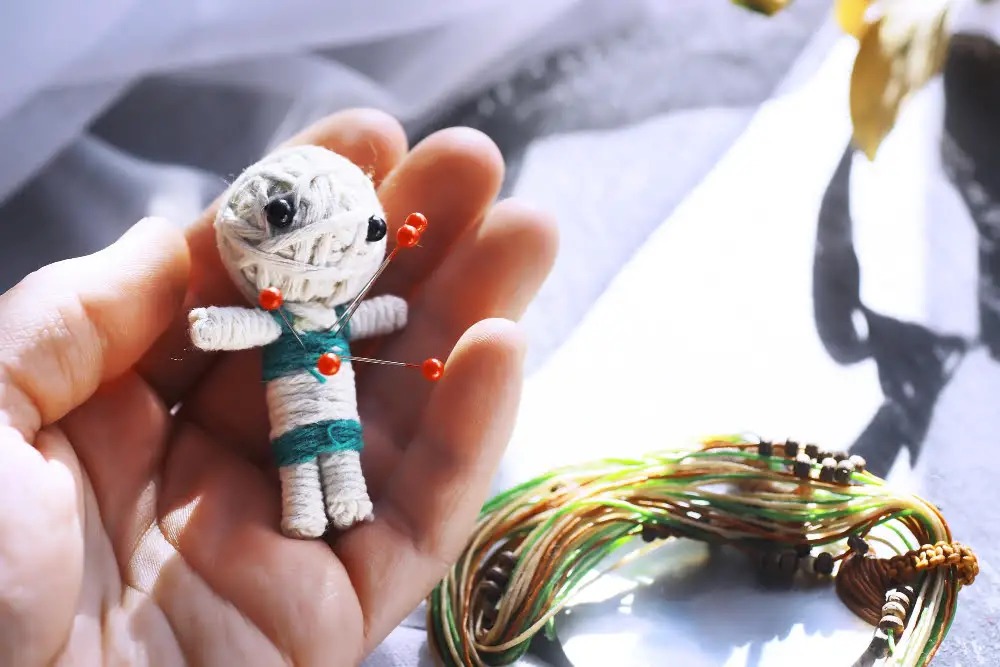
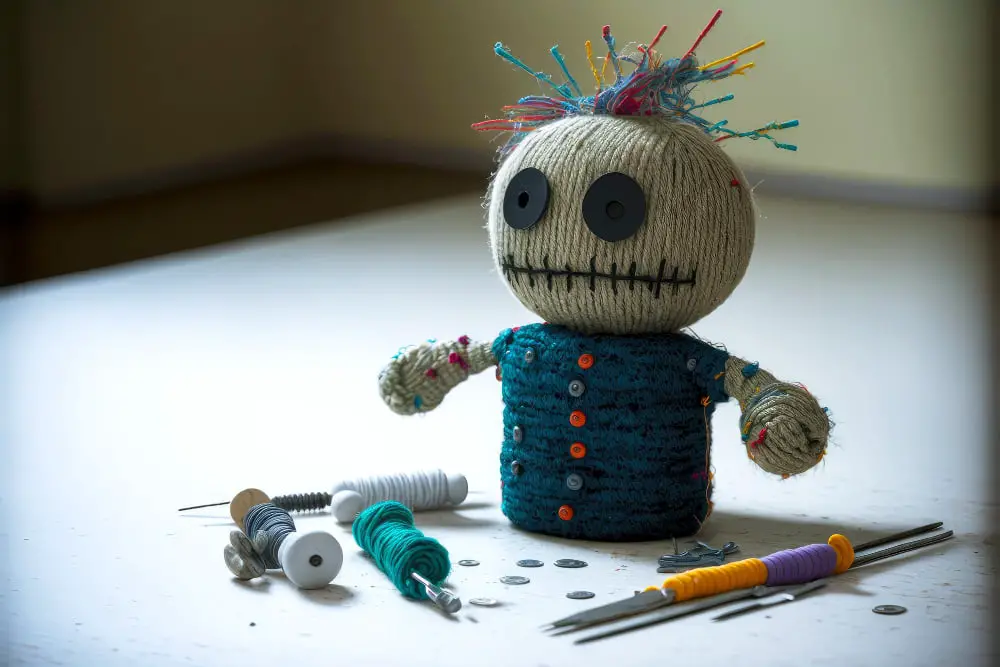
To infuse personality into your voodoo doll, there are a variety of decorating options. You can elevate its visual intrigue by using colorful embroidery threads, beads, and miniature charms.
Embroidery threads, especially metallic ones, can introduce color accents to your voodoo doll giving it a unique flair. They can be sewn in patterns or used to create facial features, buttons, or inconsistencies in the clothes to replicate aged wear and tear.
Using beads for eyes or as decorative elements on the clothing gives your doll a glossy, eye-catching feature. Beads come in a gamut of shapes and colors, offering ample flexibility to suit your intended doll personality. Tiny, delicate seed beads are particularly fitting for delicate detailing.
Miniature charms, like small metal trinkets or tiny seashells, can be sewn or glued onto the doll. They provide a touch of realism and can significantly enhance the thematic concept of your doll. Remember to keep the charm weight and size limited to avoid altering the yarn doll’s shape or balance.
Lastly, remember to consider the color harmony and overall theme when selecting your decorating materials to ensure a pleasing and coordinated final aesthetic. This will give your voodoo doll a polished and inviting appearance.
Choosing and Adding Accessories to Your Yarn Voodoo Doll
Selecting suitable accessories will give your doll a personalized touch. Consider using miniature items like hats, jewelry, and tiny glasses. Craft stores often supply dollhouse accessories perfect for such decorations.
Add accessories one at a time. Starting from the head down often works best. To safely attach your chosen items, there are two broad methods: gluing or threading.
Gluing is straightforward. Spread a little glue over the relevant area and press the accessory in place. It’s essential to allow the glue to dry completely before moving onto the next item.
On the other hand, threading requires a little more effort, but can be more secure. To thread, you will create a small stitch through the accessory, then back into the doll, securely fastening the accessory.
Consider the doll’s character when adding these enhancements. An eye patch or a wooden leg might work for a pirate-themed doll, for instance. However, these decisions are dependent on personal creativity and imagination.
Remember, this is your creation and the process should be expressive while also being fun and rewarding.
Step-by-step Construction of Yarn Voodoo Doll
Begin by fashioning the skeleton, typically out of wire or another flexible material such as pipe cleaners. This will act as the base and determine the size and shape of the doll.
Next, wrap the skeleton with your chosen yarn. Start at one end and work your way to the other, wrapping tightly to create a solid structure. This stage is often referred to as ‘mummifying’ your doll.
Once the basic frame is wrapped, apply glue to secure the yarn. This can be done with a brush or simply by drizzling it over the surface and then smoothing it out.
Now, it’s time to design and add clothing. Colors, fabrics, and styles can all be adapted to match your individual preference. Use small pieces of fabric, more yarn, or any other items you feel would be appropriate.
After the clothes, focus on decorations. This could include painted details, stitched features, or glued-on elements such as eyes and buttons.
Finally, add any accessories you want your doll to have. This is where you can really get creative. From miniature purses and hats to tiny swords and charms, these additions can make each doll unique and bring their character to life.
Remember, crafting is supposed to be fun! Experiment with different techniques and designs, and above all, enjoy the process.
Maintenance and Care for Your Yarn Voodoo Doll
To keep your yarn voodoo doll in the best possible condition, follow these care suggestions:
Protection is key. Keep the doll away from excessive moisture and direct sunlight. Extreme conditions can damage the yarn and fade the colors.
Regularly dust off your voodoo doll. This ensures it remains clean and vibrant. A small, soft-bristled paintbrush works excellently for this task.
Avoid contact with sharp objects. These can sever threads and alter the doll’s shape.
Opt for gentle handling. Rough manipulation may result in loosening and even the detaching of parts, as the doll is constructed from flexible material.
In case of staining, blot gently. Do not scrub to avoid causing abrasion or pilling of the yarn.
Storage should be in a cool, dry place away from pets or children who may inadvertently cause damage.
Remember, repair is possible. If a part gets detached, it can be sewn back on with a needle and some matching yarn.
While the doll is sturdy by nature, a careful approach to cleaning and handling can considerably lengthen its lifespan. Proper treatment allows your yarn voodoo doll to remain your delightful handcrafted piece for a substantial time.
FAQ
What is the history of yarn dolls?
Yarn dolls originated during the Colonial America period where they were made from homespun yarn, with noteworthy industrialization of yarn starting in the 1930’s and 1950’s with developments like the Red Heart Yarn and the first acrylic yarn.
What are the key steps in creating a yarn voodoo doll?
To create a yarn voodoo doll, the key steps are selecting materials, making the base of the doll, crafting the limbs, attaching the limbs, personalizing the doll, and finally completing it with details.
How can different types of yarn affect the final appearance of the voodoo doll?
The type of yarn used can significantly alter the texture, size, colour and overall look of the voodoo doll, for instance, wool yarn provides a rustic and traditional appearance, whereas silky or shiny synthetic yarns may give a more modern, eerie touch.
Are there specific colors of yarn that carry particular significance in voodoo doll creation?
In voodoo doll creation, there’s no specific significance attached to certain yarn colors as the focus tends to be more on the act of creation and intent rather than the color symbolism.


