Dive into the world of sweet pea embroidery because this meticulous craft can turn any fabric into a beautiful piece of art.
Key takeaways:
- Consider design size and complexity for your project.
- Understand file formats and hoop size compatibility for machine embroidery.
- Gather materials: hoop, fabric, needles, floss, scissors, transfer tools, stabilizer.
- Choose a transfer method and position the design correctly on fabric.
- Follow step-by-step guide for stitching, adding details, and finishing touches.
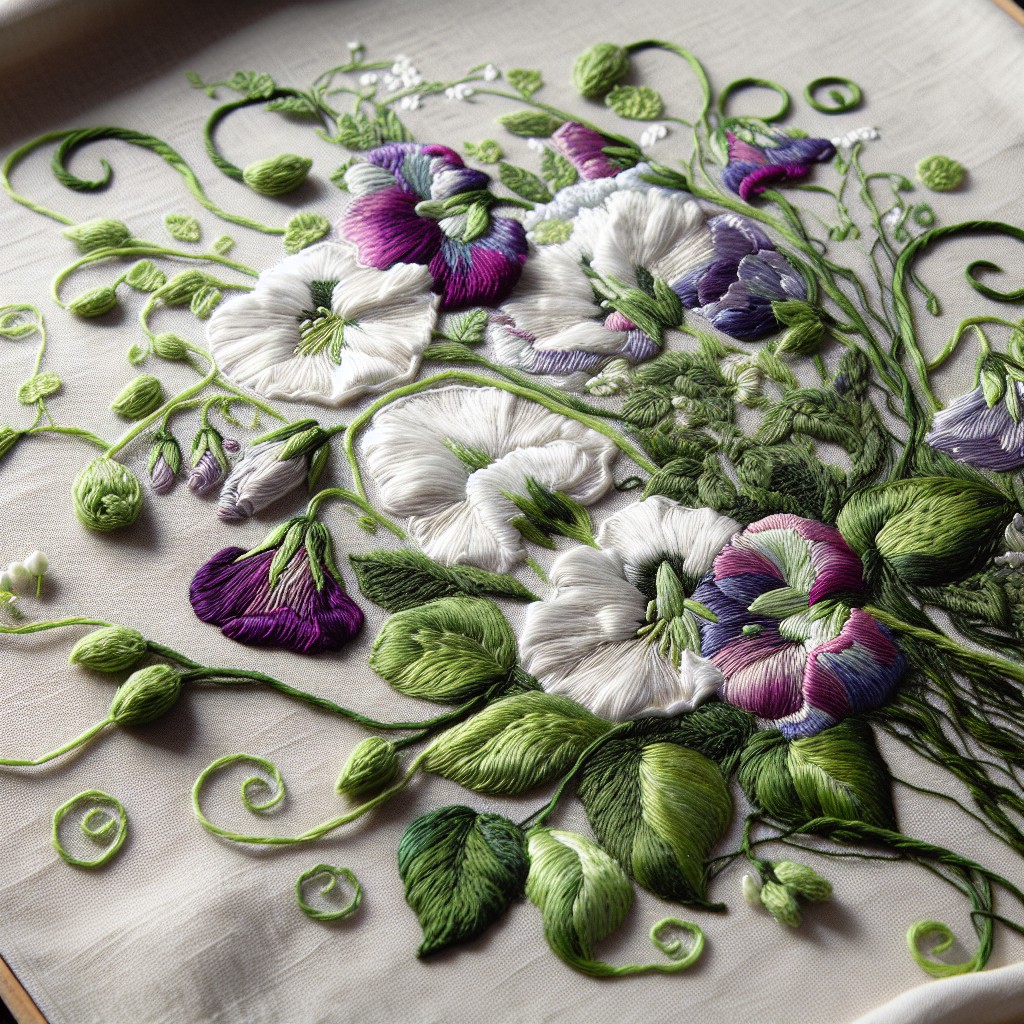
Sweet Pea Embroidery Design Selection
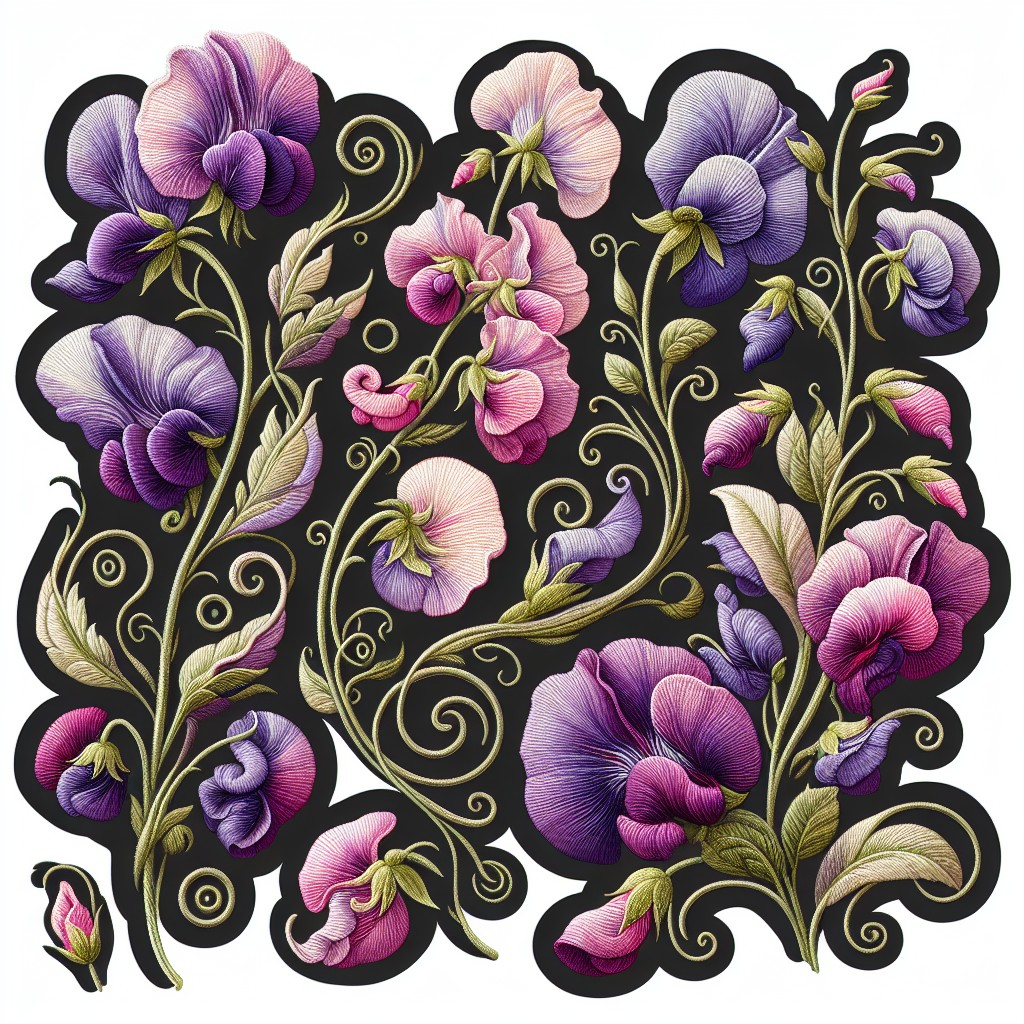
When choosing a sweet pea embroidery design, consider the intended project’s size and complexity. For smaller projects such as handkerchiefs or cloth napkins, opt for simpler designs with fewer colors and less detail. Conversely, if the project is a focal point such as a wall hanging or a pillow cover, select more intricate patterns with greater color variety to create a striking visual impact.
It’s also important to match the style of the design with the overall aesthetic of the item or space it will occupy. A design with a vintage feel might be well-suited for traditional decor, whereas a modern, abstract sweet pea pattern might complement contemporary interiors.
Always take into account the fabric you’ll be working with. Lighter fabrics require a design that is less dense to avoid puckering, while sturdier fabrics can support more elaborate designs with layered stitches. Lastly, for those using embroidery machines, ensure that the chosen design is compatible with your machine’s format and hoop size.
Understanding Sweet Pea Machine Embroidery Designs
Machine embroidery designs come in a variety of file formats to accommodate different brands of embroidery machines. For sweet pea projects, choose designs that cater to your target item, whether it’s a delicate handkerchief border or a bold pillowcase motif.
Take note of the hoop size specifications for your chosen design to ensure compatibility with your machine. Sweet pea patterns often employ satin stitches for smooth petals and stem stitches for slender stems; knowing this helps when selecting needles and stabilizers.
Each design comprises stitch types, stitch count, and suggested color schemes. Adapt these elements as needed to match your vision and thread inventory. Remember, customizing colors can bring a personal touch to the standard pattern.
Check the design’s density. A dense design provides full coverage but requires more stabilizer support and may take longer to stitch. Contrastingly, a lighter density may complete faster but could sacrifice some detail.
Preview designs before committing, imagining them on the intended fabric. Lighter fabrics may need extra stabilization for dense sweet pea designs, while heavier fabrics can accommodate them with ease.
Consider digitizing services or software if you can’t find an existing design that fits your needs; crafting a unique sweet pea pattern ensures your project stands out.
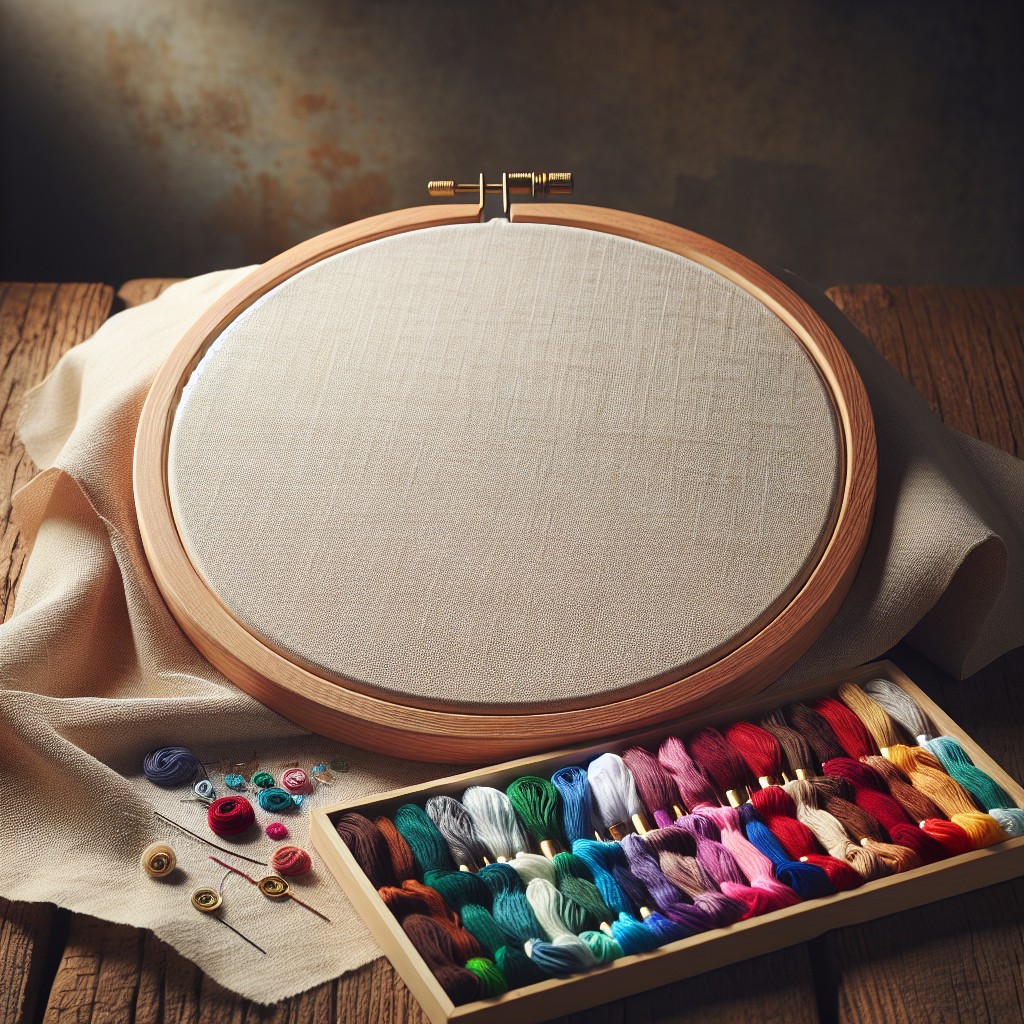
Materials Needed for Sweet Pea Embroidery
Embarking on an embroidery project starts with gathering the right materials to ensure a smooth and enjoyable crafting experience. For creating a detailed sweet pea design, you’ll need:
- Embroidery Hoop: Select a hoop that comfortably fits the size of your design. This tool keeps the fabric taut, providing an even surface for stitching.
- Fabric: Opt for a solid, light-colored cotton or linen that complements the delicate nature of sweet peas. Ensure your fabric choice has a tight weave for better stitch support.
- Embroidery Needles: A variety of sharp, fine-tipped needles will be required, with sizes 7, 8, or 9 being ideal choices for most thread types.
- Embroidery Floss: Cotton embroidery thread is recommended, and you’ll want to choose a range of colors that match the sweet pea’s various shades for realism. Consider using variegated thread for a natural gradient effect in petals.
- Scissors: A sharp pair of embroidery scissors is essential for precise cutting of threads and fabric.
- Transfer Tools: Use a water-soluble pen, transfer paper, or a printer-friendly stabilizer to transfer your design onto your chosen fabric accurately.
- Stabilizer: Depending on the fabric’s weight and the density of the embroidery stitches, a stabilizer might be needed to prevent puckering.
By assembling these materials in advance, you’re set up for success, ready to bring the beauty of sweet pea flowers to life with your needle and thread.
Transferring the Sweet Pea Design Onto Fabric
Before transferring your design, ensure the fabric is pre-washed and pressed to eliminate any shrinkage or wrinkles that could distort the embroidery. Choose from several transfer methods based on your preference and the complexity of your sweet pea pattern:
1. Tracing: For light-colored fabrics, place the fabric over the pattern and trace using a water-soluble fabric pen or pencil.
2. Iron-on Transfer Pencil: Trace the design onto tracing paper with an iron-on transfer pencil, then iron it onto the fabric according to the pencil manufacturer’s instructions.
3. Transfer Paper: Place dressmaker’s carbon paper between the fabric and the design, trace over the lines, and apply gentle pressure for clear transfer marks.
4. Printable Stabilizer: Use an inkjet printer to print the design directly onto a printable stabilizer, which you can then stick onto your fabric and stitch through.
5. Embroidery Software: If using an embroidery machine, you can send the design to your machine directly from embroidery software.
Remember to position the design appropriately, considering the project’s final use, like the center of a cushion or corner of a handkerchief. After transferring, secure the fabric in an embroidery hoop, maintaining even tension to provide a stable base for stitching.
Step-by-Step Guide to Embroidering Sweet Peas
1. Secure Fabric: Start by placing your fabric in an embroidery hoop, ensuring it’s taut. This prevents puckering and allows for smooth stitching.
2. Thread Needle: Choose a sharp, appropriately sized embroidery needle and thread it with the first color indicated on your pattern. Use a length of embroidery floss that is comfortable to work with to avoid tangling.
3. Begin with Outlines: Using a backstitch, follow the transferred lines of the sweet pea design to outline the shape of the flowers and leaves. This creates a guide for filling in with more detailed stitches.
4. Fill in Petals: Switch to satin stitch to fill the petals, working from the petal’s edge inward to create a smooth, tightly packed appearance that resembles the texture of a real petal.
5. Stitch Stems and Leaves: Use a stem stitch for curving stems, giving them a twisted, rope-like texture that stands out against the flatness of the petals. For leaves, use the fishbone stitch to give them a veined look.
6. Add Embellishments: Incorporate French knots or seed stitches at the center of the flowers for added dimension and detail that mimic the stamens.
7. Layer Colors and Shades: Enhance the depth of the sweet peas by layering different shades of the same color. Start with darker shades for shadows and add lighter tones to create highlights.
8. Complete the Design: Finish by embroidering any additional elements, such as background details or secondary flowers, using appropriate stitches to complement the sweet peas.
9. Secure Your Work: Once all elements are complete, secure the thread on the backside of the fabric by running the needle under several stitches before trimming the excess.
Tips for Selecting Threads for Sweet Pea Embroidery
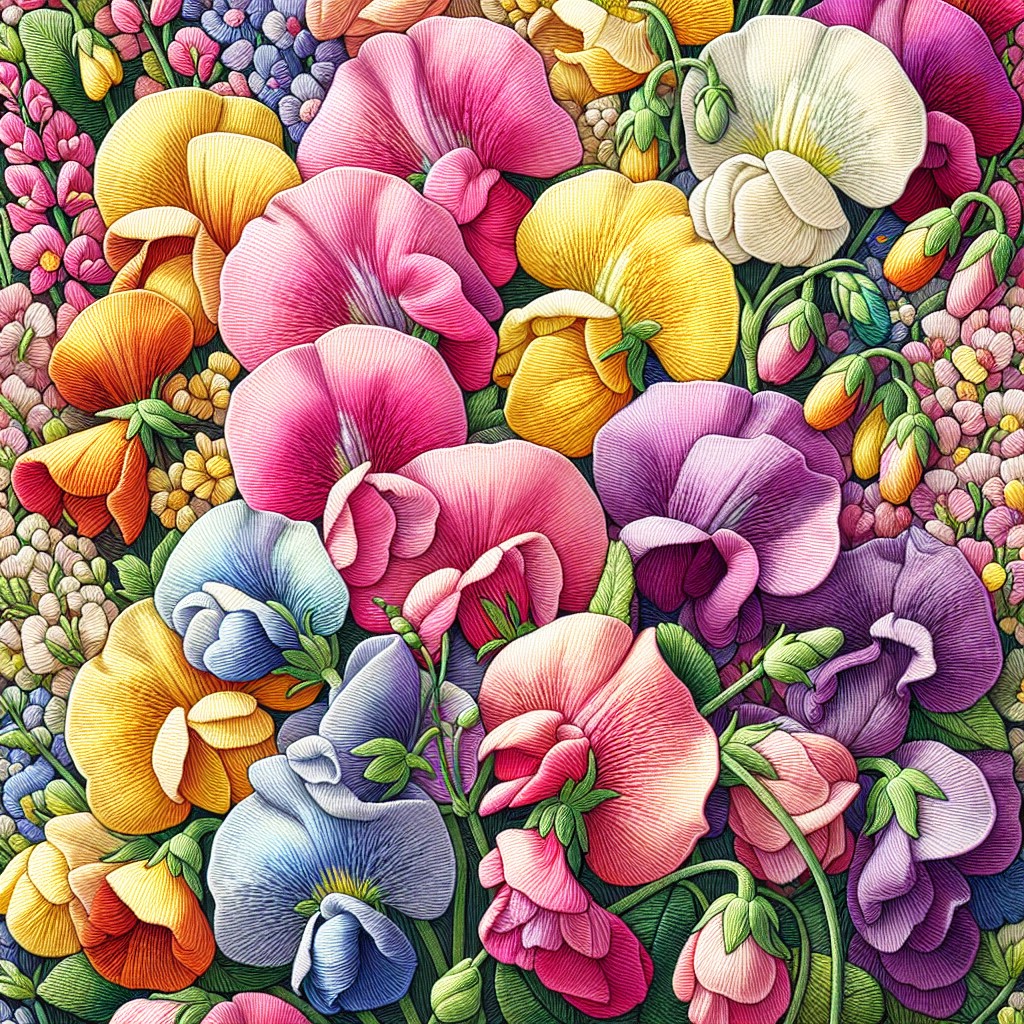
Choosing the right threads can elevate the beauty of your sweet pea embroidery. Opt for stranded cotton or silk threads to capture the delicate gradient of sweet pea petals. A variegated thread can mimic the natural color transition without frequent thread changes.
Prioritize lightfastness and washability to ensure your embroidery maintains its vibrancy over time. When selecting colors, gather various shades of pinks, purples, and greens to reflect the plant’s natural hues. For added sheen and a realistic appearance, consider using rayon threads for a subtle luster.
To achieve depth, use darker shades for the flower’s base and lighter tones for highlights. Always test your thread choices on a scrap piece of fabric to assess color compatibility and tension settings.
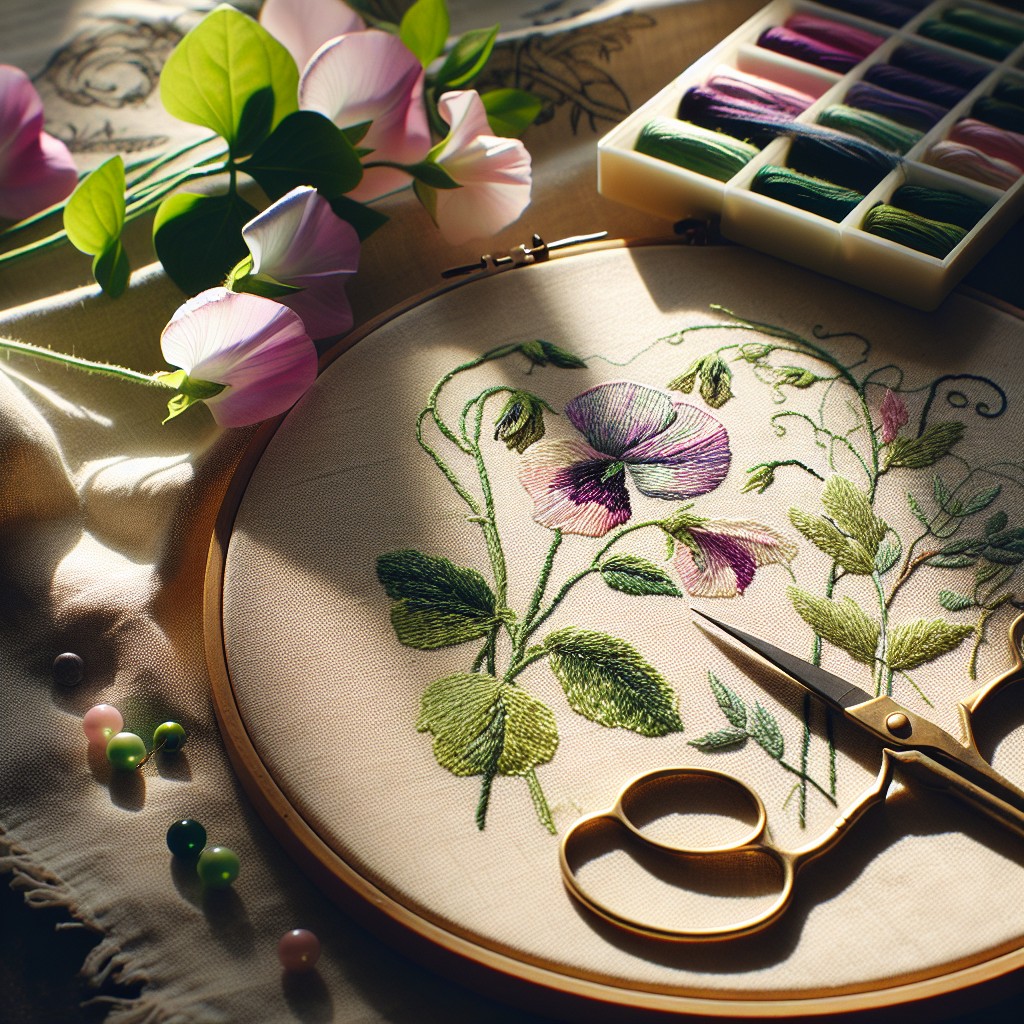
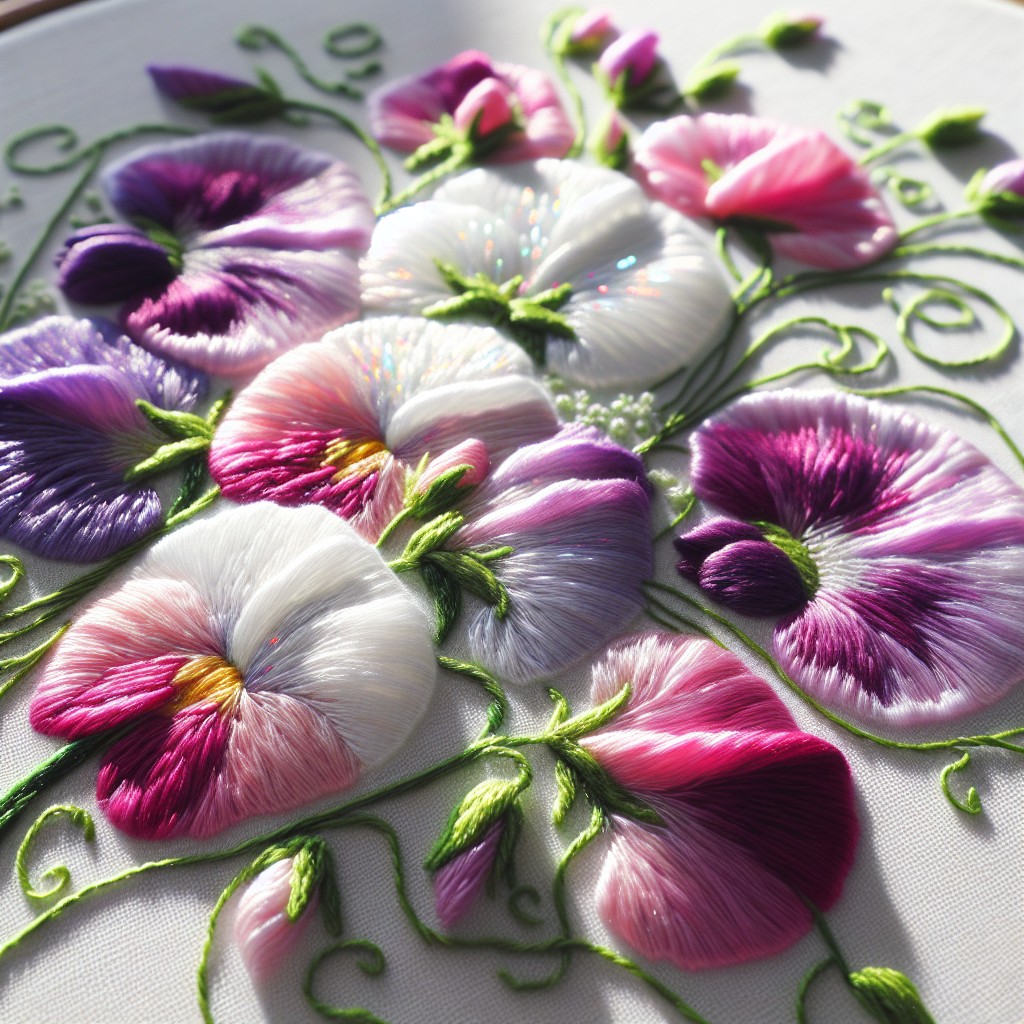
Techniques for Stitching Sweet Pea Petals and Leaves
Embroidering the delicate petals of a sweet pea requires both precision and a light touch. Use the satin stitch for a smooth, silk-like appearance that beautifully captures the petal’s natural sheen. Start with a small straight stitch at the center, then build satin stitches outward, keeping them close together for coverage and graduating them in length to mimic the petal shape.
For variegated petals, blend thread colors by layering half-stitches over the satin base. Use two strands in your needle—one strand of each color—to stitch the half-stitch layer. This will create a subtle color transition akin to that found in nature.
The leaves and tendrils demand a different approach. Employ the fishbone stitch to portray the dimension of leaves, with stitches meeting along a central vein for a realistic look. For slender tendrils, the backstitch offers both control and flexibility, enabling you to follow the curving lines with ease. Keep stitches tight and consistent to maintain a thin, tendril-like appearance.
Always observe your natural subject—real sweet peas or high-quality images—paying attention to how light interacts with the petals and leaves. This knowledge guides your stitch direction and length, resulting in an embroidered motif with lifelike depth and movement.
Adding Texture and Detail to Sweet Pea Embroidery
Stitch variety is essential for bringing a sweet pea design to life. Incorporate a mix of satin stitches to create the smooth, silky texture of petals and French knots for the delicate, seed-like centers. Use stem stitches to outline the shapes and add definition to curving vines.
Layering colors can enhance the dimensionality of your work. Start with lighter shades for the base and gradually add darker tones towards the edges or where shadows naturally occur.
For a three-dimensional effect, consider using a technique called stumpwork. This involves creating elements of the design separately and then attaching them to the main fabric to achieve a raised texture.
Consider the directionality of your stitches to emphasize growth patterns; stitches should flow in the direction the plant grows. This subtle detail can add a realistic touch to your embroidery.
Experiment with different thread weights or types, such as variegated threads for a more organic, natural-looking variation in your sweet pea flowers.
Remember, practice makes perfect. Begin with a simple design and slowly introduce more advanced techniques as you grow more confident in your embroidery skills.
Finishing Touches for an Embroidered Sweet Pea Project
Once the stitching of your sweet pea embroidery is complete, giving your project a polished look is key. Trim any loose threads carefully to prevent unravelling, ensuring your work looks neat.
If you’ve used an embroidery hoop, gently press your fabric from the backside to remove hoop marks. Iron on a low setting with a pressing cloth to protect the embroidery.
For added protection and a professional touch, consider using a color-fastener spray to prevent thread colors from running during future washes.
Finally, if you’re framing your piece, select a complementary frame and consider a mat border to accentuate the beauty of the sweet pea design. Attach a dust cover to the back of the frame to shield your work from dirt and moisture.
If your embroidered sweet pea is intended for a garment or accessory, make sure to sew it in place securely, and you’re ready to showcase your embroidery with pride.
Remember, the final touches reflect your craftsmanship, so take the time to finish your work with care.
Cleaning and Caring for Sweet Pea Embroidery
To ensure the longevity of your sweet pea embroidery, it is essential to clean it carefully. Gently hand wash the piece in lukewarm water using a mild detergent, avoiding harsh scrubbing, which may damage the delicate stitches. Submerge the embroidery thoroughly, and swish it around softly.
After washing, rinse the embroidery thoroughly in cold water until all soap is removed. Remove excess water by pressing the fabric between two clean towels. Avoid wringing or twisting, as this can distort the embroidery.
To dry, lay the piece flat on a dry towel, reshaping it as necessary. Air drying is recommended to prevent the embroidery from becoming misshapen. If you must iron the embroidery, use a pressing cloth to protect the stitches and set the iron to an appropriate heat for the fabric type.
Store embroidered items flat, if possible, in a cool, dry place, away from direct sunlight to prevent fading. Acid-free tissue paper can be used to cover the embroidery before storing to provide added protection. Avoid folding directly over embroidered areas, as this can lead to creases that are difficult to remove. Regular dusting or vacuuming with a hose attachment can help keep your embroidery looking fresh in between washings.
Related Posts
 How to Embroider Large Areas: Step-by-Step Techniques for Stunning Results
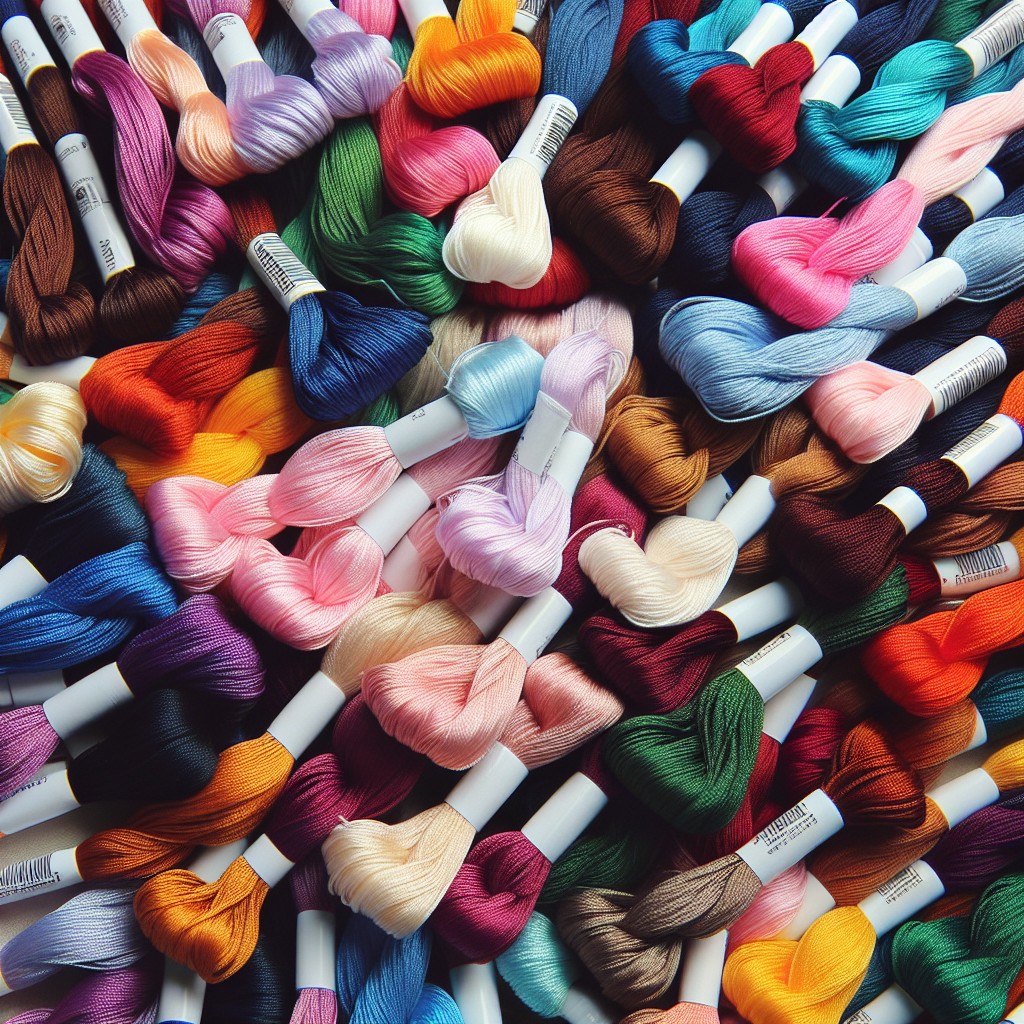 How Many Threads for Embroidery: Choosing the Right Amount for Your Project
 Best Embroidery Stitches for Outlining: Techniques and Tips
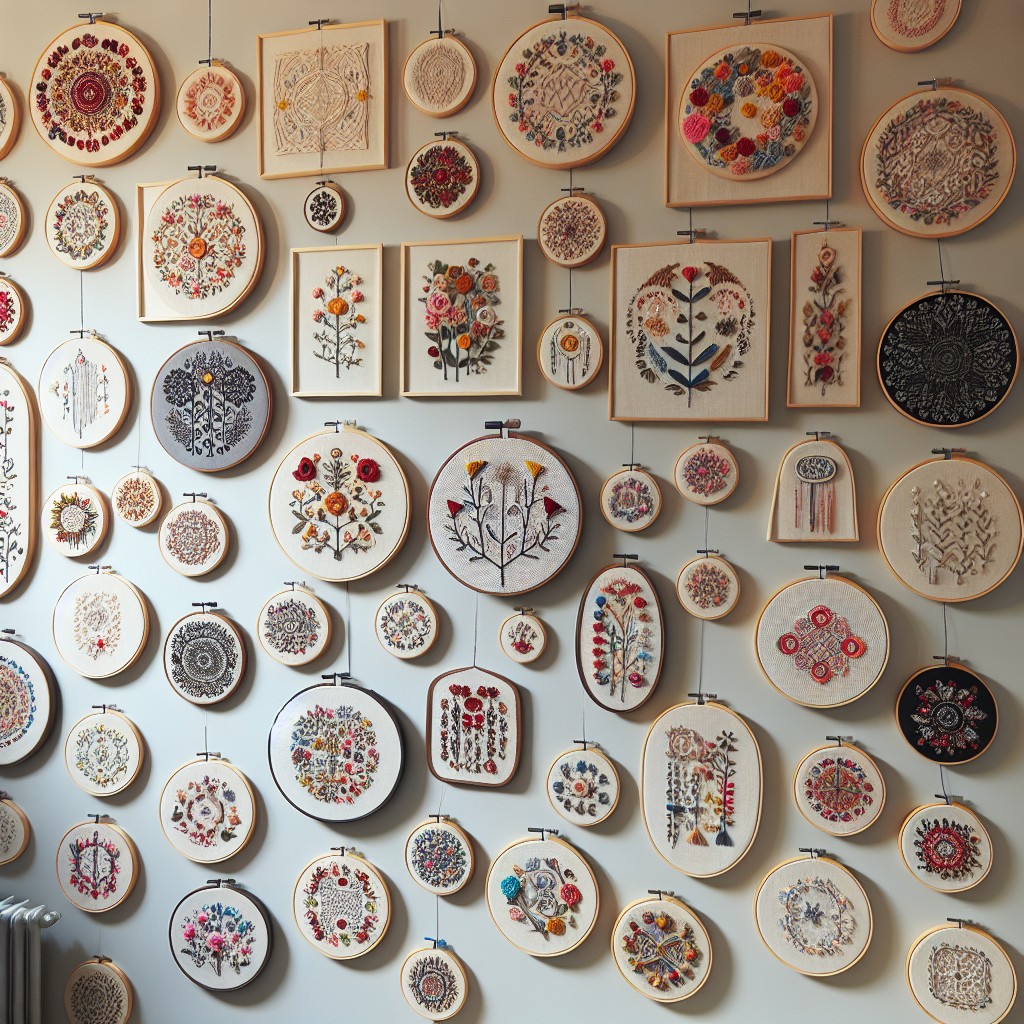 How to Display Embroidery Hoops: Creative Ideas for Your Home Decor
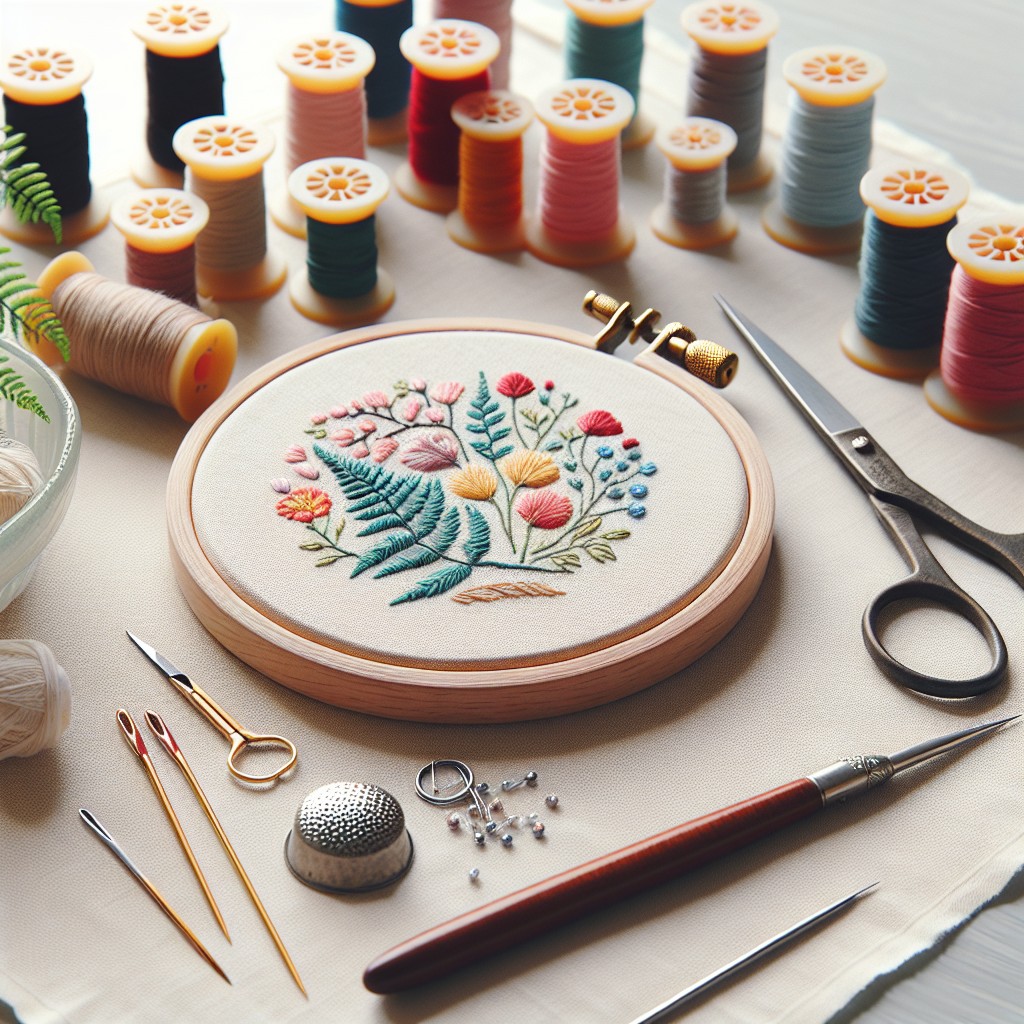 How to Finish the Back of an Embroidery Hoop: Step-by-Step Instructions