Discover the fascinating world of crochet cords as we unravel the various types and their unique characteristics, perfect for enhancing your next creative project.
Crochet cords are an essential part of many crochet projects. They can be used to create straps, handles, drawstrings, and more.
But did you know that there are different types of crochet cords? Each type has its own unique characteristics and uses. In this article, we will explore the various types of crochet cords and how they can be incorporated into your next project.
Whether you’re a seasoned crocheter or just starting out, this guide will help you choose the right cord for your needs and take your creations to the next level. So grab your hook and let’s get started!
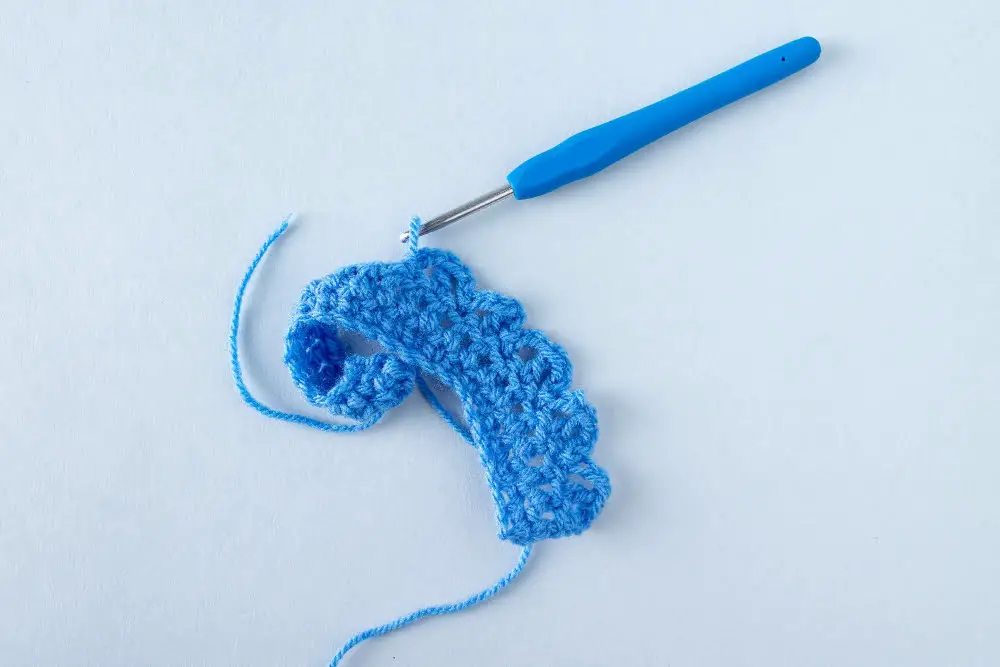
Basic Chain Stitch Cord
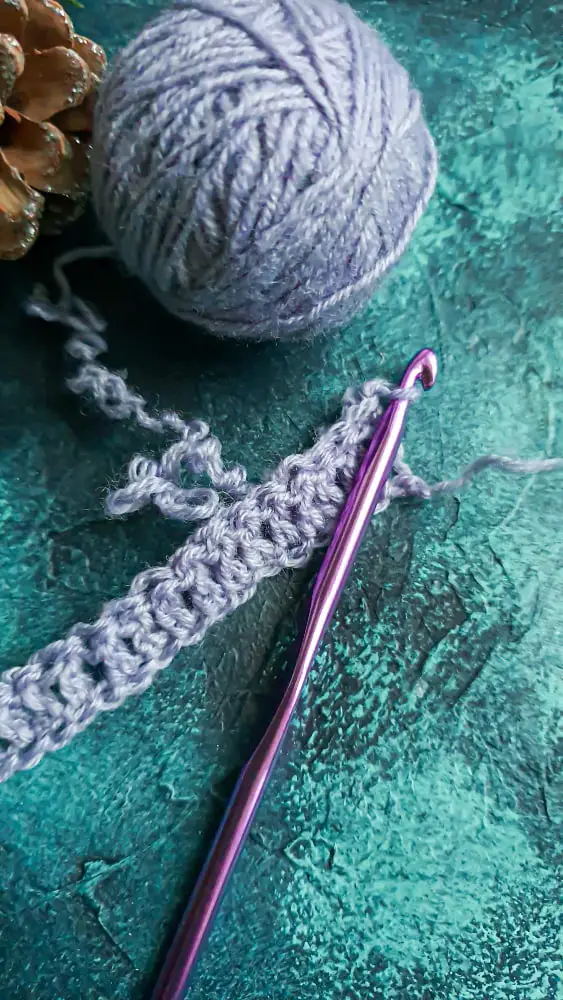
It’s made by creating a series of chain stitches, which can be worked in any yarn weight or color to suit your project needs. This type of cord is perfect for drawstrings, ties, and other decorative elements that require a lightweight and flexible material.
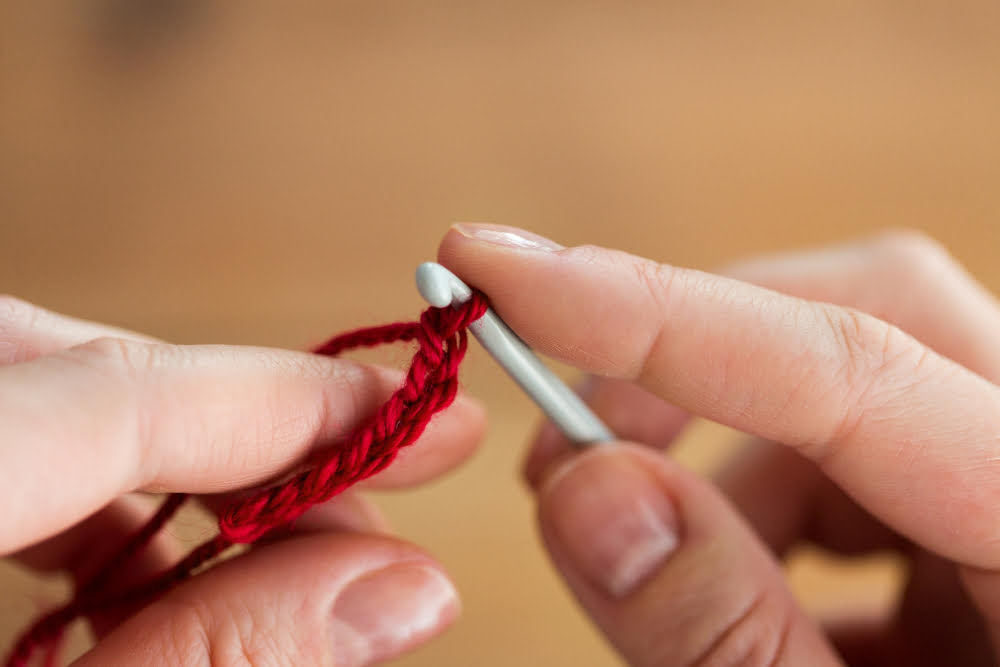
To create a basic chain stitch cord, start by making an initial slip knot on your hook. Then make one or more chains until you reach the desired length for your project.
To finish off the end of the cord, simply cut the yarn leaving enough tail to weave in later.
One advantage of using this simple technique is that it allows you to easily adjust its length as needed without having to worry about complicated patterns or stitches. You can also experiment with different types of hooks and yarns until you find what works best for you.
Slip Stitch Cord
It is made by working slip stitches into a foundation chain or previous row. Slip stitch cords are thin and flexible, making them perfect for creating drawstrings, ties, and other decorative elements.
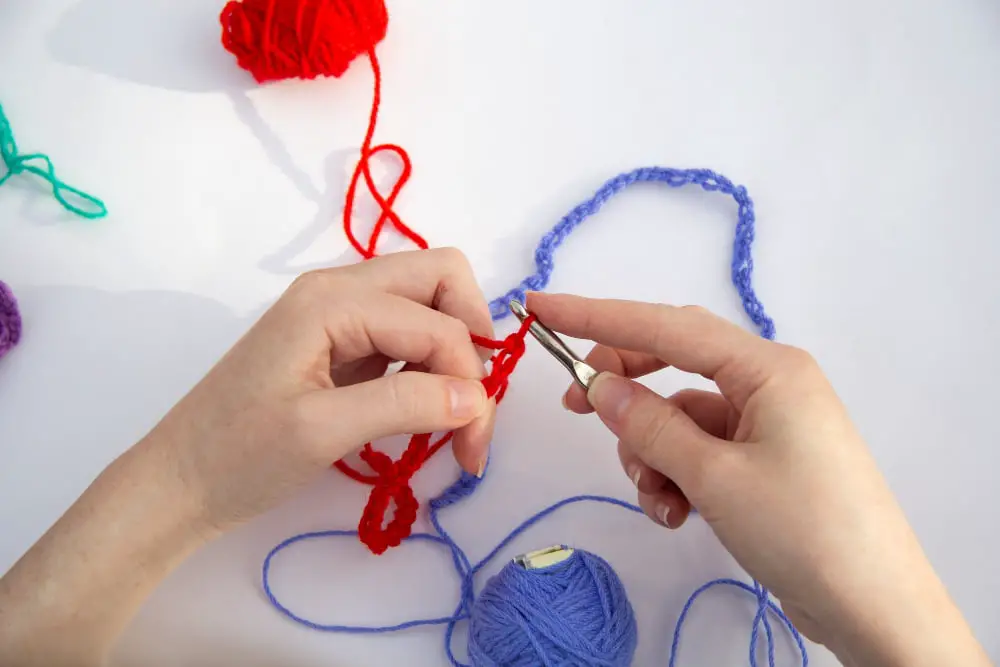
To make a slip stitch cord, start with a foundation chain of any length. Then insert your hook into the second chain from the hook and work a slip stitch (inserting your hook through both loops on the next chain and pulling yarn through all loops).
Continue working in this way until you reach your desired length.
Slip stitches can also be worked directly into previous rows to create an interesting texture or pattern. This technique can be used to create ribbing or even mimic knitting stitches.
Single Crochet Cord
It is made by working single crochet stitches into each chain stitch, creating a dense and sturdy cord. This type of cord works well for drawstrings, straps, and handles as it has excellent durability.
To make a single crochet cord, start with making a slip knot on your hook and then chain the desired length you need for your project. After chaining the required number of stitches needed to create the length you want for your project’s handle or strap, insert your hook into the second chain from hook (not counting loop on hook) yarn over pull through 1 loop (2 loops on hook), yarn over again pull through both loops.
Repeat this process until you reach end of row or desired length. Single Crochet Cord can also be worked in rounds to create circular cords such as coasters or pot holders.
To work in rounds simply join with slip stitch at beginning/end each round instead turning work after every row.
Experimenting with different types of yarns will give varying results when using Single Crochet Cords; thicker fibers will produce chunkier cords while thinner ones result in more delicate-looking cords perfect for jewelry-making projects like necklaces or bracelets.
Double Crochet Cord
It’s made by working double crochet stitches into each chain stitch, creating a sturdy and flexible cord. This type of cord is perfect for drawstrings, bag handles, or even as an embellishment on clothing.
To make a double crochet cord, start by making a foundation chain to the desired length. Then work one double crochet stitch into each chain stitch across the row.
Repeat this process until your desired length is reached.
One great thing about using double crochet cords in your projects is that they are easily customizable to fit any size or color scheme you need. You can also experiment with different yarn weights and hook sizes to create thicker or thinner cords depending on your needs.
Alternating Stitch Cord
This type of cord is created by alternating between two different stitches, such as single crochet and double crochet. The result is a textured and sturdy cord that can be used for straps, handles, drawstrings, or even as an edging.
To create an alternating stitch cord, you will need to have basic knowledge of both the single and double crochet stitches. Start by chaining the desired length for your project.
Then work one row of single crochets followed by one row of double crochets until you reach the desired thickness.
One advantage to using this type of cord is its ability to add visual interest to your project with minimal effort. You can experiment with different color combinations or use variegated yarns for added texture.
Twisted Cord
This type of cord has a unique texture and can be used to add interest to your crochet projects. To make a twisted cord, start by cutting several lengths of yarn that are twice the desired length of your finished cord.
Fold each strand in half and twist them together in the same direction until they begin to kink up on themselves. Then, fold the twisted strands in half again so that they form a loop at one end and tie an overhand knot at the other end.
Twisted cords can be made with any number of strands, but using more than three may become difficult to manage as you twist them together. Experiment with different color combinations for added visual appeal!
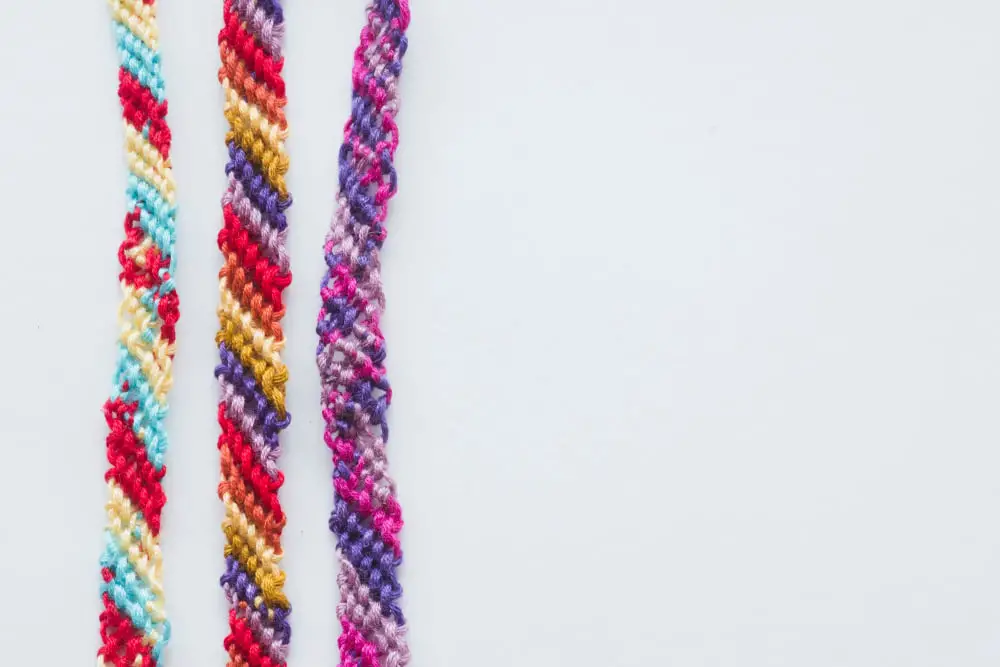
Braided Cord
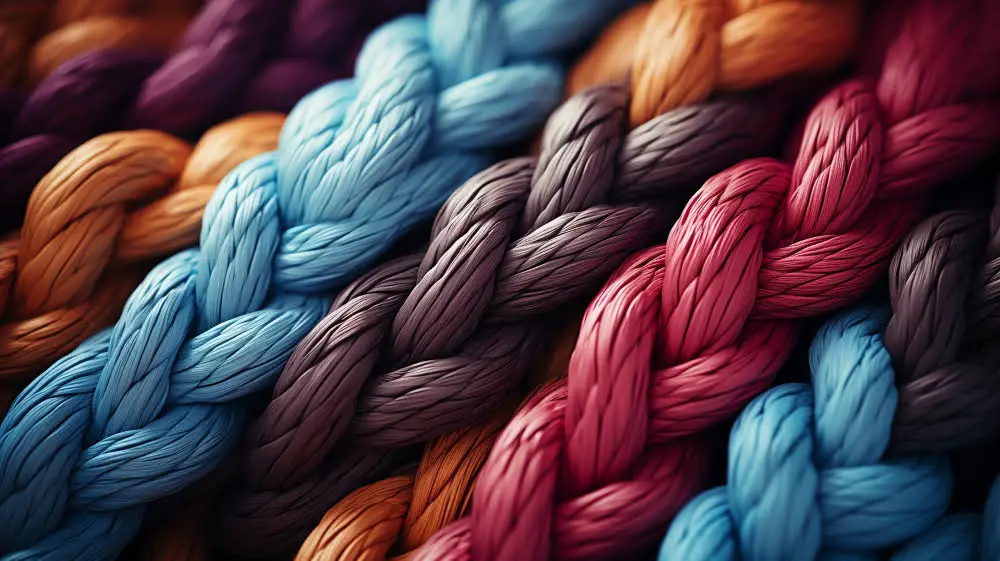
This type of cord is perfect for creating sturdy handles, straps, and belts. Braiding can be done with any thickness of yarn or thread and in any color combination to match your project’s needs.
To make a braided cord, start by knotting the ends of the strands together. Secure the knotted end to a stationary object like a doorknob or hook so that you have both hands free to braid.
Separate your strands into three equal sections and begin braiding them together tightly until you reach the desired length.
Once finished, tie another knot at each end to secure it in place before attaching it to your project. Braids can also be combined with other cords such as twisted cords for added texture and interest.
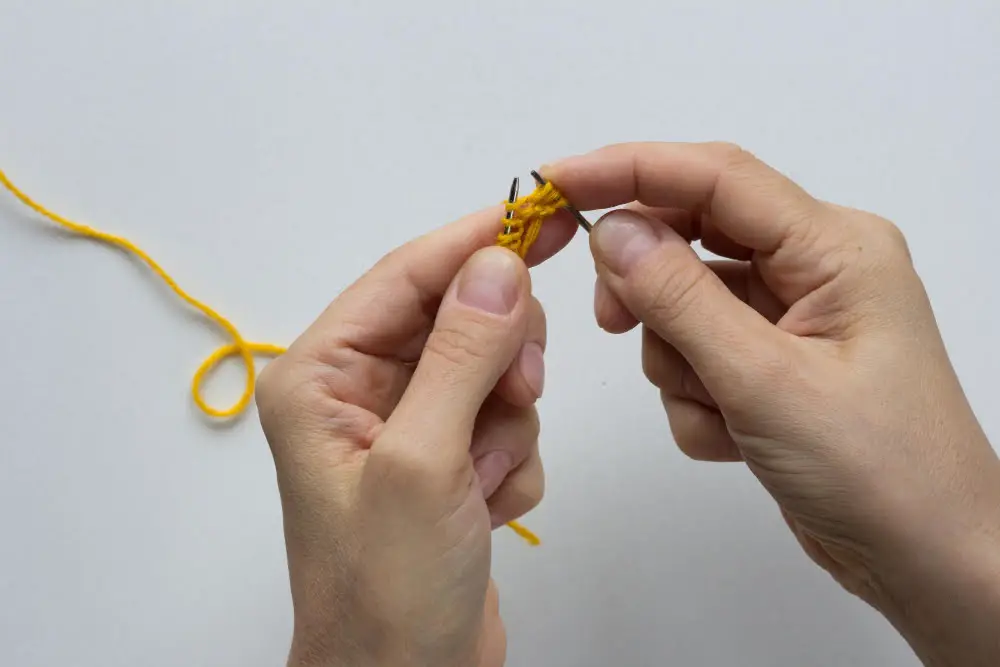
I-Cord
It’s made by working a small tube of stitches on double-pointed needles or with a crochet hook. The resulting cord has no right or wrong side and is very sturdy.
One popular use for I-cord is to create handles for bags or purses. You can make the cords as long or short as you need them to be and attach them securely to your project using slip stitches.
Another way to use I-cord is in jewelry making. By adding beads along the length of the cord, you can create beautiful necklaces, bracelets, and even earrings.
I-cords are also great for creating decorative edgings on blankets, scarves, hats – anything that needs an extra touch of texture!
Tubular Cord
It is created by crocheting around a core material, such as rope or cording, to create a sturdy and durable cord. The resulting tube-like structure makes it perfect for creating handles on bags or baskets, drawstrings on pouches or hoodies, and even jewelry.
To make tubular cord, you will need to choose your core material and the yarn you want to use. You can experiment with different types of yarns to achieve different textures and thicknesses in your finished product.
Start by making an initial chain stitch around the core material using single crochet stitches until you reach the desired length. Then work back along the chain using slip stitches until you reach the beginning again.
Repeat this process until your tubular cord reaches its desired thickness. Once complete, simply tie off both ends securely with knots or weave them into each other for added strength.
Romanian Point Lace
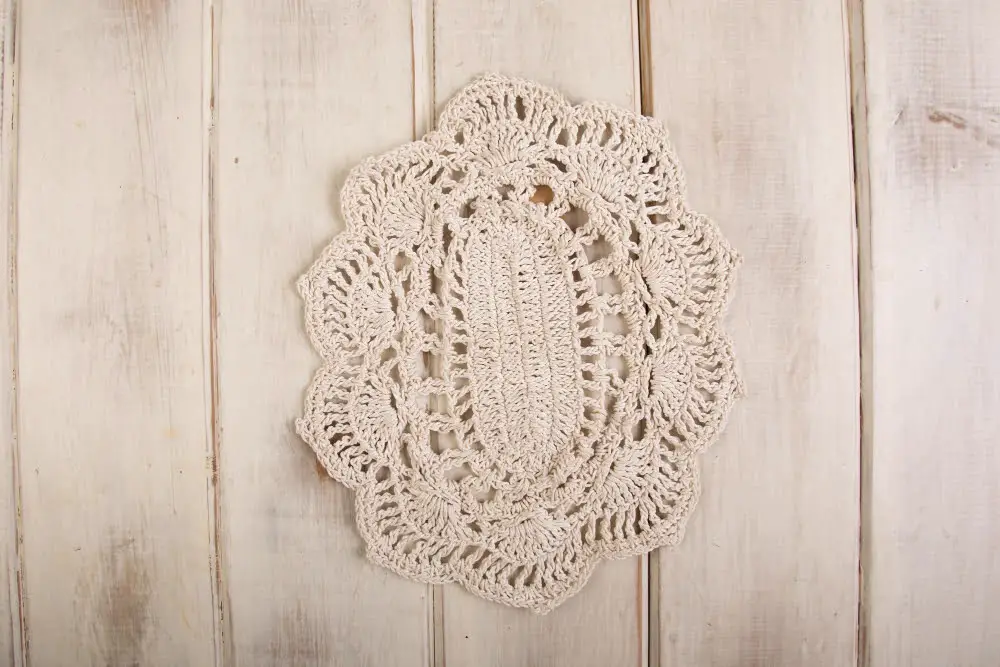
It involves creating cords and then weaving them together to form intricate lace patterns. This technique originated in Romania, where it was used to create beautiful tablecloths, doilies, and other decorative items.
To create Romanian Point Lace cords, you will need a special cord-making tool called a lucet or fork. The lucet has two prongs that are used to loop the yarn around and pull it through itself repeatedly until the cord reaches the desired length.
Once you have created your cords using this method, they can be woven together using various stitches such as chain stitch or slip stitch to form complex lace designs. The result is an elegant piece of fabric that looks like it took hours of meticulous work but can actually be completed relatively quickly once you get the hang of it.
Tunisian Crochet Cord
Tunisian crochet cords are no exception, offering an interesting texture and structure to your projects. To create a Tunisian crochet cord, you will need to use a special hook called an afghan hook or Tunisian hook.
This type of cord can be made in any stitch pattern but is typically worked in simple stitches like single or double crochet.
One advantage of using Tunisian crochet for cords is that it produces dense and sturdy results, making them perfect for handles on bags or baskets. Because this technique requires you to keep all your loops on the hook at once before working them off one by one (similarly as if you were knitting), it allows for longer rows than traditional crocheting.
To make your own Tunisian Crochet Cord:.
- ) Choose yarn weight appropriate for desired project
- ) Select appropriate size Afghan/Tunisain Hook
- ) Chain desired number plus 1.
- ) Inserting into second chain from the end work across row picking up loop through each chain until last stitch.
- ) Work back along row picking up loop through each vertical bar until last stitch.
- Repeat steps 4-5 until piece reaches desired length
Corded Edging
This technique involves crocheting a cord separately and then attaching it to the edge of your project. The cord can be made in any color or thickness, allowing you to customize the look of your edging.
To create a corded edge, start by crocheting the main body of your project as usual. Then, using a contrasting color yarn, crochet a long chain that is slightly longer than the length of one side of your project.
Next, work single crochet stitches into each chain stitch until you reach the end. Fasten off and repeat for each side that needs an edging.
Attach each corded edge by sewing it onto its corresponding side with matching thread or yarn.
Piping Cord
It’s made by wrapping yarn around a thin, flexible core, such as cotton cording or fishing line. The result is a sturdy and durable cord with a smooth surface that can be easily sewn onto fabric or crocheted into your project.
One of the benefits of using piping cord in your crochet projects is its ability to add structure and definition to edges. This makes it an excellent choice for creating borders on blankets, pillows, bags, and other items where you want clean lines.
To use piping cord in your crochet project:.
- Choose the appropriate size: Piping cords come in different sizes ranging from small (3/16 inch) to large (1/2 inch). Select one that fits well with the weight of yarn you’re using.
- Crochet over the piping: Insert your hook under both strands at once while working single or double crochets along one edge.
- Sewing on Piping Cord: You can also sew it onto finished pieces by hand-stitching along each side.
Beaded Crochet Cord
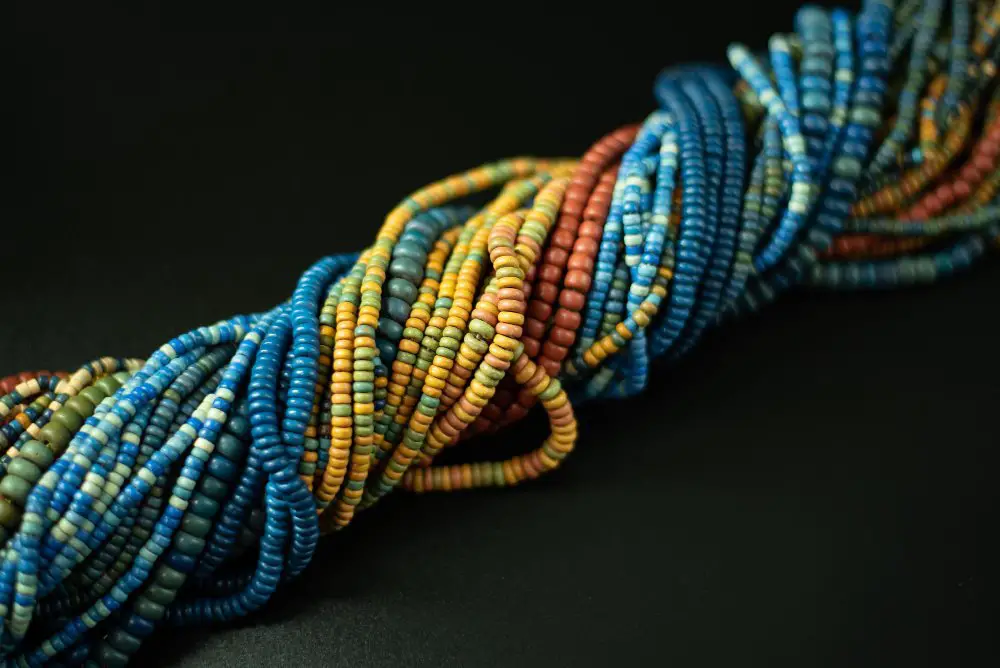
Beads can be incorporated into any type of cord, from simple chains to more complex stitches. To create a beaded cord, simply string beads onto your yarn before you begin crocheting.
Then work the beads into your stitches as you go along. There are many different types of beads that can be used for crochet cords, including glass, plastic, wood and metal varieties in various shapes and sizes.
Beaded cords are perfect for adding embellishments to bags or purses or creating jewelry pieces such as bracelets or necklaces. They also make great drawstrings for pouches or gift bags.
Experiment with different bead placements within the stitch pattern to create unique designs that will add an extra touch of elegance and sophistication to any project!
Bobble Stitch Cord
This cord is created by working several bobbles in a row, which creates a raised, three-dimensional effect. To make this cord, you will need to know how to work the bobble stitch.
To create the bobble stitch, you will work multiple stitches into one stitch on your hook. The number of stitches required for each bobble can vary depending on the pattern or project instructions.
Once you have mastered the technique of creating bobbles, it’s time to start making your cord! You can use any type of yarn and hook size that suits your project needs.
To begin making the Bobble Stitch Cord:
- Chain an even number of stitches.
- Work one row in single crochet.
- Begin working rows using only bobble stitches until desired length is reached.
- Finish with one final row in single crochet before fastening off.
This versatile cord can be used as an embellishment for hats or bags or as drawstrings for pouches and purses – let your imagination run wild!.
Picot Cord
It’s made by working picots, which are small loops or points, along the length of a basic chain stitch cord. The picots can be spaced out evenly or clustered together for different effects.
To make a Picot Cord, start with your desired length of basic chain stitch cord. Then work single crochets into each chain stitch across the row until you reach the end.
Next, create picots by chaining 3-5 stitches (depending on how large you want them) and slip stitching back into the same single crochet where you started.
Repeat this process along the entire length of your cord until it’s covered in beautiful little points! The result is an intricate and delicate-looking trim that can be used as edging on blankets, scarves or shawls.
One thing to keep in mind when making Picot Cords is tension – it’s important to keep your stitches loose enough so that they don’t bunch up around each picot but not too loose either so they don’t look sloppy.
Loop Stitch Cord
This stitch creates loops on the surface of the cord, giving it a fluffy appearance. To make this stitch, you will need to work in rounds or rows using single crochet stitches and loop stitches.
To create a loop stitch cord, start by making a chain as long as you want your finished cord to be. Then work single crochets into each chain across the row or round until you reach the end.
Next comes the fun part – creating loops! To do this, insert your hook into the next stitch and pull up a loop so that it’s about 1 inch long (or longer if desired). Hold onto this loop with your fingers while working another single crochet in that same spot around both strands of yarn from front to back.
Repeat these steps for each subsequent stitch until you have completed one full round or row. Continue working additional rounds/rows in pattern until desired length is reached.
The Loop Stitch Cord can be used for various projects such as drawstrings for bags/pouches, decorative edging on blankets/scarves/hats etc., tassels/fringes on shawls/wraps etc., keychains/lanyards/cell phone straps etc.
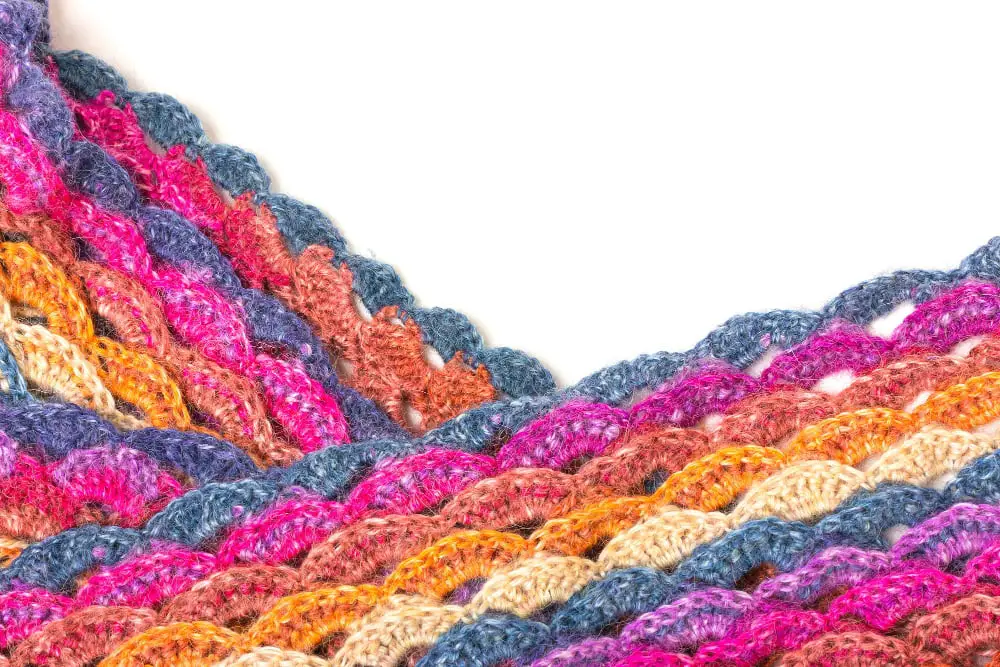
Wavy Crochet Cord
This type of cord is created by working alternating stitches of different heights, such as single crochet followed by double crochet or half-double crochet followed by treble crochet. The result is a cord that has gentle waves running through it, perfect for adding dimension to scarves, blankets, or even clothing.
To create a wavy cord, you will need to have some basic knowledge of the various types of stitches used in crocheting. Once you have mastered these techniques, creating this type of cord can be quite simple and enjoyable.
One thing to keep in mind when making a wavy crocheted cord is that the tension must remain consistent throughout each stitch so that the waves are evenly spaced. It may take some practice at first but with patience and persistence anyone can master this technique.
Crocodile Stitch Cord
This stitch creates a scale-like effect, which makes it perfect for creating dragon tails, mermaid fins, or even adding an interesting detail to bags or hats.
To create the crocodile stitch cord, you will need to know how to work double crochet stitches and chain stitches. The pattern involves working clusters of double crochet stitches around each other in alternating rows.
One of the great things about this stitch is that it can be worked in rounds or rows depending on your project’s needs. You can also experiment with different yarn weights and colors for added interest.
Shell Stitch Cord
This type of cord is created by working multiple stitches into the same stitch or space, creating a shell-like shape. The number of stitches worked in each shell can vary depending on the desired effect.
To create a basic shell stitch cord, you will need to know how to work double crochet (dc) stitches. Start by chaining an even number of stitches for your foundation chain, then work one dc into each chain across.
For the second row, start with three chains (counts as first dc), skip the first dc from previous row and *work 5dc in next st; skip 2 sts*, repeat from *to* until last two sts remain; skip next st and work 1dc in last st.
Repeat this pattern for subsequent rows until your desired length is reached. You can also experiment with different yarn weights or hook sizes to achieve different effects.
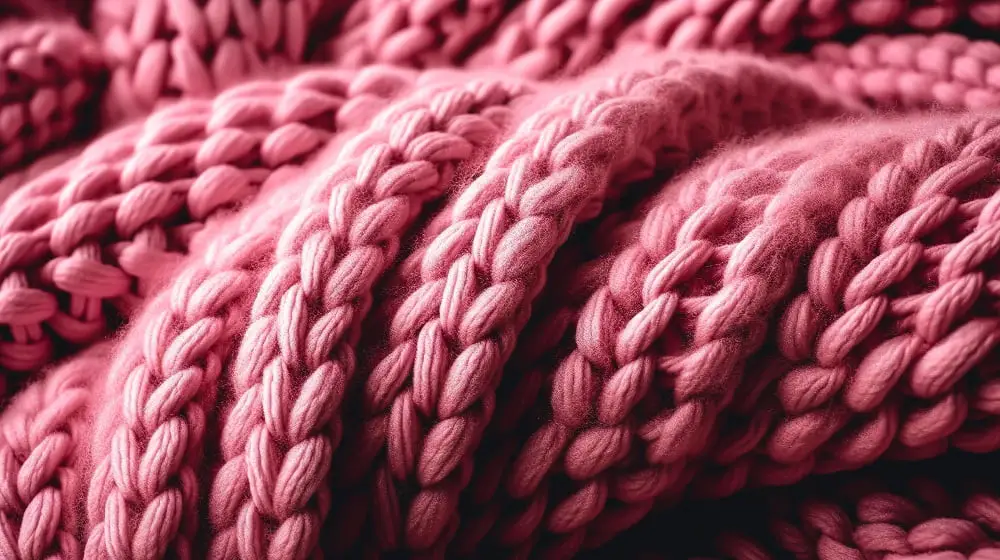
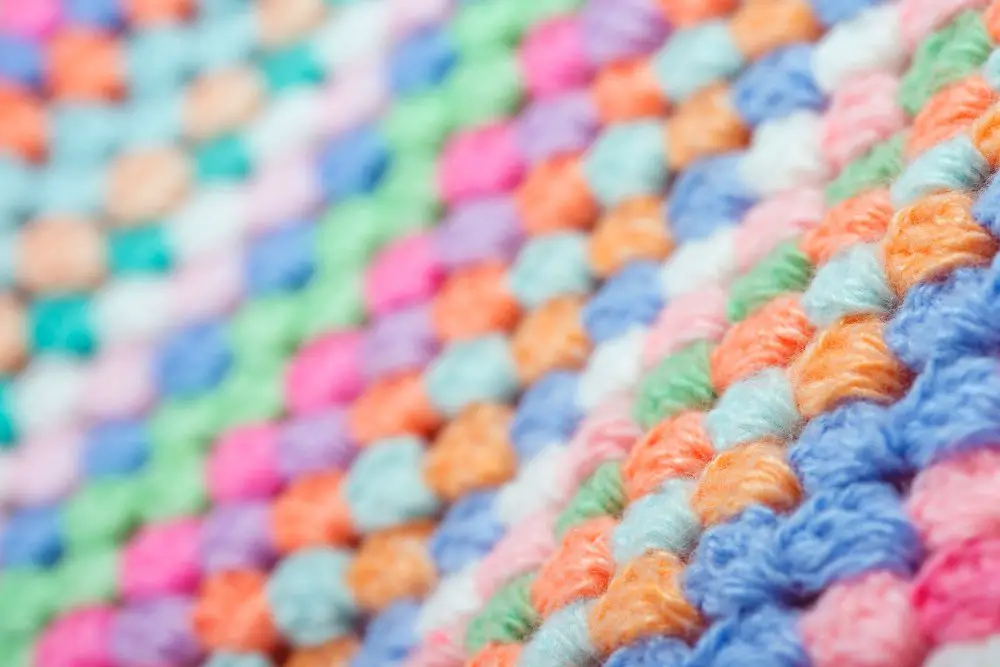
Textured Cords
These cords can be created using a variety of stitches, such as popcorn stitch, puff stitch, or even cables. The texture of the cord can be subtle or bold depending on the type of stitch used.
One popular textured cord is the popcorn stitch cord. This technique involves creating small clusters of stitches that pop out from the surface of the cord.
It’s an easy way to add visual interest and depth without adding too much bulk.
Another option is using puff stitches in your cords for added texture and softness. Puff stitches create little puffs along your work that give it a unique look and feel.
Cables are another great option for textured cords if you’re looking for something more intricate-looking but still relatively simple to make with just basic crochet skills required.
Crochet Cord Variations
These variations can be achieved by using different stitch patterns, changing the thickness of the yarn or thread, or incorporating embellishments such as beads or sequins.
One popular variation is the twisted cord. This type of cord is created by twisting two strands of yarn together in opposite directions before crocheting them into a chain.
The resulting cord has a unique spiral effect that adds visual interest to any project.
Another variation is the beaded crochet cord, which incorporates beads into the design for added sparkle and dimensionality. Beads can be strung onto the yarn before crocheting or added individually as you work each stitch.
The loop stitch cord creates loops along its length that give it an interesting texture perfect for adding detail to bags and other accessories.
Joining Crochet Cords
Joining cords can be done in various ways depending on the project’s needs and personal preference. One way is by using a slip stitch or single crochet stitch along the edges of both cords, creating a seamless connection.
Another method involves braiding or twisting multiple cords together for added strength and texture. This technique works well for thicker projects such as bags or baskets.
For more intricate designs like lacework, Romanian Point Lace offers an elegant solution that joins two pieces with decorative stitches while adding visual interest.
Regardless of which joining method you choose, it’s essential to ensure that both ends are securely fastened before continuing with your project. A poorly joined cord can unravel quickly and ruin all your hard work!
FAQ
What can I make with crochet cord?
Answer: You can make extraordinary accessories like bracelets, necklaces, handbags, and purses using crochet cord techniques.
What is a crochet cord?
A crochet cord, also known as an I-Cord, is a versatile crochet or knit tube consisting of a few stitches worked in a continuous round, with adjustable thickness depending on the number of stitches used.
What are the different techniques for creating crochet cords?
There are various techniques for creating crochet cords, such as the chain stitch, slip stitch, single crochet, and the Romanian cord.
Which type of yarn is best suited for crochet cords?
The best type of yarn suited for crochet cords is crochet thread or smooth, consistent, and non-stretchable yarn.
What crochet cord projects are suitable for beginners?
Suitable crochet cord projects for beginners include creating simple bracelets, necklaces, coasters, and drawstring bags.
Related Posts
 Easy Crochet Gnome Pattern Free: Transform Yarn into Whimsical Friends
 Crochet Star Blanket: A Stellar DIY Guide
 How to Crochet Slippers for Beginners Step by Step with Pictures: Cozy Feet Awaits
 Adjustable Ring Crochet: Master the Magic Circle
 How to Crochet Without a Hook: Hands-On Creativity